Welcome to the Heart of the Kitchen: No Bake Brownie Bites
In the bustling kitchens of our memories, where laughter mixes with the aroma of sweet treats, the No Bake Brownie Bites stand out as a delightful testament to simplicity and nostalgia. Whether you’re looking to indulge your sweet tooth or create something special for family gatherings, these brownie bites are a heartfelt recipe that requires no baking and brings joy to every table. Let’s embark on this delicious journey, ensuring every bite carries a whisper of love and warmth.
Why You’ll Love This Recipe
Before we dive into the ingredients and steps, let’s explore why this recipe is bound to become a cherished part of your culinary repertoire:
- Easy to Make: With no baking required, you can whip these up in under 30 minutes. Perfect for those who want a quick sweet fix!
- Kid-Friendly: This is a fantastic recipe to involve children in the kitchen. They’ll love rolling the brownie bites and watching the chocolate melt!
- Customizable: Feel free to play with ingredients! Substitute with nuts, dried fruits, or even peanut butter for a personal touch.
- Perfect for Sharing: These brownie bites are ideal for potlucks, parties, or as a sweet surprise for loved ones.
- Long Lasting: Store them in the fridge or freezer, and enjoy their fudgy goodness for days to come!
Ingredients You’ll Need
Gathering the right ingredients is the first step towards creating these delightful treats. Here’s a breakdown of what you’ll need, along with some substitution options:
- 1 cup all-purpose flour (heat treated—see note 1): This forms the base of your brownie bites. Make sure to heat treat it to eliminate any harmful bacteria.
- 1/4 cup Dutch process cocoa powder (see note 2): This will give your bites a rich chocolate flavor and a beautiful dark hue.
- 1/2 teaspoon salt: A pinch of salt enhances the sweetness and balances the chocolate flavor.
- 1 cup semi-sweet chocolate chips: These will melt beautifully, creating a luscious filling.
- 6 tablespoons unsalted butter: The fat that brings richness to your bites.
- 1/2 cup granulated sugar: Sweetens the bites without overpowering the chocolate.
- 3/4 cup light brown sugar: Adds moisture and a hint of caramel flavor.
- 1/4 cup heavy cream: This makes the texture incredibly smooth and creamy.
- 1 teaspoon vanilla extract: A splash of vanilla rounds out the flavors beautifully.
- 1/2 cup mini chocolate chips: For that extra chocolatey goodness inside your bites.
- 2 cups milk chocolate chips (or semi-sweet or dark, see note 3): Used for coating the bites, adding a sweet outer layer.
- 2 teaspoons coconut oil (or shortening): Helps to thin the chocolate for easier dipping and adds a subtle flavor.
Step-by-Step Instructions
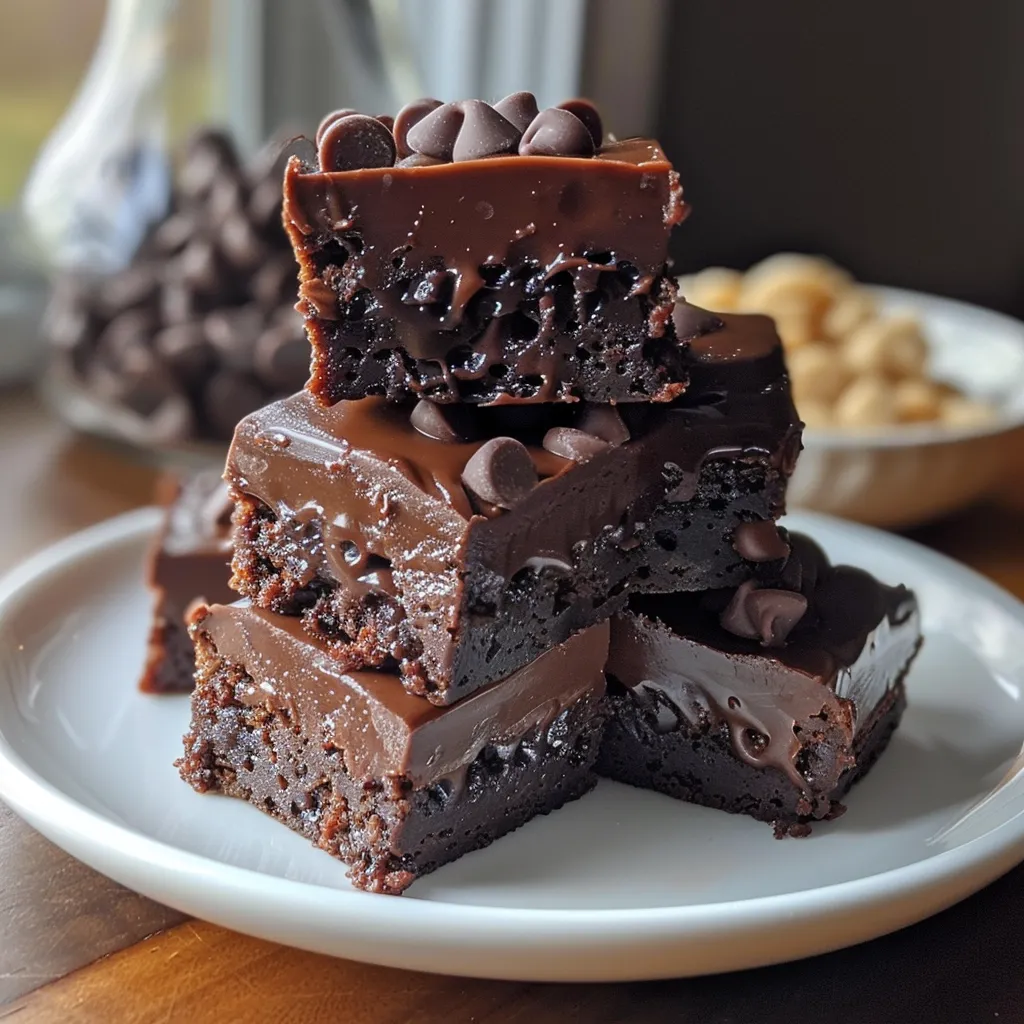
Now that you have your ingredients ready, let’s get into the heart of the process. Follow these steps to make your No Bake Brownie Bites:
- Step 1: Heat Treat the Flour – Microwave or bake the all-purpose flour to reach a safe temperature of 165°F to eliminate harmful bacteria. Allow it to cool completely to room temperature before using.
- Step 2: Combine the Dry Ingredients – In a medium bowl, mix the cooled heat-treated flour with the Dutch cocoa powder and salt until evenly combined. Set aside.
- Step 3: Melt the Butter and Chocolate Chips – In a microwave-safe bowl, combine the semi-sweet chocolate chips and butter cut into chunks. Microwave in 30-second intervals, stirring thoroughly after each, until fully melted and smooth—this usually takes about 1 minute and 30 seconds.
- Step 4: Mix in Sugars and Cream – Using a stand or hand mixer, beat the melted chocolate and butter mixture with granulated sugar and brown sugar on medium speed for 2 minutes until smooth. Add the heavy cream and vanilla extract, and continue beating for another 1 to 2 minutes until the batter is light and creamy.
- Step 5: Add Dry Ingredients and Mini Chocolate Chips – Gradually add the dry ingredient mixture to the wet ingredients, mixing until just combined. Avoid overmixing to prevent developing gluten. Gently fold in the mini chocolate chips. Adjust texture by adding more heat-treated flour if too wet or more heavy cream if too dry.
- Step 6: Shape and Chill – Using a 1-tablespoon measuring spoon, scoop portions of the brownie batter, roll each into even-sized balls, and place them onto a tray. Chill the batter balls in the refrigerator, covered, for 15 minutes to firm up.
- Step 7: Prepare the Chocolate Coating – Line a baking sheet with parchment paper or a silicone liner. In a microwave-safe bowl, combine the 2 cups of milk chocolate chips with coconut oil. Heat in 20-second bursts, stirring well between each to ensure smooth, even melting and prevent burning.
- Step 8: Dip and Set – Using a fork, dip each chilled brownie ball into the melted chocolate to coat thoroughly. Pour additional melted chocolate over the truffle using a spoon for full coverage. Tap the fork’s edge gently to shake off excess chocolate and slide the coated truffle onto the lined sheet pan. If the chocolate is too thick, thin it with small increments of coconut oil.
- Step 9: Ready to Enjoy – Allow the chocolate coating to set at room temperature before serving. These bites are best enjoyed the same day but can be stored for 3–4 days. For longer storage, freeze uncoated brownie bites. They are delicious chilled, offering a fudgy texture straight from the fridge.
Pro Tips for Perfect Brownie Bites
To ensure your brownie bites come out perfectly every time, consider these expert insights:
- Temperature Matters: Ensure that your butter and chocolate are melted but not hot when mixing with sugars. This keeps the texture smooth.
- Don’t Skip the Heat Treatment: It’s crucial for safety. Always heat treat your flour before using it in no-bake recipes.
- Chill for Texture: Chilling the mixture helps to firm it up, making it easier to roll into balls.
- Experiment with Flavors: Add a teaspoon of espresso powder for a mocha flavor or swap out vanilla for almond extract for a unique twist.
- Use Quality Chocolate: The quality of chocolate you use will directly affect the flavor of your bites—choose brands you love!
- Storage Tip: If you plan to freeze, make sure to place them in an airtight container to prevent freezer burn.
- Coating Variations: Try rolling the coated bites in crushed nuts, shredded coconut, or sprinkles for added texture and flavor!
- Check Consistency: If your mixture is too wet, add a bit more heat-treated flour until you reach the desired consistency for rolling.
- Keep It Simple: This recipe allows for many variations, so feel free to stick to the basics or go bold with your favorite mix-ins!
Common Mistakes and Troubleshooting
Even the best of us can run into challenges in the kitchen. Here are some common pitfalls and how to avoid them:
- Too Crumbly?: If your mixture is too crumbly, try adding a touch more heavy cream or melted chocolate to adjust the moisture.
- Chocolate Coating Not Sticking?: Ensure your brownie bites are cold before dipping them in chocolate. If they’re too warm, the chocolate may not adhere well.
- Chocolate Too Thick?: If the melted chocolate is too thick for dipping, stir in small amounts of coconut oil until it reaches the desired consistency.
- Flavor Off?: Always taste your batter before rolling. If it lacks sweetness, adjust with more sugar to suit your palate.
- Chilling Too Long?: If your bites become too hard after chilling, you can let them sit at room temperature for a few minutes before serving.
Delicious Variations
Add a personal touch to your brownie bites with these delightful variations:
- Peanut Butter Brownie Bites: Swirl in 1/2 cup of creamy peanut butter into the batter for a nutty twist.
- Mint Chocolate Brownie Bites: Add a few drops of peppermint extract for a refreshing minty flavor.
- Nutty Crunch: Fold in 1/2 cup of chopped walnuts or pecans for added texture and flavor.
- White Chocolate Coating: Instead of milk chocolate, use white chocolate for a sweeter, creamier coating that contrasts beautifully with the dark brownie.
Storage and Make-Ahead Instructions
These brownie bites can be prepared in advance, making them a convenient treat for busy days:
- Refrigerator Storage: Keep your brownie bites in an airtight container in the fridge for up to 4 days.
- Freezer Storage: For longer storage, freeze uncoated brownie bites for up to 3 months. When ready to enjoy, simply coat them in chocolate after thawing.
- Make-Ahead: You can prepare the brownie mixture and shape it into balls, then store them in the fridge for up to 24 hours before coating in chocolate.
Frequently Asked Questions
Here are some common questions about making no bake brownie bites:
- Can I use other types of flour? Yes, you can experiment with almond flour or oat flour, but the texture may vary slightly.
- What if my brownie bites are too sweet? You can balance the sweetness by adding a pinch of salt or incorporating some unsweetened cocoa powder into the mixture.
- How do I know when they are ready to eat? Your bites are ready when the chocolate coating is set, and they feel firm to the touch.
- Can I make these vegan? Absolutely! Substitute butter with coconut oil and use dairy-free chocolate chips for a vegan-friendly treat.
- What’s the best way to melt chocolate? Use a microwave in short bursts or a double boiler for controlled melting to avoid burning.
- Are these brownie bites gluten-free? Substitute the all-purpose flour with a gluten-free blend to make them gluten-free.
- Can I use flavored chocolate? Yes, flavored chocolate can add another layer of taste to your brownie bites.
- How can I make them festive? Add seasonal sprinkles or colored chocolate drizzles for special occasions!
Nutritional Tips and Dietary Adaptations
When it comes to indulging in treats, consider these nutritional insights:
- Healthier Sweetener Options: Substitute granulated sugar with coconut sugar or maple syrup for a more natural sweetness.
- Protein Boost: You can add a scoop of protein powder to the mixture for an extra nutritional punch, making these bites great for post-workout snacks.
- Allergy-Friendly: Use nut butters instead of butter for a nut-free version, and opt for dairy-free chocolate to cater to lactose intolerance.
- Portion Control: Roll smaller bites to help manage portion sizes while still satisfying your sweet cravings.
Equipment Recommendations
Having the right tools can make your baking experience smoother. Here are a few essentials for making your no bake brownie bites:
- Microwave-Safe Bowl: For melting chocolate and butter safely.
- Mixing Bowls: Use various sizes for mixing wet and dry ingredients separately.
- Measuring Cups and Spoons: Accurate measurements ensure the best results.
- Stand or Hand Mixer: A mixer helps achieve the perfect creamy texture for your batter.
- Parchment Paper or Silicone Liner: Ideal for lining your baking sheet for easy cleanup.
Serving Suggestions
Here are some creative ways to serve your no bake brownie bites:
- On a Dessert Platter: Create a beautiful presentation by arranging brownie bites on a decorative platter with fresh fruit and whipped cream.
- With Coffee or Tea: Pair these bites with your favorite hot beverage for a delightful afternoon treat.
- As Party Favors: Package these bites in small treat bags and give them as sweet gifts at your next gathering.
- With Ice Cream: Serve them alongside a scoop of vanilla or chocolate ice cream for a decadent dessert experience.
Conclusion: A Recipe to Cherish
As you gather around the table, sharing these No Bake Brownie Bites, you’re not just enjoying a dessert; you’re creating sweet memories that will linger long after the last bite. These treats are more than just a recipe; they’re a way to connect, to celebrate, and to keep our loved ones close. I hope this recipe brings joy to your kitchen and reminds you that cooking is about love, tradition, and the sweet whispers of nostalgia. Thank you for joining me on this delicious journey—now go and create some magic in your kitchen!
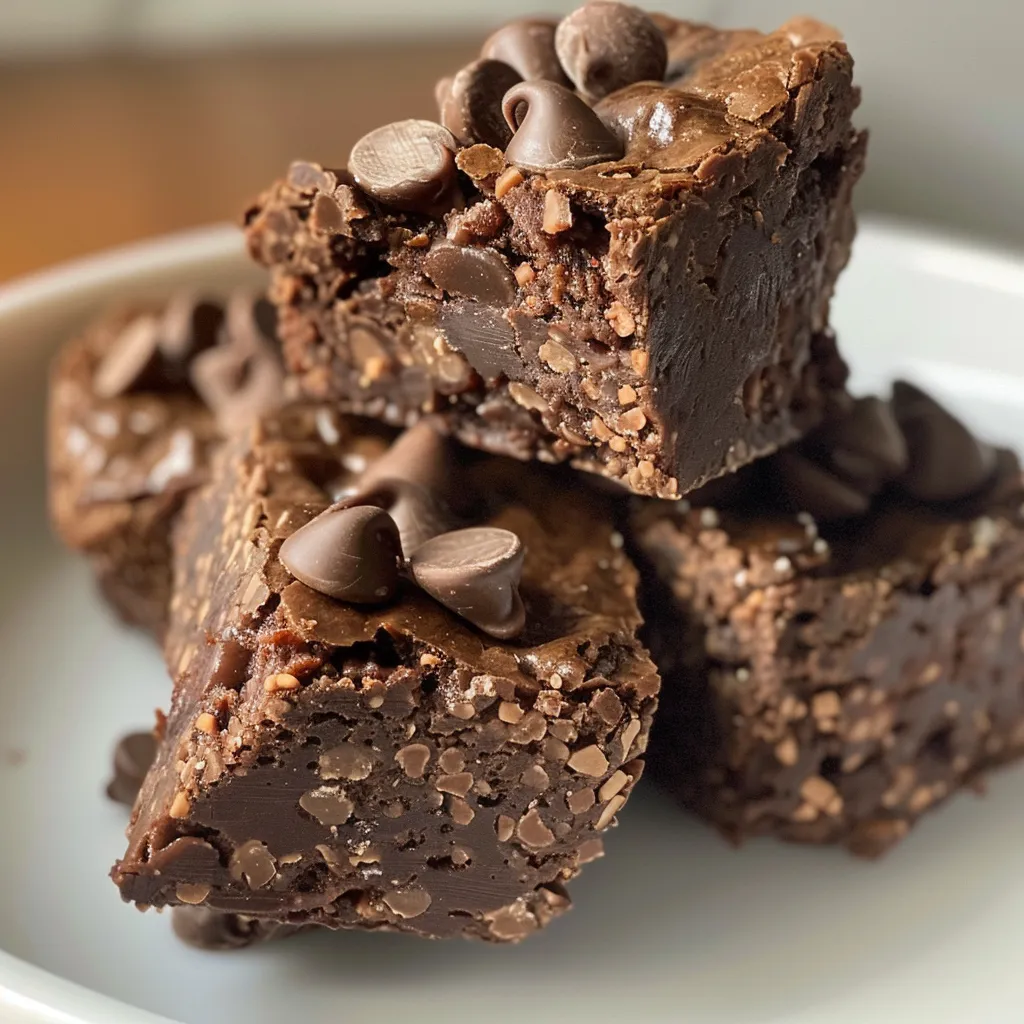
No Bake Brownie Bites Recipe
Ingredients
Dried ingredients
- 1 cup all-purpose flour (heat treated) (see note 1)
- 1/4 cup Dutch process cocoa powder (see note 2)
- 1/2 teaspoon salt
- 1 cup semi-sweet chocolate chips
- 6 tablespoons unsalted butter
- 1/2 cup granulated sugar
- 3/4 cup light brown sugar
- 1/4 cup heavy cream
- 1 teaspoon vanilla extract
- 1/2 cup mini chocolate chips
- 2 cups milk chocolate chips (or semi-sweet or dark) (see note 3)
- 2 teaspoons coconut oil (or shortening)
Instructions
- Heat treat the flour by microwaving or baking to reach 165°F, then cool completely.
- Mix cooled flour with cocoa powder and salt; set aside.
- Melt semi-sweet chocolate chips and butter in 30-second intervals, stirring until smooth (~1.5 min).
- Beat melted mixture with sugars, then add cream and vanilla until creamy.
- Combine dry and wet ingredients, fold in mini chips, chill for 15 minutes.
- Form batter into balls, dip in melted chocolate with coconut oil, then set to harden.