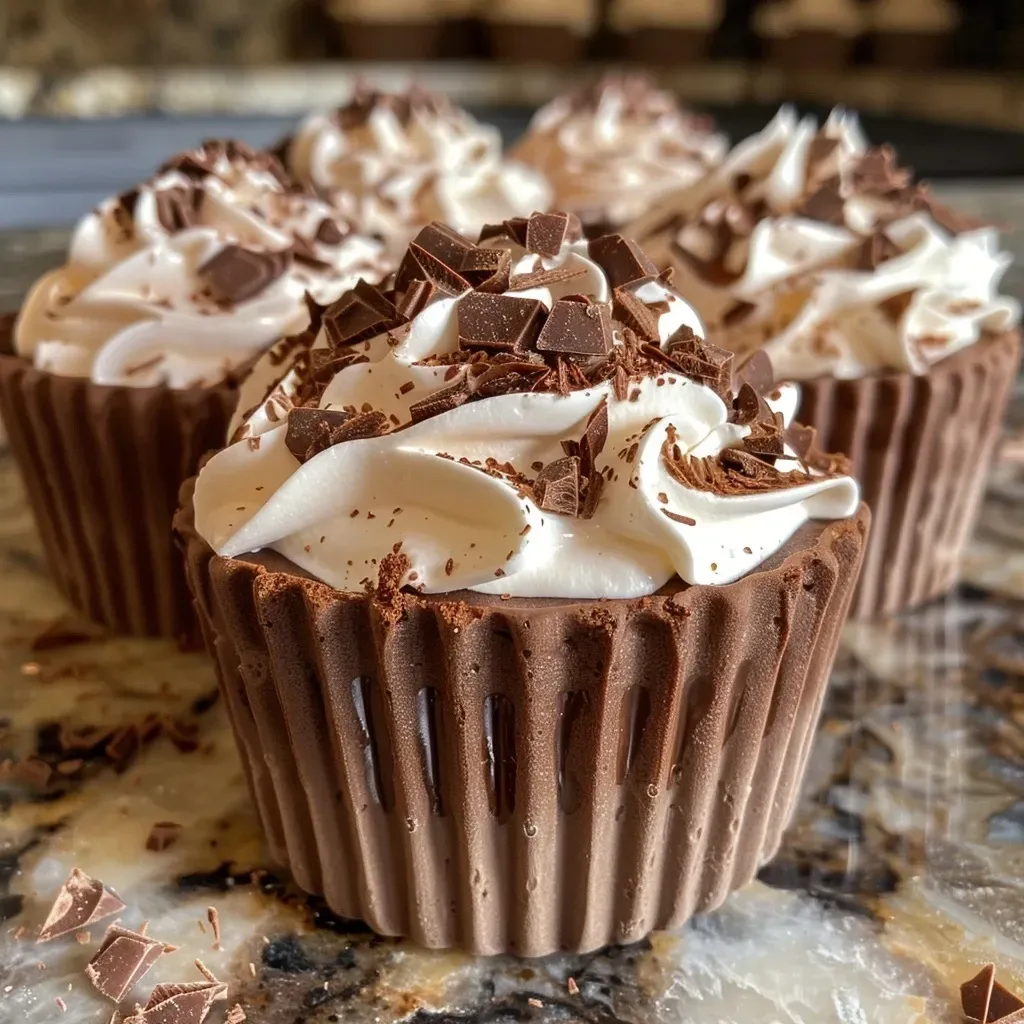
Discover the Joy of No-Bake Chocolate Cream Cups
There’s something incredibly nostalgic about whipping up a sweet treat, especially when it’s as simple and delightful as No-Bake Chocolate Cream Cups. These creamy cups bring back fond memories of family gatherings, where laughter and love were the main ingredients. With just a handful of easy-to-find components, you can create a dessert that not only satisfies your sweet tooth but also warms your heart. In this article, we’ll explore everything you need to know to make these delightful cups, from ingredients to tips for success, ensuring that every bite is filled with joy.
Why You’ll Love This Recipe
Before we dive into the details, here are some compelling reasons why these No-Bake Chocolate Cream Cups are a must-try:
- Quick and Easy: With minimal prep time, you can whip these up in under 30 minutes, perfect for when you want a sweet treat in a hurry.
- Rich and Creamy: The combination of cream cheese and whipped cream creates a decadent texture that melts in your mouth.
- No Baking Required: Say goodbye to complicated baking processes. These cups require no oven time, making them stress-free to prepare.
- Customizable: Feel free to mix and match ingredients or toppings to suit your taste, ensuring every batch is uniquely yours.
- Ideal for Sharing: Perfect for parties, picnics, or cozy family nights, these cups are sure to impress your loved ones.
Ingredients Breakdown
Let’s take a closer look at what you’ll need for these delightful Chocolate Cream Cups:
- 1 cup of heavy whipping cream: This is the base for your creamy filling. You can substitute with coconut cream for a dairy-free option.
- ½ cup of powdered sugar: Adds sweetness. For a healthier alternative, consider using honey or maple syrup.
- ½ cup of cocoa powder: This gives the chocolate flavor. Dutch-processed cocoa will deepen the richness.
- 8 oz of cream cheese, softened: The star of the filling. Make sure it’s at room temperature for easy mixing.
- 1 teaspoon of vanilla extract: Enhances the flavor profile, adding warmth and depth.
- 1 package of chocolate wafer cookies: These serve as the crunch in each cup; feel free to use crushed graham crackers as an alternative.
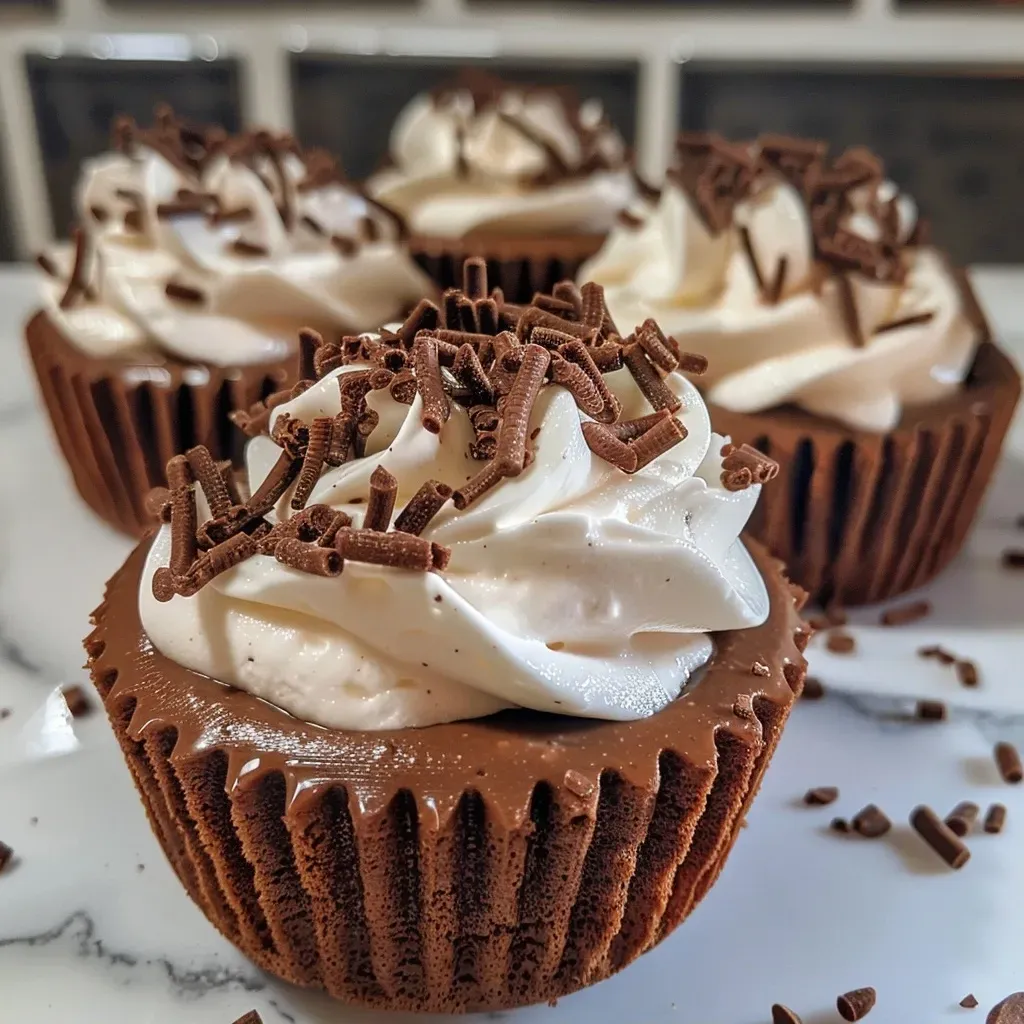
- Chocolate shavings or sprinkles for garnish: These are optional but add an appealing finish.
Step-by-Step Instructions
Now, let’s get into the heart of the matter—how to make these delicious cups:
- In a mixing bowl, beat the heavy whipping cream until soft peaks form. Gradually add the powdered sugar and cocoa powder, continuing to beat until you achieve stiff peaks.
- In another bowl, combine the softened cream cheese and vanilla extract. Mix using a hand mixer or whisk until smooth and creamy.
- Gently fold the whipped cream mixture into the cream cheese mixture using a spatula, ensuring you maintain the airy texture.
- In serving cups, start layering your components: add a layer of crushed chocolate wafer cookies, followed by a layer of the chocolate cream mixture. Repeat until the cups are filled.
- Cover your cups with plastic wrap and refrigerate for at least one hour. Before serving, top with chocolate shavings or sprinkles for that extra touch.
Pro Tips for Success
To ensure your No-Bake Chocolate Cream Cups come out perfectly, consider these expert insights:
- Room Temperature Ingredients: Allow cream cheese to sit out before mixing to achieve a smoother texture.
- Don’t Overmix: When folding the whipped cream into the cream cheese, be gentle to keep the mix light and airy.
- Chill Time: Refrigerate the cups for at least one hour to allow the flavors to meld and the mixture to set.
- Serve in Clear Cups: For a beautiful presentation, use clear cups or mason jars to showcase the layers.
- Make Ahead: These cups can be made a day in advance, making them a great option for entertaining.
- Experiment with Flavors: Add a splash of coffee or peppermint extract for a unique twist on the traditional recipe.
- Garnish Creatively: Experiment with toppings like crushed nuts, fresh berries, or even a drizzle of caramel for a personalized touch.
- Layering Technique: Use a piping bag for clean layering if you want to create a more polished look.
Common Mistakes and Troubleshooting
Even the best of us can face challenges in the kitchen. Here are some common pitfalls and how to avoid them:
- Overbeating Cream: Stop beating when you reach stiff peaks; otherwise, you risk turning it into butter.
- Watery Mixture: If your cream is too warm, it may not whip properly. Ensure everything is chilled before starting.
- Crumbled Cookies: If your cookie base is too fine, it might become mushy. Aim for a mix of fine and larger pieces for the perfect crunch.
Delicious Variations to Try
Feeling adventurous? Here are a few variations that you can try to mix things up:
- Peanut Butter Chocolate Cups: Fold in ½ cup of peanut butter into the cream cheese mixture for a nutty twist.
- Mint Chocolate Cups: Add a few drops of peppermint extract to the cream mixture for a refreshing flavor.
- Fruit-Filled Cups: Layer in some fresh berries or banana slices between the layers for a fruity surprise.
- White Chocolate Version: Substitute the cocoa powder with melted white chocolate for a sweeter, creamier option.
Storage and Make-Ahead Instructions
These chocolate cream cups are perfect for meal prep. Here’s how to store them:
- Refrigerator: Store covered in the fridge for up to 3 days. They actually taste better the next day!
- Freezer: You can freeze the unfilled chocolate cups for up to 1 month. Just thaw before adding the filling.
Comprehensive FAQ
Here are some common questions about No-Bake Chocolate Cream Cups:
- Can I use any type of chocolate? Yes, feel free to use dark, milk, or white chocolate, depending on your preference.
- How can I make these dairy-free? Use coconut cream instead of heavy cream and a dairy-free cream cheese alternative.
- Can these cups be made in advance? Absolutely! They can be made a day ahead and stored in the refrigerator.
- What can I use instead of chocolate wafer cookies? Graham crackers or digestive biscuits can be great alternatives.
- Can I add alcohol to the recipe? Yes, a splash of liqueur like Baileys or Kahlua can enhance the flavor.
- How do I know if my whipped cream is ready? Look for stiff peaks that hold their shape without collapsing.
- Can I use whipped topping instead of whipped cream? Yes, but homemade whipped cream offers a richer flavor.
- What’s the best way to serve these cups? They are best served chilled and can be topped with a variety of garnishes for added flair.
Nutritional Tips and Dietary Adaptations
Here are a few tips to make your recipe healthier:
- Lower Sugar: Reduce the powdered sugar by half or use a sugar substitute for a low-sugar option.
- Healthy Fats: Opt for a light cream cheese to cut down on calories without sacrificing flavor.
- Gluten-Free: Use gluten-free cookies to make this dessert accessible to those with dietary restrictions.
Equipment Recommendations
For the best results, here’s what you’ll need:
- Mixing Bowls: A set of various sizes will help you organize your ingredients.
- Hand Mixer or Whisk: Essential for whipping cream and combining mixtures efficiently.
- Spatula: A good silicone spatula is perfect for folding and scraping bowls clean.
- Serving Cups: Clear glass cups or mason jars add a lovely touch to your presentation.
Serving Suggestions
To make your dessert even more delightful, consider these serving ideas:
- Pair with Coffee: Serve alongside a warm cup of coffee for a delightful contrast.
- Fresh Berries: Add a few fresh raspberries or strawberries on top for a burst of freshness.
- Chocolate Sauce: Drizzle some chocolate sauce over the top for an extra indulgence.
Conclusion
Creating No-Bake Chocolate Cream Cups isn’t just about whipping up a dessert; it’s about evoking memories, sharing love, and bringing people together around the table. Whether for a special occasion or a simple family gathering, these cups are sure to leave smiles all around. So gather your ingredients, embrace the process, and enjoy the sweet simplicity of these delightful treats. Happy cooking!
Irresistible No-Bake Chocolate Cream Cups Recipe - Easy & Fun!
Ingredients
Dairy
- 1 cup heavy whipping cream
- 0.5 cup powdered sugar
- 0.5 cup cocoa powder
- 8 oz cream cheese, softened
- 1 teaspoon vanilla extract
Cookies
- 1 package chocolate wafer cookies
Garnish
- as needed Chocolate shavings or sprinkles (for garnish)
Instructions
- Whip the heavy cream until soft peaks form, then add powdered sugar and cocoa, beating until stiff peaks form.
- Mix softened cream cheese with vanilla until smooth.
- Fold whipped cream into cream cheese mixture gently.
- Layer crushed cookies and cream mixture in cups, repeat layers as desired.
- Refrigerate for at least 1 hour, then top with chocolate shavings or sprinkles before serving.