Sweet Simplicity: The Heart of No Bake Chocolate Peanut Butter Bars
There’s something undeniably comforting about the combination of chocolate and peanut butter, a duo that has graced our kitchen tables for generations. These No Bake Chocolate Peanut Butter Bars embody the warmth of family gatherings, where laughter and love linger in the air. Perfectly creamy and sweet, they bring back memories of simpler times spent indulging in homemade treats. This recipe captures that nostalgia, making it a must-have for any occasion—whether it’s a summer picnic, a cozy movie night, or a holiday feast.
In this guide, we’ll explore every delightful aspect of this recipe, from the ingredients that make it shine to the tips that ensure your bars turn out perfectly every time. So grab your favorite mixing bowl, and let’s create a dessert that’s sure to be a hit!
Why You’ll Love This Recipe
These No Bake Chocolate Peanut Butter Bars are more than just a sweet treat; they offer a plethora of reasons to fall in love:
- Quick and Easy: With just five simple ingredients and no oven required, you can whip up a batch in no time, making it ideal for last-minute gatherings.
- Family-Friendly Fun: Involve the kids in the mixing and pressing process, creating lasting memories while teaching them the joy of cooking.
- Rich, Creamy Texture: The combination of creamy peanut butter and smooth chocolate creates an irresistible texture that melts in your mouth.
- Versatile Delight: Customize your bars with various toppings or mix-ins to suit your taste, ensuring everyone finds something to love.
- Make Ahead Convenience: These bars can be prepared in advance and stored, making them a fantastic option for busy weeks or planned events.
Ingredients Breakdown
Let’s dive into the essential ingredients that make these chocolate peanut butter bars shine. Here’s what you’ll need:
- 1 cup creamy peanut butter: The star of the show, providing rich flavor and texture. If you prefer, crunchy peanut butter can be used for added texture.
- 1 cup powdered sugar: This sweetener helps achieve the perfect balance of sweetness without being overly sugary. You can substitute with coconut sugar for a healthier option.
- 1/2 cup butter, melted: This ingredient binds everything together and adds richness. You can substitute with coconut oil for a dairy-free version.
- 1 1/2 cups semi-sweet chocolate chips: The topping that brings it all together. Feel free to use dark chocolate or even white chocolate for a different flavor profile.
How to Make No Bake Chocolate Peanut Butter Bars
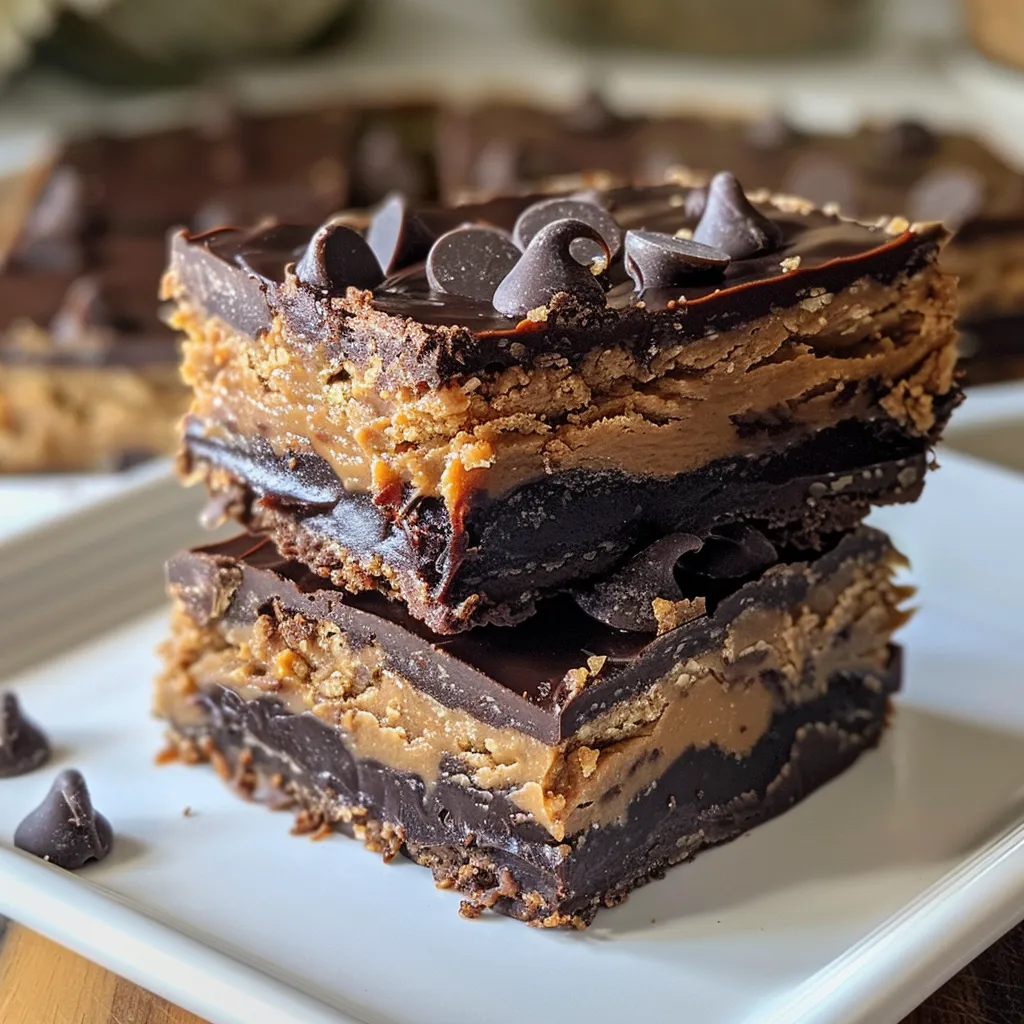
Now that we have our ingredients ready, let’s walk through the simple steps to create these delicious bars:
- Step 1: Melt the butter in a saucepan over low heat, then stir it into the peanut butter until smooth.
- Step 2: Add the powdered sugar and mix until thick and creamy, ensuring no lumps remain.
- Step 3: Press the peanut butter mixture firmly into a parchment-lined 8×8 pan, smoothing it out evenly.
- Step 4: Melt the chocolate chips in a microwave or double boiler until smooth, then spread evenly over the peanut butter layer.
- Step 5: Refrigerate for 1–2 hours until fully set, allowing the flavors to meld together beautifully.
- Step 6: Let rest briefly at room temperature, then slice into bars and serve to your eager guests.
Pro Tips for Perfect Bars
To ensure your bars are a resounding success, consider these expert insights:
- Use High-Quality Ingredients: Choose the best peanut butter and chocolate you can find for the richest flavor.
- Line Your Pan: Always line your baking dish with parchment paper for easy removal and cleanup.
- Chill Properly: Allow the bars to chill completely in the fridge for best texture and flavor.
- Don’t Rush the Cooling: Patience is key! Letting them cool thoroughly ensures they hold their shape.
- Experiment with Toppings: Consider adding chopped nuts, shredded coconut, or a sprinkle of sea salt on top for an extra layer of flavor.
- Store Correctly: Keep your bars in an airtight container in the fridge to maintain freshness.
- Cut with Care: Use a warm knife to slice through the bars smoothly—this prevents crumbling.
- Share the Love: These bars make great gifts! Wrap them up in a festive package for friends and family.
Common Mistakes and Troubleshooting
Even the best cooks can face challenges. Here’s how to avoid common pitfalls:
- Too Crumbly: If your mixture is too crumbly, it may need more melted butter or peanut butter to bind it together.
- Chocolate Not Setting: If the chocolate topping doesn’t set, try chilling it longer or using a higher cocoa content chocolate.
- Too Sweet: Balance the sweetness by adding a pinch of salt to the chocolate layer or reducing the powdered sugar slightly.
- Sticky Bars: If your bars are sticky, make sure they’ve been refrigerated long enough before slicing.
Exciting Variations
These bars are versatile! Here are some creative ways to switch things up:
- Nutty Variation: Add chopped nuts like almonds or pecans into the peanut butter mixture for a delightful crunch.
- Cookie Dough Bars: Mix in mini chocolate chips or cookie dough pieces for a fun twist.
- Mint Chocolate: Incorporate a few drops of peppermint extract into the chocolate layer for a refreshing flavor.
- Fruit Fusion: Top with sliced strawberries or raspberries for a fruity contrast to the rich chocolate.
Storage and Make-Ahead Instructions
Planning ahead? Here’s how to keep your bars fresh:
- Refrigeration: Store bars in an airtight container in the fridge for up to two weeks.
- Freezing: These bars freeze beautifully! Cut them into pieces, wrap each in plastic wrap, and store in a freezer-safe bag for up to three months.
- Thawing: To enjoy, simply remove from the freezer and let them thaw in the fridge for a few hours.
Frequently Asked Questions
Here are answers to some common questions about these bars:
- Can I use natural peanut butter? Yes, but natural peanut butter may change the texture slightly, making it less creamy.
- How can I make these bars healthier? Consider using natural sweeteners like honey or maple syrup instead of powdered sugar, and opt for dark chocolate.
- What can I serve with these bars? They pair wonderfully with a scoop of vanilla ice cream or a glass of cold milk.
- Can I make these bars dairy-free? Absolutely! Substitute the butter with coconut oil and use dairy-free chocolate chips.
- What’s the best way to cut these bars? Use a sharp, warm knife for clean cuts without crumbling.
- Can I add protein powder? Yes, adding a scoop of your favorite protein powder can make these bars a great post-workout snack.
- What if I don’t have an 8×8 pan? You can use a 9×9 or similar-sized pan; just adjust the thickness of the bars accordingly.
- How long do these bars last? When stored properly, they can last up to two weeks in the fridge, or up to three months in the freezer.
Nutritional Tips and Dietary Adaptations
For those mindful of dietary needs, here are some adaptations:
- Gluten-Free: Ensure your graham crackers or any mix-ins are gluten-free.
- Vegan: Use plant-based butter and dairy-free chocolate chips for a vegan-friendly version.
- Low-Carb: Opt for sugar-free chocolate chips and a low-carb sweetener like erythritol.
Essential Equipment Recommendations
Having the right tools makes all the difference:
- Mixing Bowl: A large bowl for mixing ensures you have enough space to combine ingredients thoroughly.
- Spatula: A sturdy spatula helps in pressing the mixture into the pan evenly.
- Parchment Paper: For easy removal and cleanup, always line your baking dish with parchment.
- Microwave Safe Bowl: For melting chocolate, a microwave-safe bowl or double boiler is essential for even melting.
Serving Suggestions
Serving these bars is just as fun as making them. Here are some delightful ideas:
- Garnish: Drizzle melted chocolate on top or sprinkle with sea salt for an elegant touch.
- Pair with Ice Cream: Serve alongside a scoop of vanilla or chocolate ice cream for a delicious contrast.
- Festive Presentation: Cut them into shapes for parties, or wrap them in decorative paper for gifts.
In conclusion, these No Bake Chocolate Peanut Butter Bars are not just a recipe; they are a celebration of love, family, and cherished memories. With their simplicity and delightful flavors, they remind us that cooking is not just about the food but about the moments we share. So gather your loved ones, create these bars, and let the sweet nostalgia fill your home. Enjoy the journey as much as the destination!
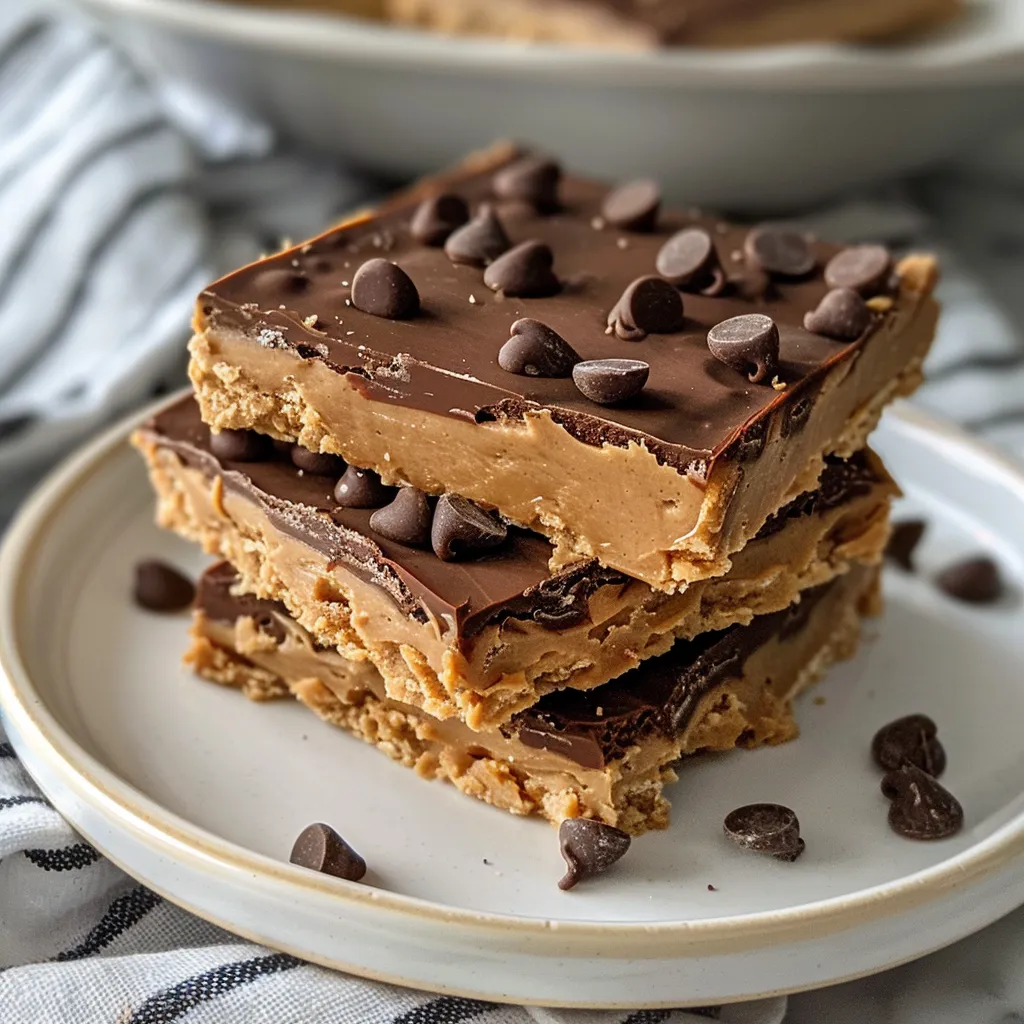
No Bake Chocolate Peanut Butter Bars Recipe
Ingredients
Peanut Butter & Butter Mixture
- 1 cup creamy peanut butter
- 0.5 cup butter, melted
Powdered Sugar
- 1 cup powdered sugar
Chocolate Layer
- 1.5 cups semi-sweet chocolate chips
Instructions
- Melt the butter and mix it into the peanut butter until smooth.
- Add powdered sugar and mix until thick.
- Press mixture into a parchment-lined 8×8 pan.
- Melt chocolate chips and spread over the peanut butter layer.
- Refrigerate for 1–2 hours until set, then slice and serve.