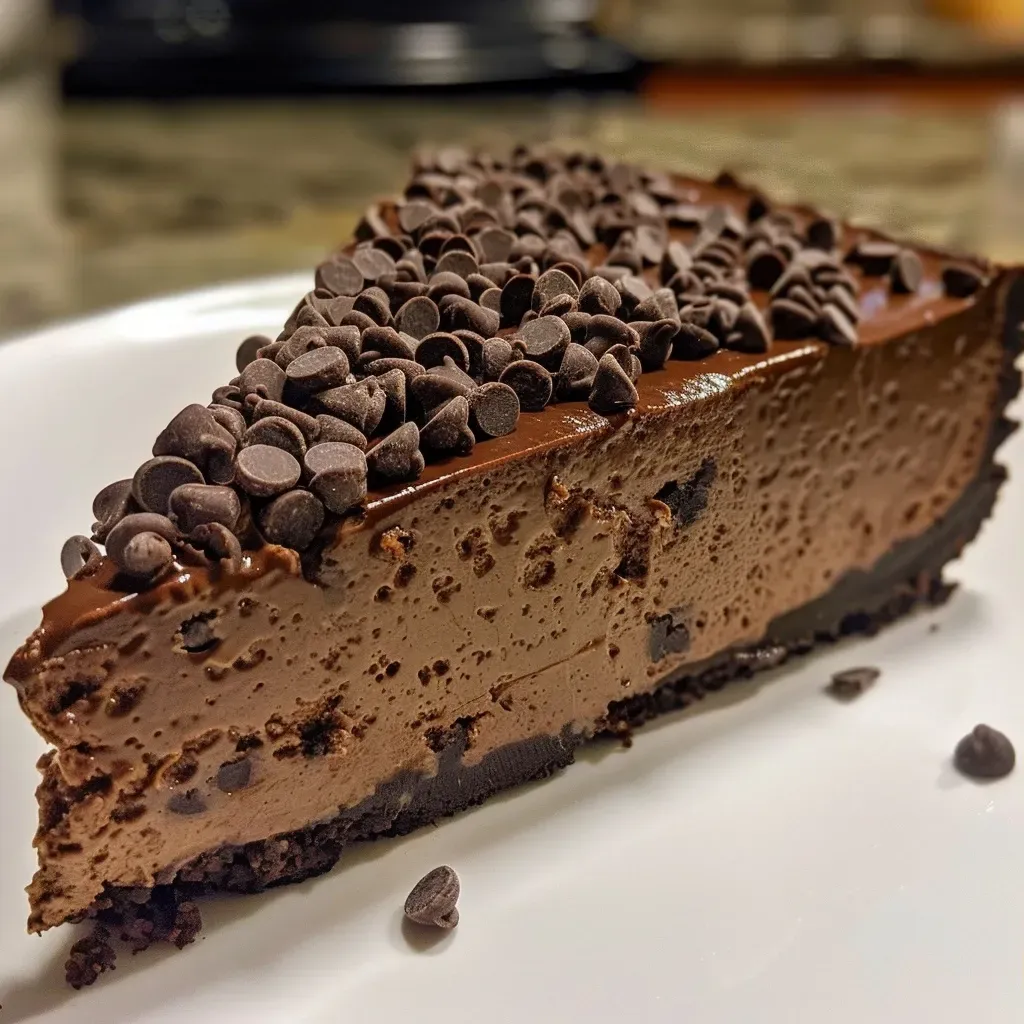
Step into the Kitchen: A Journey with Easy Chocolate Protein Cheesecake
Welcome to a delightful culinary adventure where memories and flavors intertwine! This Easy Chocolate Protein Cheesecake is not just a dessert; it’s a slice of sweet nostalgia, perfect for sharing around the family table. With its creamy texture and rich chocolate flavor, this recipe reflects my love for cooking and the cherished moments spent in my grandmother’s kitchen. Today, I invite you to create this dish that blends nutrition with a touch of heart and tradition.
Why You’ll Love This Recipe
- High Protein Delight: With the addition of protein powder and cottage cheese, this cheesecake is not only indulgent but also packs a protein punch, making it a great option for post-workout recovery.
- Gluten-Free Goodness: Made with gluten-free chocolate sandwich cookies, this dessert is suitable for those with gluten sensitivities, ensuring everyone can enjoy a slice.
- Quick and Easy: This recipe takes minimal time to prepare, making it perfect for last-minute gatherings or a cozy family night.
- Customizable Toppings: Top it with a luscious chocolate ganache, fresh berries, or whipped cream to elevate the flavors even more.
- Perfect for Any Occasion: Whether it’s a birthday, holiday, or just a Tuesday, this cheesecake can bring joy to any moment!
Ingredient Breakdown
Let’s dive into the ingredients that make this cheesecake a standout. Each component plays a vital role in creating that creamy, delectable experience.
- Gluten-Free Chocolate Sandwich Cookies: These serve as the base for your crust. I recommend using Gluten Free Oreos or the Kinnikinnick brand for an equally delicious alternative.
- Ghee or Butter: This adds richness to the crust. Ghee gives a deeper flavor, but regular butter works just as well.
- Cottage Cheese: The heart of the filling. I use 1% milkfat cottage cheese for a creamy texture without excess fat.
- Eggs: They help bind the ingredients together and add moisture.
- Coconut Sugar: A lovely natural sweetener that lends a caramel-like flavor.
- Vanilla Extract: A must for depth of flavor. Be sure to use pure vanilla extract for the best results.
- Protein Powder: I used Be Well By Kelly Vanilla, but feel free to choose your favorite brand.
- Arrowroot Powder: A gluten-free thickening agent that helps achieve a smooth texture.
- Dark Chocolate Chips: For that rich chocolate flavor. Use dairy-free chips if you prefer.
- Almond Milk: Just a splash to help melt the chocolate for the ganache topping.
Step-by-Step Instructions
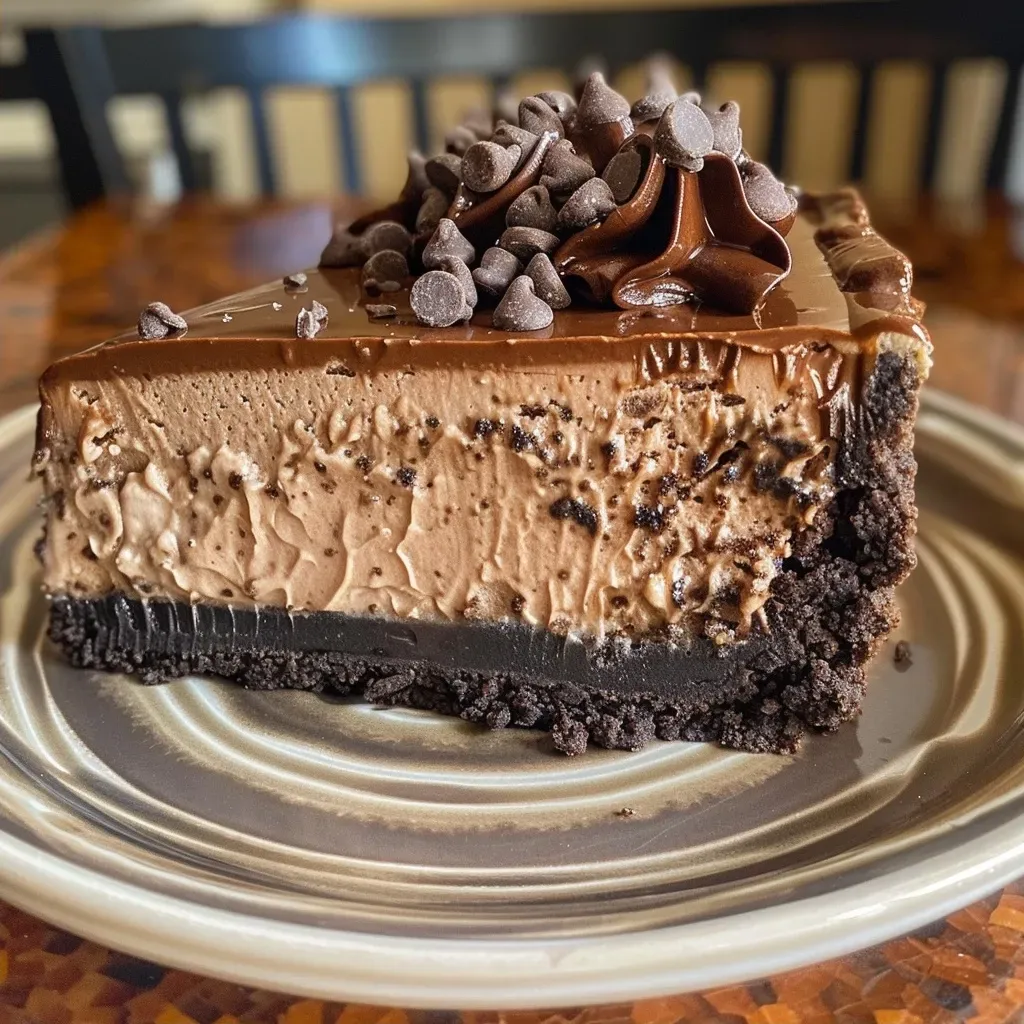
Now, let’s roll up our sleeves and get to the fun part: making this delightful cheesecake!
- Preheat Oven: Begin by preheating your oven to 375°F (190°C).
- Prepare the Crust: In a food processor, combine the gluten-free chocolate sandwich cookies and ghee. Pulse until you achieve a crumbly mixture resembling sand. If you don’t have a food processor, you can use a plastic bag and a meat tenderizer to crush the cookies. Add the butter and mix well.
- Form the Crust: Line a muffin tin with 12 liners. Spoon an equal amount of the crust mixture into each cup, pressing down firmly with your fingers. Bake for 7 minutes until set.
- Mix the Filling: In a blender, combine the cottage cheese, coconut sugar, vanilla extract, protein powder, and arrowroot powder. Blend for about a minute until smooth, scraping down the sides as needed. Add the eggs one at a time, blending on low speed to incorporate air.
- Prepare the Ganache: In a microwave-safe bowl, combine the dark chocolate chips with almond milk. Microwave in 30-second increments, stirring until melted and smooth. Pour this mixture into the cheesecake filling and blend again until fully incorporated.
- Fill the Muffin Tins: Pour the cheesecake filling evenly into the muffin cups atop the crusts. Bake for an additional 20-22 minutes until the tops are firm and slightly cracked.
- Cool and Chill: Allow the cheesecakes to cool completely before removing them from the muffin tin. Chill in the fridge for at least 2-3 hours, or overnight for best results.
- Top and Serve: For an optional ganache topping, melt additional chocolate chips with almond milk as before, then drizzle over the chilled cheesecakes. Serve with whipped cream and fresh berries!
Pro Tips for Success
Here are some expert insights to ensure your cheesecake turns out absolutely delicious:
As an Amazon Associate we earn from qualifying purchases.
Recommended Kitchen Tools 👇
These tools can help you make this recipe faster and easier.
- Use Room Temperature Ingredients: This helps achieve a smoother filling by allowing everything to blend beautifully.
- Don’t Overmix: When adding the eggs, mix just until combined to avoid incorporating too much air.
- Chill Completely: The cheesecakes need ample time to set in the fridge. Patience is key for the best texture!
- Test for Doneness: If the tops are firm yet slightly jiggly in the center, they’re done baking.
- Experiment with Toppings: Try adding crushed nuts, shredded coconut, or even a sprinkle of sea salt for a twist!
- Make Ahead: These cheesecakes can be made up to two days in advance, making them perfect for parties.
- Use Quality Ingredients: The better the ingredients, the better your cheesecake will be. Go for good quality chocolate and fresh eggs.
- Adjust Sweetness: Feel free to taste and adjust the sweetness of your filling before baking.
Common Mistakes and Troubleshooting
Here are some common pitfalls and how to avoid them:
- Crust Falling Apart: Ensure the butter is well incorporated and the crust is pressed firmly into the liners.
- Filling Too Watery: Make sure to blend the cottage cheese until it’s completely smooth and all ingredients are well mixed.
- Overbaking: Keep an eye on your cheesecakes. They should be set but still slightly jiggly in the center.
- Not Enough Flavor: Always use high-quality vanilla extract and adjust sweetness to your taste.
Variations to Try
This recipe is versatile and can be adjusted to suit various preferences:
- Fruit Swirl: Add fruit puree (like raspberry or strawberry) to the filling before baking for a fruity twist.
- Nutty Crunch: Incorporate chopped nuts into the crust for added texture and flavor.
- Mint Chocolate: Mix in peppermint extract for a refreshing mint-chocolate cheesecake.
- Vegan Option: Substitute the eggs with flax eggs and use a dairy-free cream cheese alternative.
Storage and Make-Ahead Instructions
To keep your cheesecakes fresh:
- Refrigerate: Store in an airtight container in the fridge for up to 5 days.
- Freeze: For longer storage, freeze the cheesecakes wrapped in plastic wrap and foil for up to 2 months. Thaw in the fridge overnight before serving.
- Make Ahead: Perfect for prepping ahead of time; make them a day or two in advance to allow for the flavors to develop.
Comprehensive FAQ
Here are some questions that often pop up when making this cheesecake:
- Can I use regular cream cheese instead of cottage cheese?: Yes, but it will change the nutritional profile and flavor. Cottage cheese gives a unique creaminess.
- Is it possible to make this recipe dairy-free?: Absolutely! Substitute the cottage cheese with a dairy-free cream cheese and use coconut oil in place of butter.
- Can I use a different type of sweetener?: Yes, feel free to use honey, maple syrup, or any other sweetener of your choice, adjusting quantities as needed.
- What’s the best way to serve these cheesecakes?: They are delightful on their own or topped with fresh fruit, whipped cream, or chocolate ganache.
- How do I know when my cheesecakes are done?: They should be set around the edges with a slight jiggle in the center. They will firm up as they cool.
- Can these cheesecakes be made in a larger pan?: Yes, you can double the recipe and bake in a 9-inch springform pan, adjusting the baking time accordingly.
- How do I store leftovers?: Keep them in the fridge in an airtight container for up to 5 days, or freeze for longer storage.
- Can I use different flavors of protein powder?: Yes! Experiment with chocolate or other flavors for a fun twist.
Nutrition Tips and Dietary Adaptations
This cheesecake can be adapted to fit various dietary needs:
- Lower Carb Option: Use a low-carb sweetener like erythritol to lower the sugar content.
- Higher Protein: Add an extra scoop of protein powder for a protein-packed boost.
- Vegan: Substitute eggs with flax eggs and use plant-based cream cheese.
- Nut-Free: Ensure you choose a nut-free chocolate and skip any nuts in the crust or topping.
Equipment Recommendations
To achieve the best results, here are some essential tools you’ll need:
- Food Processor: For making the crust and blending the filling smoothly.
- Mixing Bowls: A set of different sizes for mixing ingredients.
- Measuring Cups and Spoons: Accurate measurements are key to baking success.
- 12-Cup Muffin Tin: For portion control and easy serving.
- Silicone Muffin Liners: These make for easy removal and cleanup.
Serving Suggestions
Here are some delightful ideas for presenting your cheesecake:
- Garnish with Fresh Berries: Strawberries, raspberries, or blueberries add a pop of color and flavor.
- Drizzle with Chocolate Ganache: A simple ganache made from melted chocolate and cream adds richness.
- Serve with Whipped Cream: A dollop of homemade whipped cream enhances the dessert experience.
- Pair with Coffee or Tea: This cheesecake pairs beautifully with a warm beverage for a cozy dessert moment.
Conclusion: Cherishing Every Bite
As you gather around the table to share this Easy Chocolate Protein Cheesecake, remember that cooking is about love, community, and creating lasting memories. Each bite is a reminder of family traditions, warmth, and the joy of sharing food. So, roll up your sleeves, embrace the process, and enjoy every moment spent in the kitchen. Happy baking!
Easy Chocolate Protein Cheesecake Recipe
Ingredients
Crust
- 18 pieces gluten free chocolate sandwich cookies (Gluten Free Oreos or Kinnikinnick brand)
- 4 tbsp ghee (or butter)
Filling
- 2 cups cottage cheese (1% milkfat)
- 2 eggs eggs
- 1/2 cup coconut sugar
- 1.5 tsp vanilla extract
- 2 tbsp protein powder (e.g., Be Well By Kelly Vanilla)
- 1 tbsp arrowroot powder
Chocolate topping
- 1 cup dark chocolate chips
- 1 tbsp almond milk (or coconut milk)
Instructions
- Preheat oven to 375°F (190°C). Prepare crust by pulsing cookies and butter until sand-like, then press into muffin liners and bake for 7 minutes.
- Blend cottage cheese, coconut sugar, vanilla, protein powder, and arrowroot until smooth. Add eggs one at a time and blend briefly.
- Melt chocolate chips with almond milk, then blend into the cheese mixture. Pour over crusts and bake for 20-22 minutes until firm and cracked.
- Cool completely, then chill in fridge for 2-3 hours. Optional: top with melted chocolate ganache, whipped cream, and berries before serving.