
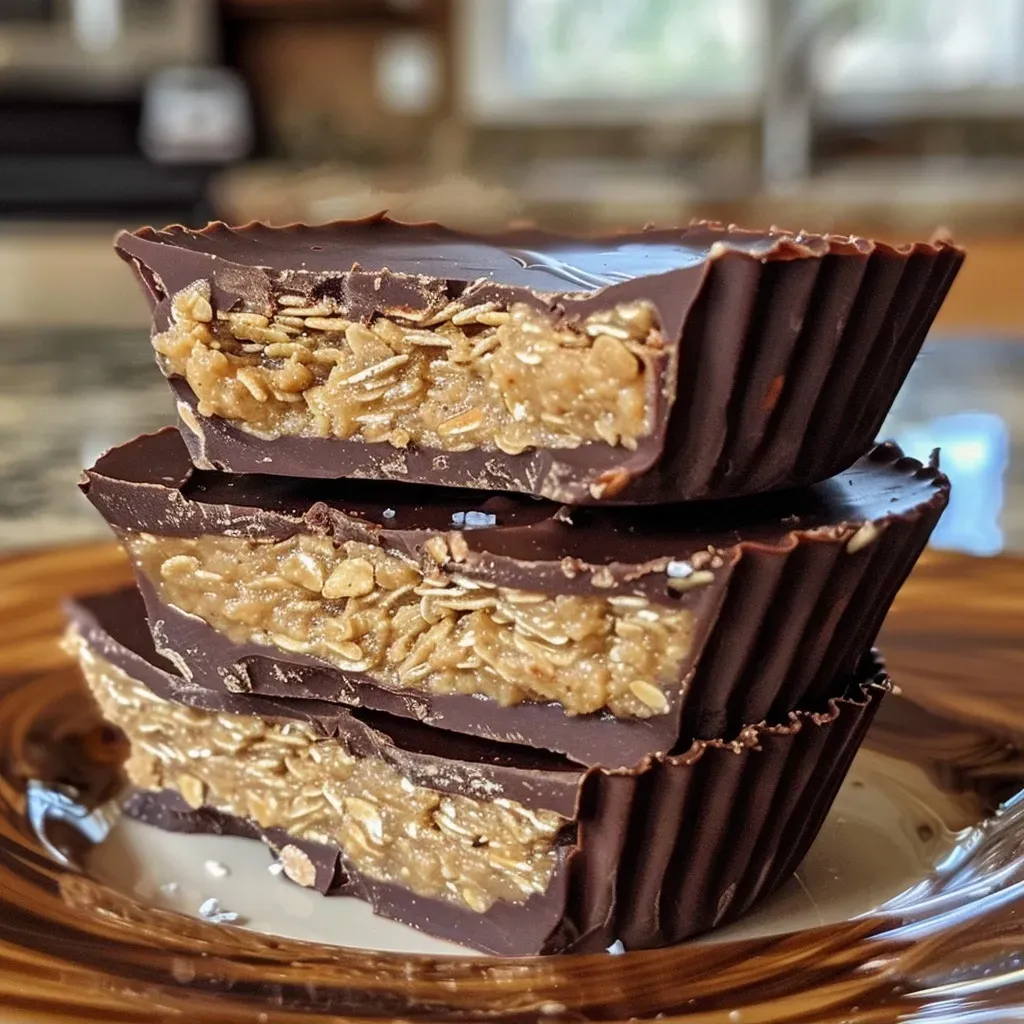
Discover the Comfort of No Bake Peanut Butter Oat Cups
Welcome to a world where sweet memories and wholesome ingredients come together to create delightful treats! These No Bake Peanut Butter Oat Cups are more than just a snack; they are a reflection of love, warmth, and the simple joys of sharing food with those we cherish. With their rich, nutty flavor and the sweetness of honey, these cups are a perfect way to indulge your cravings without any baking fuss. Let’s dive into the heart of this recipe and explore why it deserves a place in your kitchen.
Why You’ll Love This Recipe
There’s something special about these no-bake peanut butter oat cups. Here are five reasons why they’ll become a staple in your home:
- Quick and Easy: With minimal preparation time, you can whip up a batch of these delightful cups in no time.
- Wholesome Ingredients: Made with natural peanut butter and rolled oats, you’re giving your body nourishing and energizing ingredients.
- Customizable Flavor: Whether you prefer dark chocolate, white chocolate, or even a drizzle of caramel, the variations are endless!
- Perfect for Any Occasion: Whether it’s a cozy night in or a gathering with friends, these cups are sure to impress.
- Kid-Friendly Recipe: A fun, no-bake treat that kids can help make, sparking creativity and joy in the kitchen.
Ingredients You’ll Need
Gathering the right ingredients is key to making these delicious no-bake peanut butter oat cups. Here’s what you’ll need:
- 1/2 cup natural honey: Acts as a sweetener and binder for the ingredients.
- 1/3 cup natural, smooth peanut butter: Provides flavor and creaminess; make sure it’s at room temperature for easy mixing.
- 2 1/4 cups rolled oats: The heart of the recipe, offering texture and nutrition.
- 1 tsp vanilla extract: Adds a warm, aromatic flavor.
- 3/4 cup dark chocolate: For a rich, decadent topping.
- 2 tsp coconut oil: Helps to melt the chocolate smoothly and gives a nice sheen.
- Sea salt for garnish (optional): A sprinkle on top enhances flavor.
Step-by-Step: How to Make No Bake Peanut Butter Oat Cups
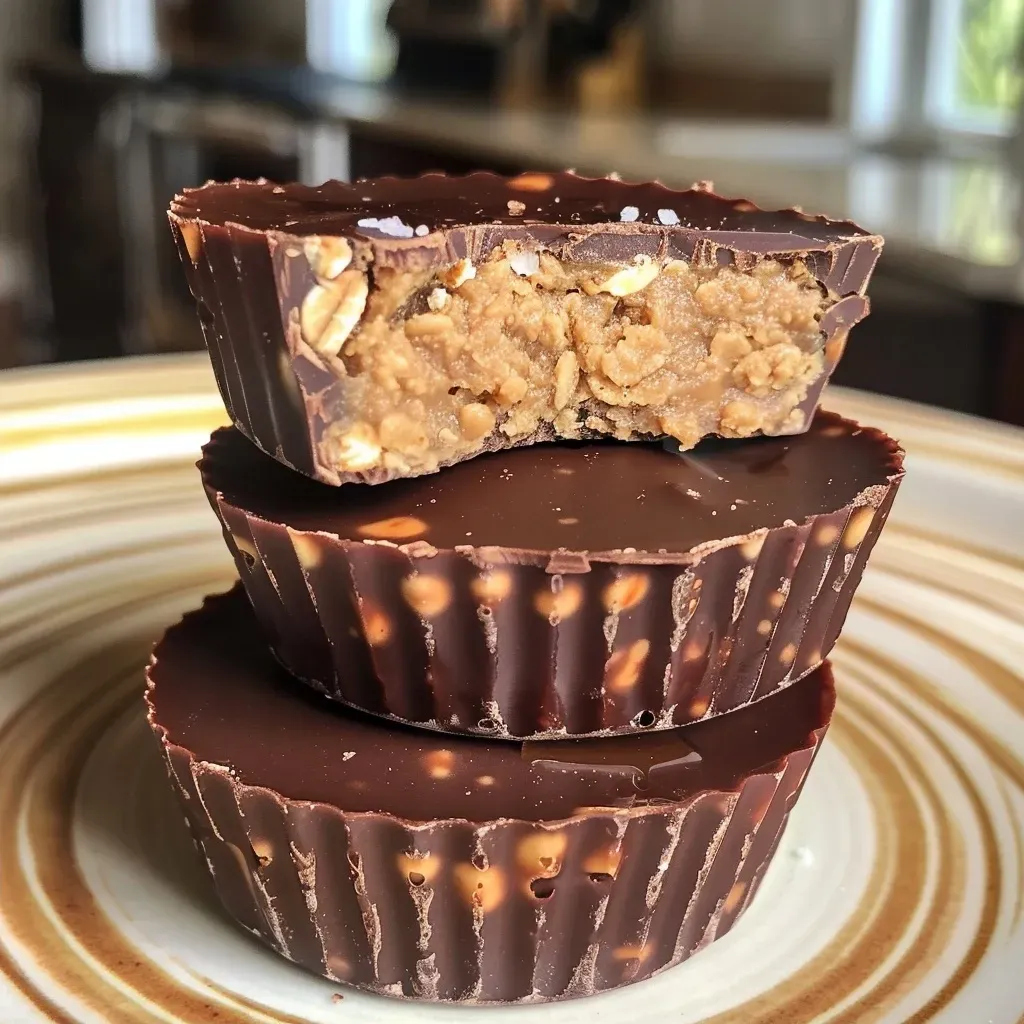
Making these oat cups is as easy as it gets! Follow these simple steps:
- In a large bowl, stir together the oats, honey, peanut butter, and vanilla until the mixture is evenly coated.
- Lightly grease a muffin tin and divide the mixture evenly, pressing it firmly into each cup.
- In a microwave-safe bowl, melt the chocolate and coconut oil together in short bursts, stirring until smooth.
- Spread the melted chocolate over the oat mixture in each cup, then sprinkle sea salt on top if desired.
- Freeze for about 1 hour until firm. Once set, remove from the tin and store in the fridge or freezer.
Pro Tips for Perfect Peanut Butter Oat Cups
Here are some expert insights to ensure your oat cups turn out perfectly every time:
- Use Room Temperature Peanut Butter: This makes mixing much easier and ensures a smooth texture in the final product.
- Press Firmly: When filling the muffin tin, press the mixture down firmly to help the cups hold their shape.
- Let Chocolate Cool Slightly: Allow the melted chocolate to cool a bit before spreading it on the cups to prevent it from melting the oat mixture.
- Experiment with Sweeteners: Feel free to substitute honey with maple syrup for a vegan option.
- Storage: Keep these cups in an airtight container in the fridge for up to a week, or freeze for longer shelf life.
- Don’t Skip the Salt: A touch of sea salt enhances the flavor and balances the sweetness.
- Customize Your Add-Ins: Consider adding nuts, seeds, or dried fruit for added texture and nutrition.
- Use Quality Ingredients: Choosing high-quality peanut butter and chocolate can significantly enhance the flavor.
Common Mistakes and Troubleshooting
Even the best cooks can make mistakes! Here are some common issues to watch out for and how to fix them:
- Too Crumbly: If your mixture is too crumbly, add a little more peanut butter or honey until it holds together.
- Chocolate Too Thick: If your melted chocolate is too thick, add a bit more coconut oil to achieve a smoother consistency.
- Cups Sticking to the Tin: Make sure to grease the muffin tin well or use muffin liners to prevent sticking.
Variations to Try
Want to switch things up? Here are some delightful variations for your no-bake peanut butter oat cups:
- Chocolate Chip Delight: Add chocolate chips to the oat mixture before pressing into the muffin tin for extra sweetness.
- Nutty Banana: Mash a banana into the oat mixture for added flavor and moisture.
- Protein Boost: Stir in a scoop of your favorite protein powder for a post-workout snack.
- Festive Pumpkin Spice: Add 1/3 cup of pumpkin puree and 1 1/2 teaspoons of pumpkin spice for a seasonal twist.
Storage and Make-Ahead Instructions
You can prepare these oat cups in advance, making them a convenient snack option. Here’s how to store them:
- In the Fridge: Store in an airtight container for up to 1 week.
- In the Freezer: For longer storage, keep them in the freezer. Thaw in the fridge before enjoying.
Frequently Asked Questions
Here are some common questions about making no-bake peanut butter oat cups:
- Can I use other nut butters? Yes! Almond butter or cashew butter can be great alternatives.
- How can I make these vegan? Substitute honey with maple syrup and ensure your chocolate is dairy-free.
- Can I add other mix-ins? Absolutely! Feel free to add nuts, seeds, or dried fruit to customize your cups.
- Is it necessary to freeze them? Freezing helps them firm up, but you can enjoy them right away if you prefer a softer texture.
- What if my mixture is too dry? Add a bit more honey or peanut butter to achieve the right consistency.
- How do I serve these? These oat cups are perfect as a snack, dessert, or even a quick breakfast on the go!
- Can I double the recipe? Yes, just make sure you have a large enough mixing bowl and muffin tin.
- What’s the best way to enjoy them? Enjoy chilled, or let them sit at room temperature for a few minutes for a softer bite.
Nutritional Tips and Dietary Adaptations
These no-bake peanut butter oat cups are not just delicious; they can be tailored to fit various dietary needs:
- High-Protein Option: Add protein powder to the mixture for an added nutritional boost.
- Gluten-Free: Ensure you use certified gluten-free oats if you have gluten sensitivity.
- Lower Sugar: Reduce the amount of honey for a less sweet treat.
- Nut-Free: Substitute with sun butter or soy nut butter for a nut-free version.
Equipment Recommendations
To make your cooking experience easier, here are some key kitchen tools you’ll need:
- Muffin Tin: A standard muffin tin works best for shaping the oat cups.
- Mixing Bowls: Have a large mixing bowl for combining ingredients and a smaller one for melting chocolate.
- Microwave-Safe Bowl: For melting chocolate and coconut oil.
- Spatula: A silicone spatula is great for mixing and scraping the sides of the bowl.
Serving Suggestions
These delightful cups can be enjoyed in various ways:
- As a Snack: Perfect for a quick snack at home or on the go.
- For Dessert: Serve with a scoop of vanilla ice cream for a decadent treat.
- Breakfast Option: Pair with fresh fruit and yogurt for a wholesome breakfast.
- Share with Friends: Package them up as a thoughtful gift for friends or family.
In conclusion, these No Bake Peanut Butter Oat Cups are not just treats; they are an invitation to create memories and share love. So gather your ingredients, invite your loved ones to join you in the kitchen, and let the magic unfold. Happy cooking!
No Bake Peanut Butter Oat Cups – Simple & Delicious
Ingredients
Base
- 1/2 cup natural honey
- 1/3 cup natural, smooth peanut butter
- 2 1/4 cups rolled oats
- 1 tsp vanilla extract
- 3/4 cup dark chocolate
- 2 tsp coconut oil
- optional Sea salt for garnish (optional)
Instructions
- Mix oats, honey, peanut butter, and vanilla until coated.
- Press mixture into greased muffin tin cups.
- Melt chocolate and coconut oil until smooth.
- Spread melted chocolate over oat cups and sprinkle with sea salt if desired.
- Freeze for 1 hour until firm, then store in fridge or freezer.


