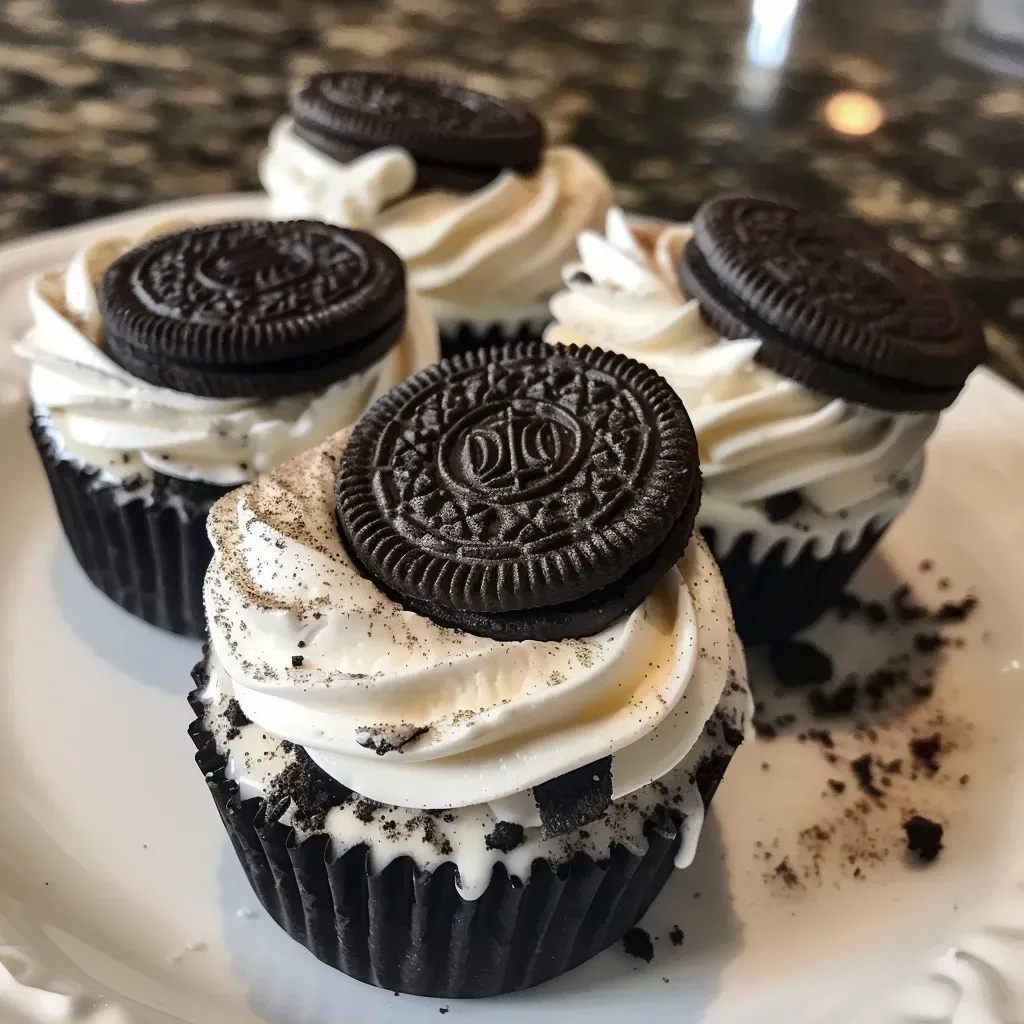
Indulge in the Comfort of Homemade Oreo No-Bake Cheesecake Cups
There’s something truly special about desserts that remind us of our childhood, and Oreo No-Bake Cheesecake Cups certainly fit that bill. This delightful treat combines the rich, creamy texture of cheesecake with the nostalgic crunch of Oreos, making it the perfect dessert for gatherings or quiet nights at home. In this guide, I’m excited to share with you not just the recipe, but stories, tips, and insights that will make your cooking experience a cherished memory. Let’s dive into the heart of this beloved dessert!
Why You’ll Love This Recipe
Here are just a few reasons to fall in love with these Oreo No-Bake Cheesecake Cups:
- No Baking Required: Perfect for hot summer days or when you simply don’t want to heat up the kitchen. You can whip this up without breaking a sweat!
- Quick and Simple: With minimal ingredients and straightforward steps, you’ll have these cheesecake cups ready in no time. Ideal for when you need a last-minute dessert!
- Customizable: You can easily adapt the recipe to suit your taste—add different toppings, swap out flavors, or even experiment with gluten-free Oreos.
- Perfect Portions: Individual servings not only look appealing but also make serving effortless, letting everyone enjoy their own little cup of joy.
- Nostalgic Flavor: This recipe brings back memories of family gatherings and sweet moments around the table, making every bite a journey down memory lane.
Ingredients for Oreo No-Bake Cheesecake Cups
Let’s gather what we need to create these delicious treats:
- 1 8 oz block of cream cheese, softened
- 1 8 oz. Cool Whip or whipped topping
- 2/3 cup powdered sugar
- 1 teaspoon vanilla extract
- 24-26 Oreo cookies (more if desired for garnish)
To enhance your experience, consider these substitutions if needed:
- For a Dairy-Free Version: Substitute cream cheese with a vegan cream cheese alternative and use coconut whipped cream instead of Cool Whip.
- Lower Sugar Option: Use sugar substitutes or reduced-sugar whipped topping to adjust sweetness while keeping the texture.
- Flavor Variations: Try adding a tablespoon of peanut butter for a delightful twist or incorporate crushed fruit for a fresh flavor.
Step-by-Step Instructions to Create Your Cheesecake Cups
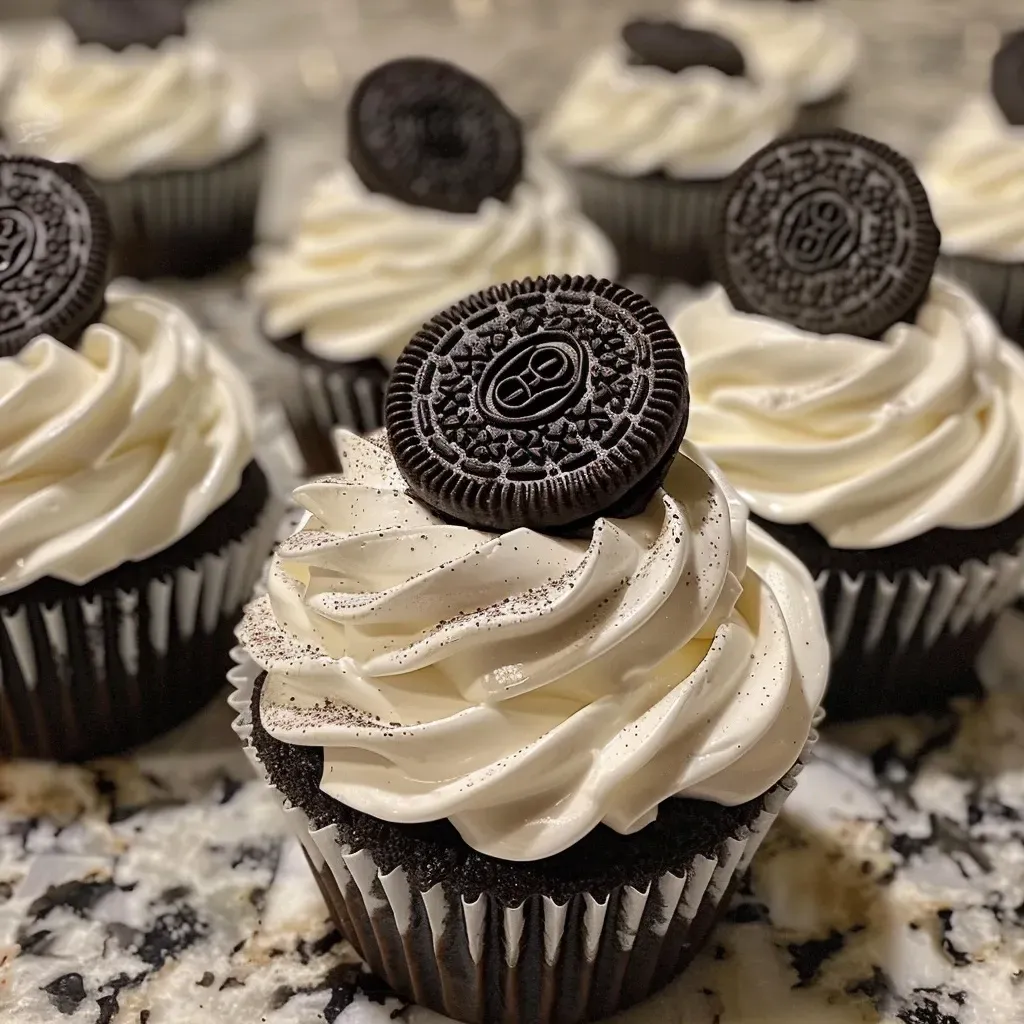
Now, let’s walk through the process of making these delightful cheesecake cups:
-
Place the Oreos in a plastic bag and seal. Using a rolling pin or sturdy wooden spoon, crush the Oreos until they reach a fine crumb consistency.
-
Spoon 1 1/2 to 2 tablespoons of the crushed Oreos into the bottom of 6 small dessert dishes (ensure your dishes hold at least 3/4 cup to 1 cup). Set aside.
-
In a mixing bowl, use a hand or standing mixer to whip the softened cream cheese and powdered sugar until creamy and smooth. Add the vanilla and mix until fully incorporated.
-
Gently fold in the Cool Whip until the mixture is smooth and fluffy. Then, fold in the remaining crushed Oreos for that delightful crunch.
-
Divide the cheesecake filling evenly across the prepared dishes, gently pressing it on top of the crushed Oreos. Chill in the refrigerator for about 1 hour or until you’re ready to serve.
-
Before serving, top with additional whipped cream and more crushed Oreos for that extra touch of indulgence. Enjoy!
Pro Tips for Best Results
To ensure your Oreo No-Bake Cheesecake Cups are a resounding success, consider these expert tips:
- Use Softened Cream Cheese: Make sure your cream cheese is at room temperature to avoid lumps in your filling. Leave it out for about 45 minutes before starting.
- Don’t Overmix: When folding in the Cool Whip, be gentle to keep the mixture light and airy, which gives the cheesecake its signature creamy texture.
- Chill Properly: Allow the cheesecake cups to chill in the refrigerator for at least an hour. This helps them set and enhances the flavors.
- Layer Creatively: Feel free to layer additional ingredients, such as chocolate syrup or fruit, between the Oreo layers for a delightful surprise.
- Use a Kitchen Scale: For consistent layers, measure crushed Oreos using a kitchen scale—this ensures each cup has the same delicious base.
- Flavor Variations: Experiment with different flavored whipped toppings, such as chocolate or strawberry, to create unique versions of this dessert.
- Keep It Cool: Always store leftovers in the refrigerator to maintain freshness and prevent the cheesecake from spoiling.
- Prep Ahead: These cups can be made a day in advance, making them a perfect choice for parties or special occasions.
Common Mistakes to Avoid
As with any recipe, there are a few pitfalls to watch out for:
- Using Cold Cream Cheese: If your cream cheese isn’t softened, it will create a lumpy filling—make sure it’s at room temperature.
- Skipping the Chill Time: Don’t rush the chilling step; this is crucial for achieving the right texture and flavor.
- Overmixing the Filling: Be gentle when folding in whipped topping, as overmixing can deflate the filling.
- Not Measuring Ingredients: Precision is key; measuring ingredients helps achieve the perfect balance of flavors.
Delicious Variations to Try
Feel free to get creative with these variations:
- Mint Oreo Cheesecake Cups: Use mint-flavored Oreos and add a splash of mint extract for a refreshing twist.
- Chocolate Drizzle: Drizzle melted chocolate over the top before serving for an added indulgence.
- Fruit and Cream: Layer fresh berries or banana slices atop the cheesecake for a fruity burst of flavor.
- Peanut Butter Oreo Cups: Mix in some creamy peanut butter with the filling for a delightful peanut butter cookie flavor.
Storage and Make-Ahead Instructions
To keep your Oreo No-Bake Cheesecake Cups fresh and delicious:
- Store any leftovers in an airtight container in the refrigerator for up to 3 days.
- For optimal freshness, it’s best to prepare these cups the day before serving. This allows the flavors to meld beautifully.
Frequently Asked Questions
Here are some common inquiries about this recipe:
- Can I freeze these cheesecake cups? Yes, they can be frozen for up to a month. Just make sure to store them in a freezer-safe container.
- What can I substitute for Cool Whip? You can use homemade whipped cream or any other whipped topping of your choice.
- How can I make this recipe gluten-free? Use gluten-free Oreos and ensure that all other ingredients are certified gluten-free.
- Can I double this recipe? Absolutely! Just make sure you have enough serving cups and adjust the chilling time accordingly.
- What’s the best way to crush Oreos? Placing them in a sealed plastic bag and using a rolling pin is effective. You can also use a food processor for a finer crumb.
- Can I add other flavors to the cheesecake? Yes, feel free to experiment with extracts like almond or coconut for added flavor.
- How long do these last in the fridge? They should remain fresh for about 3 days when stored properly in an airtight container.
- Can I use other types of cookies? Certainly! Try using other sandwich cookies or even graham crackers for a different flavor profile.
Nutritional Tips and Dietary Adaptations
If you’re conscious about dietary needs, here are some tips:
- Lower in Calories: Use reduced-fat cream cheese and light whipped topping to cut down on calories without sacrificing flavor.
- Vegan Option: Substitute cream cheese with a plant-based alternative and use coconut whipped cream for a deliciously dairy-free dessert.
- Sugar-Free Version: Opt for sugar-free Oreos and sugar substitutes to create a diabetic-friendly treat.
- High-Protein Twist: Mix in a scoop of protein powder into the filling for an extra protein boost while enjoying your dessert.
Essential Equipment for Success
Here’s what you’ll need to whip up these cheesecake cups:
- Mixing Bowls: A medium bowl for mixing the filling and a smaller one for crushing Oreos.
- Hand or Stand Mixer: Essential for achieving the creamy texture of your filling.
- Measuring Cups and Spoons: Accurate measurements ensure the perfect balance of flavors.
- Plastic Bags: Great for crushing Oreos without the mess.
- Dessert Dishes: Small cups or jars work perfectly for individual servings.
Serving Suggestions
To make your dessert table shine, consider these serving suggestions:
- Garnish with Fresh Berries: Top each cup with fresh strawberries or raspberries for a pop of color and flavor.
- Chocolate Shavings: Add chocolate curls or shavings for an elegant touch.
- Mint Leaves: A sprig of mint can elevate the presentation and add a refreshing aroma.
- Personal Touch: Use personalized tags or small spoons to serve, making each dessert feel special.
As we wrap up this culinary journey, remember that creating Oreo No-Bake Cheesecake Cups is not just about the recipe; it’s about the love and memories we share. Every scoop, every layer, carries a piece of our hearts and the joy of togetherness. So gather your loved ones, share these delightful cups, and let the sweet moments unfold around the table. Happy cooking!
Oreo No-Bake Cheesecake Cups
Ingredients
Dairy
- 8 oz cream cheese, softened
- 8 oz Cool Whip or whipped topping
- 2/3 cup powdered sugar
- 1 tsp vanilla
- 24-26 cookies Oreo cookies (more as desired)
Instructions
-
Crush Oreos in a plastic bag using a rolling pin or spoon.
-
Whip cream cheese and powdered sugar until smooth; add vanilla and fold in Cool Whip and crushed Oreos.
-
Divide filling into dishes, pressing onto crushed Oreos, and chill for 1 hour.
-
Top with whipped cream and more crushed Oreos before serving.