Whispers of Sweetness: An Enchanting Introduction to Ghost Meringue Cookies
There’s something magical about the blend of flavors and textures in Ghost Meringue Cookies. These delightful treats not only bring a sense of nostalgia but also infuse your Halloween gatherings with a touch of whimsy. Picture this: a table adorned with crisp, airy meringue ghosts, their delicate sweetness melting in your mouth. Each bite whispers stories of love and warmth, just like the memories of baking with loved ones. Join me as we explore this enchanting recipe, perfect for sharing laughter and love around the table.
Why You’ll Love This Recipe
- Simple Ingredients: With just four pantry staples, you can create these whimsical meringue ghosts. They’re easy to make and require minimal effort.
- Gluten-Free Delight: These cookies are naturally gluten-free, making them a perfect treat for everyone at your gathering.
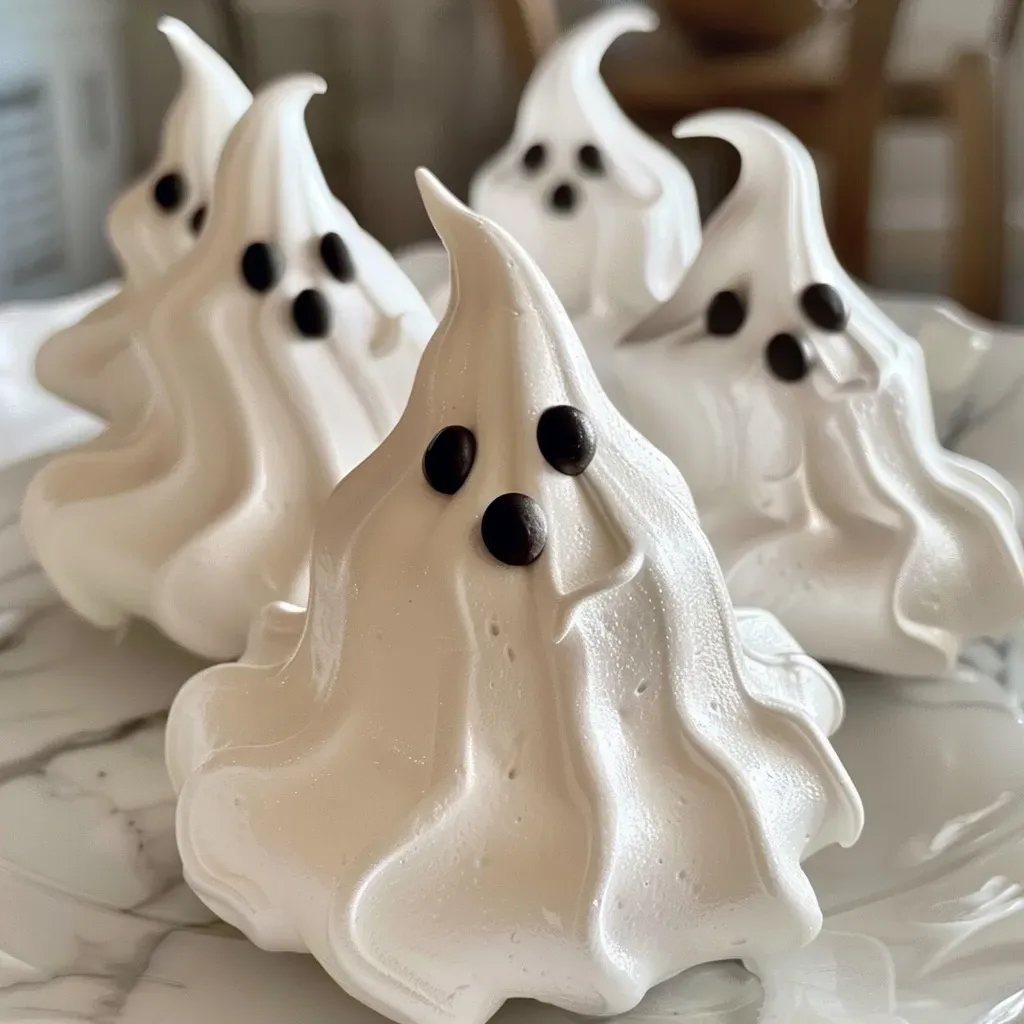
- Impressive Presentation: The adorable ghost shapes and chocolate chip eyes will wow your guests, impressing kids and adults alike.
- Make-Ahead Treats: Meringues can be made in advance, allowing you to enjoy more time with family during the festivities.
- Perfect for Sharing: These cookies are ideal for parties, school events, or cozy nights at home, fostering a sense of community and togetherness.
Ingredients Breakdown
This recipe calls for a handful of simple ingredients. Here’s a closer look at what you’ll need:
- 4 large egg whites (room temperature): Room temperature eggs whip up better and create a more stable meringue.
- ¼ teaspoon cream of tartar: This stabilizer helps the egg whites maintain their structure.
- 1 cup granulated sugar: Adds sweetness and helps achieve those stiff peaks.
- 1 teaspoon vanilla extract: Infuses the meringue with a warm, comforting flavor.
- 2 teaspoons black candy melt: For the ghostly eyes and mouths, adding a fun decorative touch.
Pro Tips for Perfect Ghost Meringue Cookies
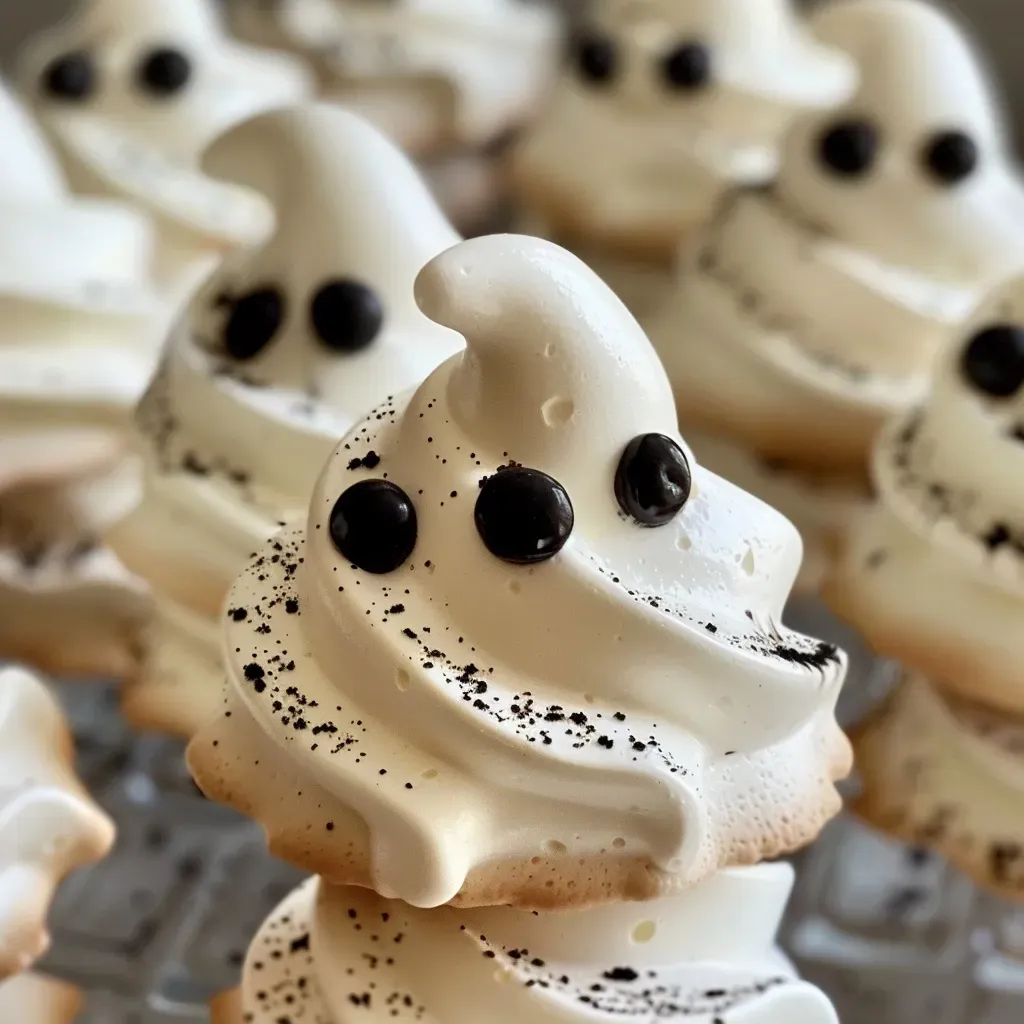
- Clean Equipment: Ensure all your mixing bowls and utensils are completely clean and dry. Any grease can prevent the egg whites from whipping to their full potential.
- Gradual Sugar Addition: Slowly adding sugar while mixing helps to create a stable meringue, preventing graininess.
- Stiff Peaks: Beat the meringue until stiff, glossy peaks form. This is crucial for the cookies to hold their shape during baking.
- Cooling in the Oven: After baking, let the meringues cool in the oven with the door closed. This prevents cracking.
- Experiment with Shapes: Use different piping tips to create various ghost shapes for added fun and creativity.
- Decorate with Care: Allow the meringues to cool completely before decorating to avoid melting the chocolate.
- Humidity Awareness: Avoid making meringues on humid days, as moisture can affect the texture.
- Storage Solutions: Store meringues in an airtight container to maintain their crispness.
Common Mistakes and Troubleshooting
Even seasoned bakers can run into challenges. Here are some common issues and how to overcome them:
- Soft Meringue: If your meringue is soft or runny, it could be due to under-whipping the egg whites or adding sugar too quickly.
- Cracked Meringues: Opening the oven door too soon can cause cracks. Always let them cool gradually inside the oven.
- Sticky Texture: If they are sticky, they haven’t dried out enough. Make sure to bake them long enough and cool them properly.
Variations to Try
Feel free to get creative! Here are some delightful variations to customize your Ghost Meringue Cookies:
- Chocolate Meringues: Fold in cocoa powder for a rich chocolate flavor.
- Spiced Meringues: Add a pinch of cinnamon or nutmeg for a seasonal twist.
- Colored Meringues: Use food coloring to create vibrant hues for a festive look.
- Flavored Extracts: Experiment with almond or lemon extract for a unique flavor profile.
Storage and Make-Ahead Instructions
These delightful cookies can be made ahead of time. Here’s how to store them:
- Room Temperature Storage: Keep meringues in an airtight container at room temperature for up to two weeks.
- Freezing Meringues: For longer storage, freeze them in a single layer on a baking sheet, then transfer to an airtight container. They can last for up to three months.
Frequently Asked Questions
Here are some common questions about Ghost Meringue Cookies:
- Can I use pasteurized egg whites? Yes, pasteurized egg whites can be used if you’re concerned about raw eggs.
- What is the purpose of cream of tartar? It stabilizes the egg whites, helping them hold their shape while whipping.
- Can I add food coloring to meringues? Absolutely! Just add it before you beat the egg whites.
- Why did my meringues weep? This can happen if there’s too much humidity or if the meringue wasn’t baked long enough.
- What’s the best way to pipe meringues? Use a large round piping tip and hold it vertically to create tall, ghostly shapes.
- Can I substitute sugar with alternatives? Granulated sugar is essential for structure, but you can try using powdered sugar in a pinch.
- Is it necessary to let meringues cool in the oven? Yes, this prevents cracking and keeps them crispy.
- How do I know when my meringues are done? They should be dry to the touch and lift off the parchment paper easily.
Nutritional Insights and Dietary Adaptations
Understanding the nutritional aspects of your treats is important. Here’s a quick glance:
- Low in Calories: Meringue cookies are generally lower in calories compared to other desserts, making them a lighter option.
- Low Fat: Since they are made primarily from egg whites, they contain very little fat.
- Customizable Sweetness: Adjust the sugar content to suit your taste or dietary needs, though this may affect texture.
Equipment Recommendations
A few simple tools will make the process smoother:
- Mixing Bowl: A large, clean, and dry bowl is essential for whipping egg whites.
- Hand Mixer or Stand Mixer: For achieving the perfect stiff peaks.
- Piping Bags: Use bags fitted with large round tips for easy piping of ghost shapes.
- Baking Sheets: Ensure they are lined with parchment paper to prevent sticking.
Serving Suggestions
These Ghost Meringue Cookies can be enjoyed in various ways:
- Standalone Treats: Perfect for snacking on their own during festive gatherings.
- With Hot Beverages: Serve them alongside hot cocoa or coffee for a delightful pairing.
- As Dessert Table Accents: Use them to decorate your dessert table for Halloween parties.
As we wrap up this journey into the world of Ghost Meringue Cookies, I hope you feel inspired to create these enchanting treats. Remember, cooking is about more than just the food; it’s about sharing love and creating memories. So gather your loved ones in the kitchen, roll up your sleeves, and let the magic of baking fill your home. Happy baking!
Ghost Meringue Cookies
Ingredients
Egg Whites
- 4 large egg whites (room temperature)
- 0.25 teaspoon cream of tartar
- 1 cup granulated sugar
- 1 teaspoon vanilla extract
- 2 teaspoons black candy melt
Instructions
- Preheat oven to 200°F (93°C). Line baking sheets with parchment paper.
- Beat egg whites and cream of tartar until frothy. Gradually add sugar and beat until stiff, glossy peaks form.
- Add vanilla and mix briefly. Pipe ghost shapes onto sheets, leaving space between.
- Bake for 45 minutes, then turn off oven and cool inside for at least 2 hours.
- Melt black candy melts and use a toothpick to add eyes and mouths. Let set.