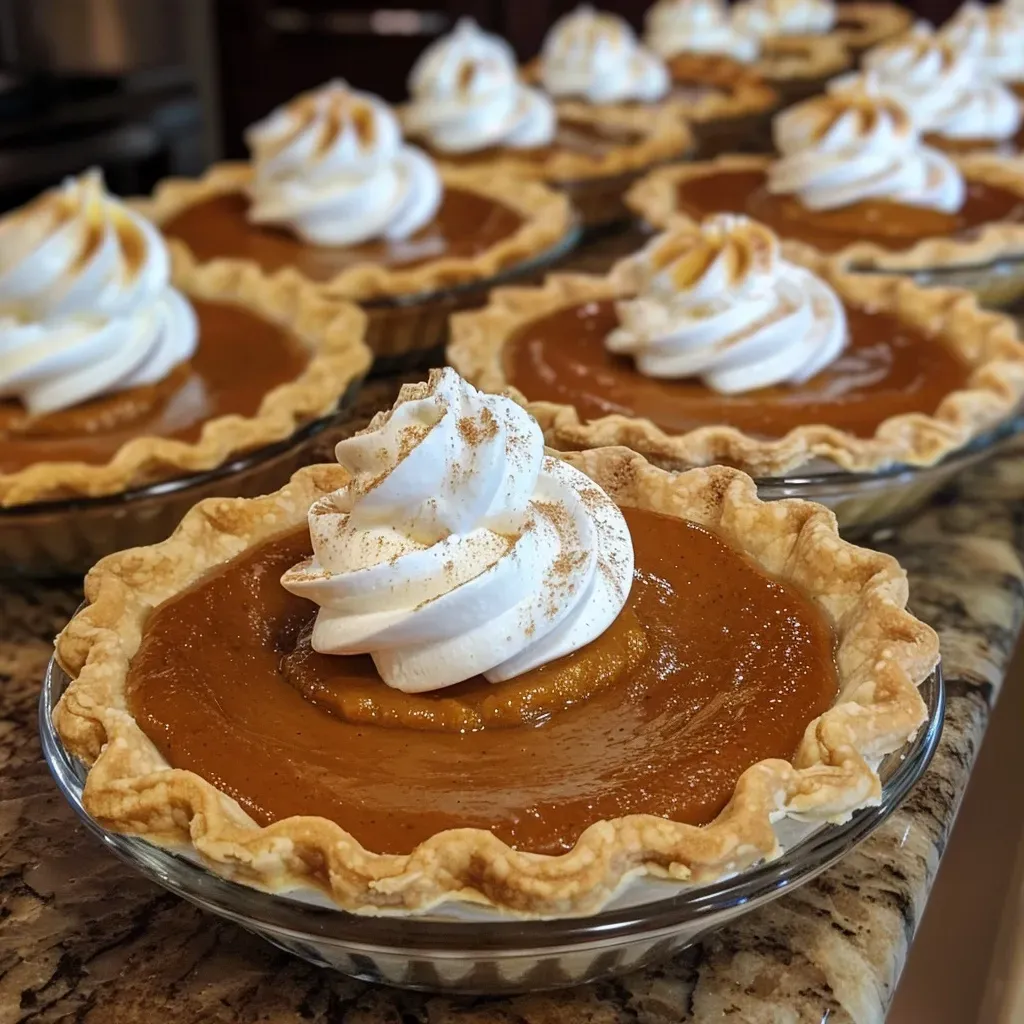
Welcome to a delightful journey of the senses! Today, we’re making mini pumpkin pies, a treat that captures the essence of warmth and nostalgia. These little gems are not just desserts; they are memories waiting to be created, perfect for Thanksgiving or any gathering where love and laughter are shared. With simple ingredients and a sprinkle of care, this recipe promises to bring joy to your family table.
Why You’ll Love This Recipe
These mini pumpkin pies are more than just a tasty treat; they are a celebration of flavor and tradition. Here are five reasons why this recipe will become a cherished part of your culinary repertoire:
- Easy to Make: This recipe simplifies the pie-making process, ensuring that even novice bakers can create delightful mini pies without stress.
- Perfect for Sharing: Each pie is just the right size for individual servings, making them ideal for gatherings, potlucks, or family dinners.
- Versatile Filling: The creamy pumpkin filling can be easily adjusted to suit your taste, whether you prefer it spiced up or sweetened down.
- Make Ahead: You can prepare these mini pies in advance, allowing you to enjoy more time with loved ones during your celebrations.
- Heartwarming Tradition: Baking these pies can become a cherished family tradition, connecting generations through the love of cooking.
Ingredients You’ll Need
Let’s gather our ingredients and set the stage for a cozy baking session. Here’s what you’ll need:

★ Recommended Kitchen Tool
Meal Prep Container Set
Make this recipe even easier with a quality Meal Prep Container Set — a must-have kitchen staple!
- 2 9-inch refrigerated rolled pie crusts (homemade or store bought): You can use your favorite recipe or a reliable store brand to save time.
- 1/3 cup brown sugar: This adds a rich, caramel-like sweetness to your filling.
- 2 tablespoons granulated sugar: For a balanced sweetness that complements the pumpkin.
- 1 1/2 teaspoons pumpkin pie spice: A warm blend that enhances the pumpkin flavor. You can make your own blend with cinnamon, nutmeg, and ginger!
- 1/4 teaspoon salt: To balance the sweetness and enhance the flavors.
- 1 cup canned pumpkin puree (not pumpkin pie filling): Ensure you choose pure pumpkin puree for the best flavor.
- 3/4 cup evaporated milk: This adds creaminess to your filling.
- 1 large egg: For binding and richness.
- 1/2 teaspoon vanilla extract: A touch of vanilla elevates the overall flavor.
- Homemade whipped cream (for topping): Because what’s a pie without a dollop of cream?
Step-by-Step Instructions
Now that we have our ingredients, let’s dive into the baking process. Follow these simple steps to create your mini pumpkin pies:
- Preheat your oven to 400 degrees F. Lightly coat 2 standard 12-count muffin pans with nonstick spray.
- Roll out the pie crusts on a lightly floured surface to about 1/8-inch thickness. Using a 3 1/2-inch cookie cutter, cut out 18 circles from the pie crusts. Re-roll any scraps as needed.
- Place the circles in the muffin slots, gently pressing the dough down and around the sides to fit snugly. Transfer the pans to the refrigerator while making the filling.
- In a mixing bowl, whisk together the brown sugar, granulated sugar, pumpkin pie spice, and salt until well combined. Then whisk in the pumpkin puree, evaporated milk, egg, and vanilla until fully blended.
- Remove the muffin pans from the refrigerator and evenly distribute the pumpkin filling into each pie crust (about 2 tablespoons per crust).
- Bake for 16-20 minutes or until the tops are set and the crusts are lightly golden. Keep an eye on them to prevent burning!
- Cool completely, then cover and chill in the refrigerator for at least 3 hours or overnight for the best flavor and texture.
- Carefully remove the mini pies from the muffin tins. Serve them chilled, at room temperature, or topped with homemade whipped cream!
Pro Tips for Perfect Mini Pumpkin Pies
Here are some expert insights to elevate your mini pumpkin pie game:
- Chill the Dough: If your dough becomes too warm while rolling, it can become difficult to handle. Chilling it helps maintain its structure.
- Don’t Overmix: When combining the filling ingredients, mix just until combined to avoid a tough texture.
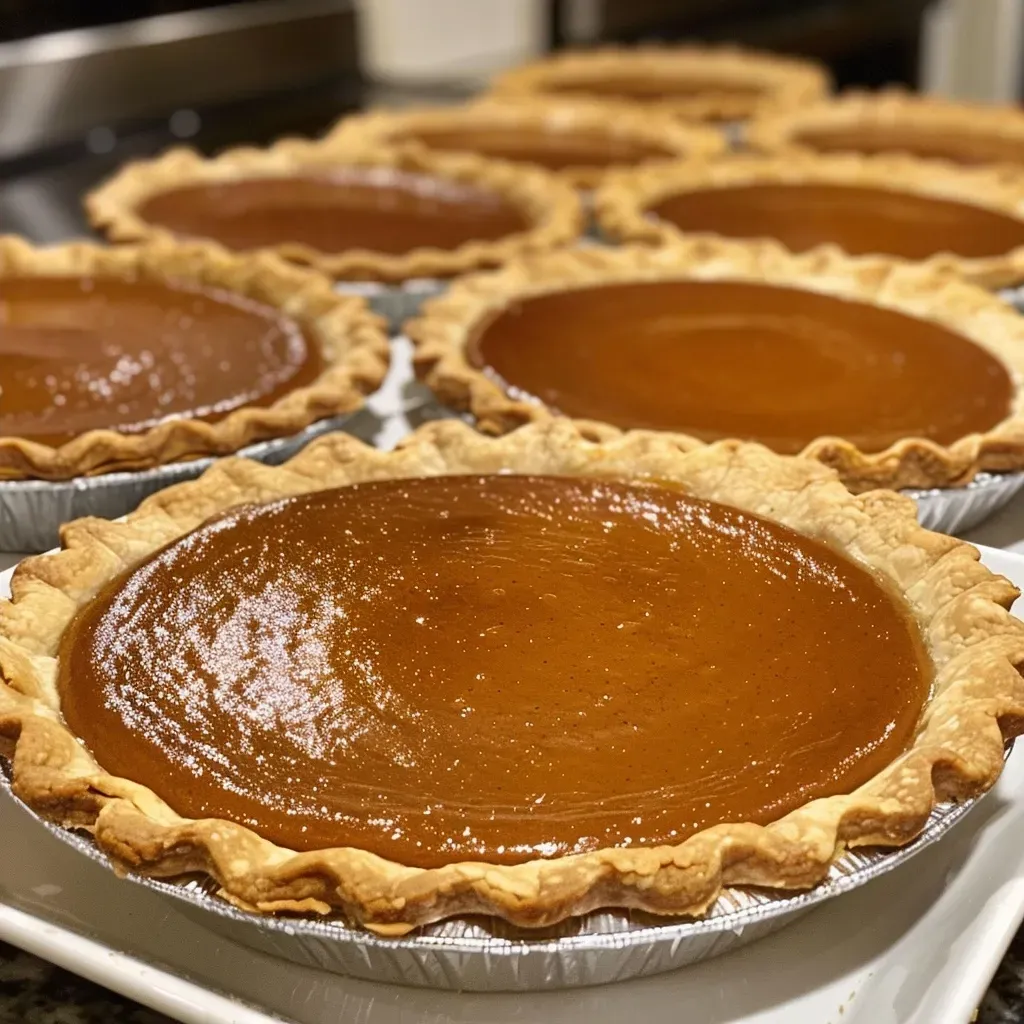
- Check for Doneness: The pies are done when the filling is set but still slightly jiggly in the center.
- Flavor Variations: Experiment with different spices like allspice or cardamom to personalize your filling.
- Use Fresh Pumpkin: If you’re feeling adventurous, roast and puree fresh pumpkin for an even richer flavor.
- Presentation Matters: Garnish with a sprinkle of nutmeg or cinnamon on top of the whipped cream for a festive touch.
- Serve Warm: For an extra cozy experience, serve the pies warm with a scoop of vanilla ice cream.
- Storage Tips: Keep any leftovers in an airtight container in the refrigerator for up to 4 days.
Common Mistakes and Troubleshooting
Even the best bakers can face challenges. Here are some common mistakes to avoid:
- Underbaking: If the filling is too jiggly, it might need a few more minutes in the oven. Always trust your instincts!
- Dry Crust: If your crusts are too dry, make sure to keep an eye on the baking time and consider brushing them with an egg wash before baking.
- Soggy Bottoms: Prevent this by ensuring your crusts are fully baked before adding the filling. You can blind bake them for a few minutes if necessary.
Delicious Variations to Try
Feeling adventurous? Here are some delightful variations to make these mini pumpkin pies your own:
- Chocolate Chip Mini Pumpkin Pies: Add semi-sweet chocolate chips to the filling for a sweet surprise.
- Pecan Topped: Sprinkle chopped pecans on top of the filling before baking for added crunch and flavor.
- Spiced Rum: Add a splash of spiced rum to the filling for an adult twist.
- Maple Pumpkin Pies: Substitute maple syrup for granulated sugar for a rich, deep flavor.
Make-Ahead and Storage Instructions
Planning ahead can make your baking experience smoother:
- Make Ahead: Prepare and bake the mini pies up to three days in advance. Just keep them in an airtight container in the refrigerator.
- Freezing: Once cooled, these mini pies can be frozen in a freezer-safe container for up to a month. Thaw them at room temperature before serving.
Frequently Asked Questions
Let’s address some common queries to ensure your baking journey is as smooth as possible:
- Can I use fresh pumpkin? Yes! Just make sure to roast and puree it properly for the best texture.
- How do I know when they are done? They should be set but still slightly jiggly in the center. A toothpick inserted should come out clean.
- Can I use a different type of crust? Absolutely! Try graham cracker or gingerbread crust for a fun twist.
- How long do they last? In the refrigerator, they will stay fresh for about 4 days.
- Can I make them dairy-free? Yes! Substitute evaporated milk with coconut milk and use a dairy-free crust.
- What should I serve with them? Homemade whipped cream, vanilla ice cream, or a dollop of crème fraîche are all excellent choices!
- What if I don’t have pumpkin pie spice? You can make your own using cinnamon, nutmeg, and ginger in equal parts.
- Can I double the recipe? Yes! Just ensure you have enough muffin pans and bake in batches if necessary.
Nutritional Tips and Dietary Adaptations
For those mindful of dietary needs, here are some adjustments you can consider:
- Gluten-Free: Use gluten-free pie crusts and check that all ingredients are certified gluten-free.
- Low-Sugar Option: Substitute with sugar alternatives or reduce the sugars for a lighter pie.
- Vegan Version: Use a flax egg (1 tablespoon ground flaxseed mixed with 2.5 tablespoons water) and plant-based milk.
Equipment Recommendations
To ensure a smooth baking process, here’s a list of essential tools:
- Muffin Pans: Use standard 12-count muffin pans for perfect mini pies.
- Cookie Cutters: A 3.5-inch round cutter works best for uniform pie crusts.
- Mixing Bowls: A set of mixing bowls will help you easily combine your ingredients.
- Whisk: For thoroughly mixing the filling ingredients.
Serving Suggestions
When it’s time to serve, consider these delightful ideas:
- Garnish: Top with a sprinkle of cinnamon or nutmeg for a festive touch.
- Accompaniments: Serve with hot apple cider or spiced coffee for a cozy pairing.
- Family Style: Arrange them beautifully on a platter for a lovely presentation at your gathering.
Conclusion: A Recipe for Love and Togetherness
As we wrap up our journey to create these mini pumpkin pies, remember that cooking is about more than just ingredients; it’s about the love and memories shared around the table. Each bite of these pies carries a piece of tradition, and I hope they bring you as much joy as they have brought to my family. So gather your loved ones, bake with joy, and create new memories that will last a lifetime. Thank you for joining me in this delicious adventure—happy baking!
Mini Pumpkin Pies
Ingredients
Dough
- 2 pieces refrigerated rolled pie crusts (homemade or store-bought)
- 1/3 cup brown sugar
- 2 tablespoons granulated sugar
- 1 1/2 teaspoons pumpkin pie spice
- 1/4 teaspoon salt
- 1 cup canned pumpkin puree ((not pumpkin pie filling))
- 3/4 cup evaporated milk
- 1 large egg
- 1/2 teaspoon vanilla extract
Topping
- Homemade whipped cream for topping homemade whipped cream
Instructions
- Preheat oven to 400°F (200°C). Prepare muffin pans with nonstick spray.
- Roll out pie crusts to 1/8-inch thickness and cut out 18 circles. Fit each into muffin cups.
- Whisk together sugars, spices, and salt. Add pumpkin, milk, egg, and vanilla; mix well.
- Distribute filling evenly into crusts. Bake for 16-20 minutes until set and golden.
- Cool completely, then refrigerate for at least 3 hours. Serve chilled or at room temperature with whipped cream.