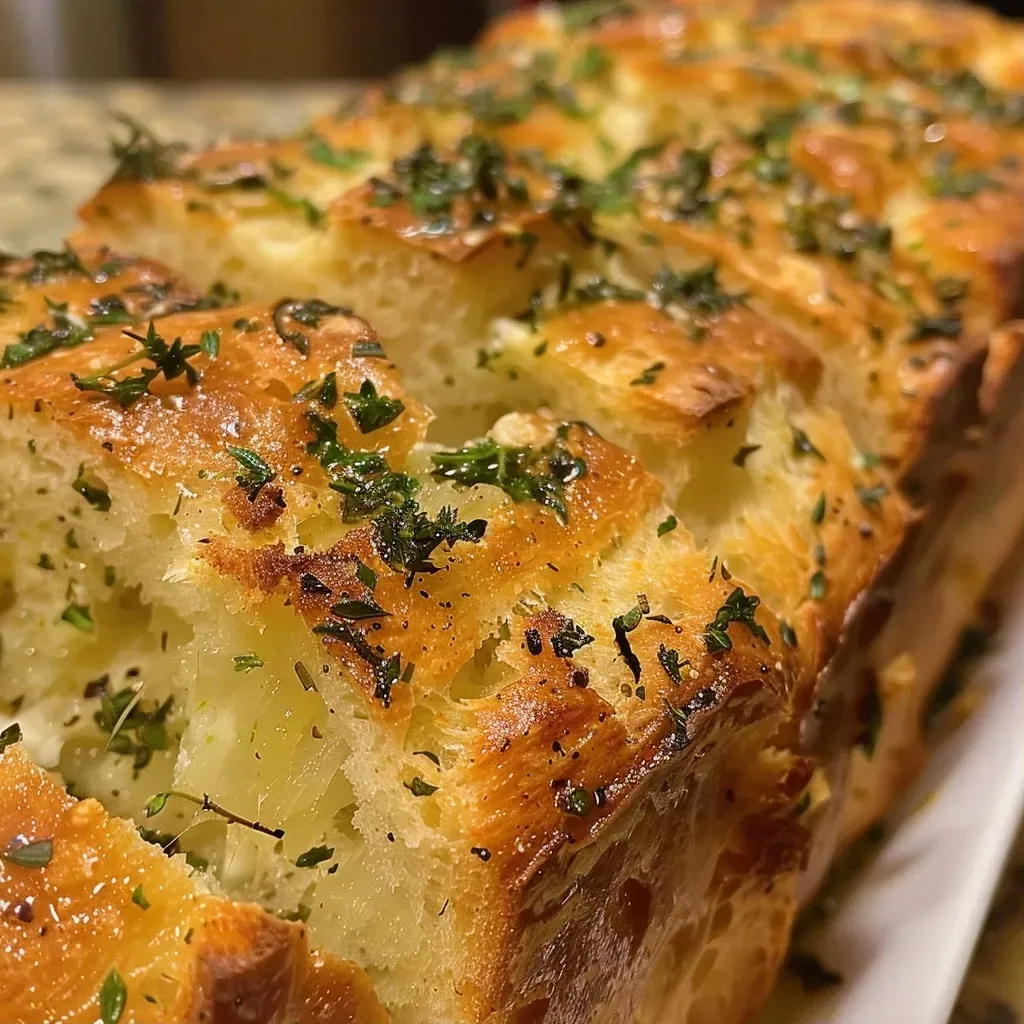
Gather around the kitchen, folks! Today, we’re diving into a recipe that’s not just about baking bread; it’s about creating memories and enveloping your home in the warm, fragrant embrace of savory herbs. Our Savory Herb Stuffing Bread is perfect for family gatherings, holiday feasts, or just a cozy night in. Infused with fresh sage and thyme, every bite is a reminder of the love and care that goes into sharing a meal. Let’s embark on this culinary journey together!
Why You’ll Love This Recipe
- Easy to Make: This stuffing bread recipe is straightforward, perfect for novice bakers and seasoned pros alike. The method is simple enough to involve the whole family.
- Versatile Flavor: The combination of herbs gives a delightful flavor that complements many dishes, from your Thanksgiving turkey to a homemade soup.
- Perfect Texture: Enjoy a lovely crust with a soft, pillowy interior that is just begging to be slathered with butter or used as the base for a delicious stuffing.
- Make Ahead: You can prepare the dough in advance and bake it just before serving, making it a fabulous addition to any meal.
- Tradition and Modernity: This recipe honors classic Southern cooking with a modern twist, bridging generations and creating a connection to our culinary roots.
Key Ingredients in Savory Herb Stuffing Bread
Let’s take a closer look at the key players in this delightful recipe:
- Milk and Water: These liquids create a soft dough; use skim milk for a lighter texture.
- Active Dry Yeast: This is the magic ingredient that helps the bread rise, giving it that airy structure.
- Fresh Herbs: Sage and thyme bring an aromatic quality that elevates the bread’s flavor profile.
- Butter: Melted unsalted butter adds richness and moistness, while a touch of fleur de sel on top enhances the flavor beautifully.
- Bread Flour: The backbone of our bread, it provides the right amount of gluten for that perfect chewiness.
How to Make Savory Herb Stuffing Bread
Now that we have our ingredients ready, let’s dive into making this delightful bread.

★ Recommended Kitchen Tool
Professional Chef Knife Set
Make this recipe even easier with a quality Professional Chef Knife Set — a must-have kitchen staple!
- In a bowl (or the bowl of an electric mixer), combine the milk and hot water until the mixture is lukewarm. Add the melted butter, yeast, salt, and sugar, stirring gently.
- Incorporate the bread flour and mix until just combined, about 30 seconds. Then, add the herbs and seasonings, mixing until the dough forms a ball that pulls away from the sides of the bowl.
- Knead the dough for about 6 minutes, either by hand or using a dough hook, until smooth. The dough should be slightly tacky but not sticky.
- Lightly drizzle the dough ball with olive oil, place it in a clean bowl, cover with plastic wrap, and let it rise in a warm spot for about 1-2 hours until doubled in size.
- Preheat the oven to 350°F. Lightly brush an 8 1/2″ x 4 1/2″ loaf pan with oil.
- After the dough has risen, punch it down, transfer it to a floured surface, and form it into a log. Place the log seam-side down in the prepared loaf pan. Brush the top with melted butter and sprinkle with fleur de sel. Allow it to rise again for 30 minutes.
- Bake the loaf in the preheated oven for 30-40 minutes. If you have a thermometer, the internal temperature should read about 190°F. Let it rest in the pan for 5 minutes before transferring it to a wire rack to cool completely for about 2 hours before slicing.
Pro Tips for Perfect Bread
- Humidity Check: Depending on your kitchen’s humidity, you may need to adjust the amount of water in the dough. If it feels too dry, add a bit more.
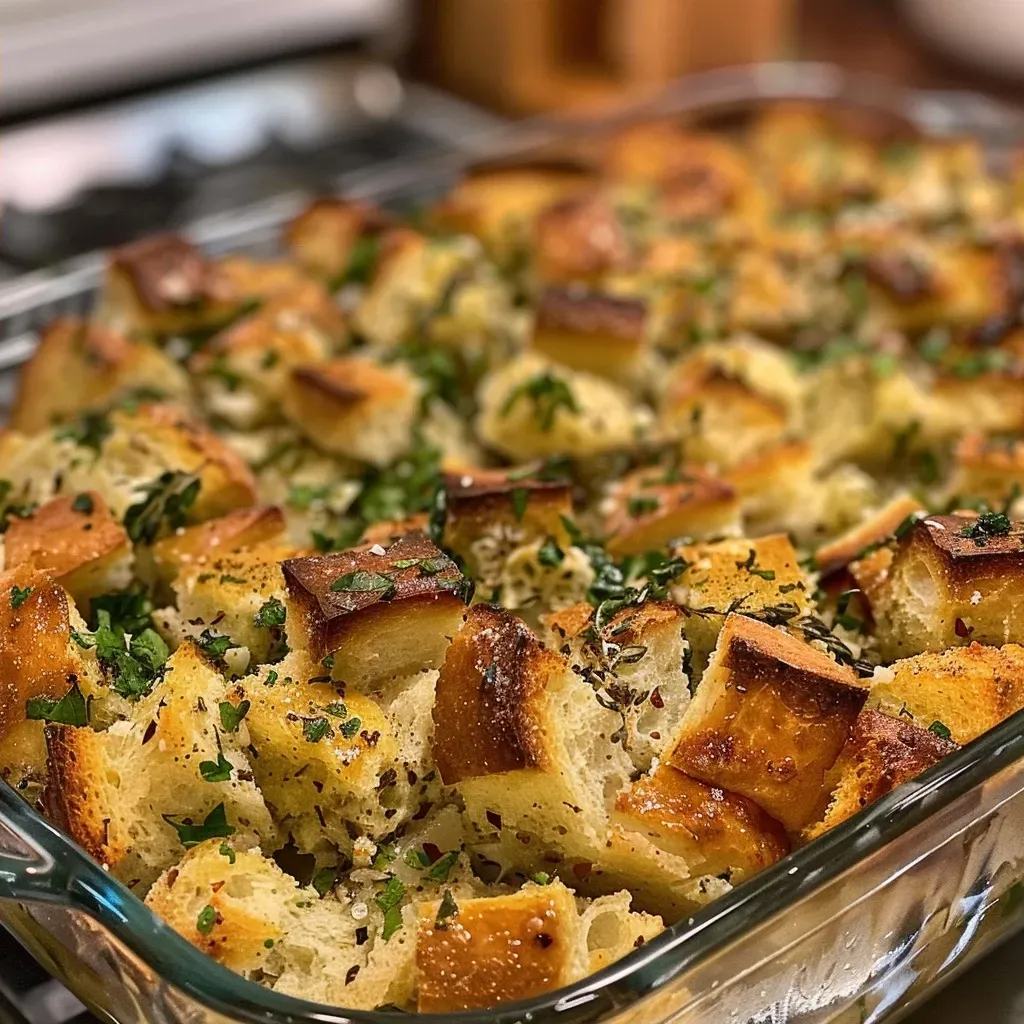
- Day-Old Bread: Consider using day-old bread cubes for stuffing, as they absorb liquid better without becoming mushy.
- Herb Variations: Feel free to mix and match herbs based on what you have on hand—rosemary and oregano are fantastic additions!
- Temperature Control: Ensure your liquids are lukewarm to activate the yeast properly, which is crucial for a good rise.
- Storage: If you plan to bake the bread ahead of time, wrap it tightly in plastic wrap to keep it fresh.
- Freezing: You can freeze the dough after the first rise; just thaw and let it rise again before baking.
- Experiment with Flavors: Add nuts or dried fruits for a unique twist on this savory bread.
- Don’t Rush the Rising: Allow the dough to rise fully for the best texture; patience is key!
Common Mistakes and Troubleshooting
Even the best bakers can encounter challenges. Here are some common mistakes and how to troubleshoot them:
- Dense Bread: If your bread turns out dense, it may not have risen enough. Ensure your yeast is fresh and give it ample time to rise.
- Too Dry Dough: If your dough is too crumbly, add more liquid a tablespoon at a time until it reaches the right consistency.
- Overbaking: Keep an eye on your bread in the oven. If it’s getting too dark before it’s done, cover it loosely with foil.
- Not Enough Flavor: If the flavor is lacking, consider adding more herbs or seasoning to the dough.
Variations on Savory Herb Stuffing Bread
Here are some delightful variations to keep your baking fresh:
- Cheesy Herb Bread: Add 1 cup of shredded cheese (like cheddar or mozzarella) to the dough for a rich, cheesy flavor.
- Garlic & Herb Bread: Mix in 2 tablespoons of finely minced garlic for a robust garlic flavor.
- Spicy Herb Bread: Incorporate a teaspoon of red pepper flakes to add a kick to your bread.
- Nutty Addition: Fold in 1/2 cup of chopped walnuts or pecans for added texture and flavor.
Storage and Make-Ahead Instructions
To ensure your bread stays fresh and delicious:
- Room Temperature: Store the bread in an airtight container at room temperature for up to 3 days.
- Freezing: Wrap the fully cooled bread in plastic wrap and foil, then freeze. It can last up to 3 months.
- Reheating: To reheat, wrap in aluminum foil and warm in a 350°F oven for about 10-15 minutes.
- Make-Ahead Dough: Prepare the dough and let it rise once, then punch it down, wrap it, and refrigerate for up to 24 hours. Bring it to room temperature before shaping and baking.
Frequently Asked Questions
- Can I use whole wheat flour? Yes, you can substitute part of the bread flour with whole wheat flour for a nuttier flavor and denser texture.
- What can I serve with this bread? This bread pairs beautifully with soups, salads, and roasted meats.
- Can I add other herbs? Absolutely! Feel free to experiment with your favorite herbs.
- How can I tell if the bread is done? The internal temperature should reach 190°F, and the bread should sound hollow when tapped.
- Is this recipe vegan? You can substitute the milk and butter with plant-based alternatives, and it will still be delightful!
- What if my dough doesn’t rise? Ensure that your yeast is fresh and that the liquids are the right temperature for activation.
- How do I make this gluten-free? Use a gluten-free flour blend that is designed for baking, and add a binder like xanthan gum.
- Can I make this bread in a bread machine? Yes, you can use the machine on the dough cycle and then bake it in the oven for a crustier result.
Nutritional Tips and Dietary Adaptations
For those watching their diet or seeking healthier alternatives:
- Lower Calorie Option: Use skim or almond milk and reduce the amount of butter used.
- Whole Grain Option: Opt for whole wheat flour for a heartier bread with more fiber.
- Low Sodium: Reduce or omit the salt and use low-sodium broth when making stuffing.
Equipment Recommendations
To ensure your baking experience is seamless, here’s what I recommend:
- Stand Mixer: A stand mixer with a dough hook can simplify the kneading process.
- Baking Sheet: A sturdy baking sheet for even heat distribution during baking.
- Digital Thermometer: For checking the internal temperature of your bread accurately.
- Loaf Pan: A good quality non-stick loaf pan is essential for easy removal.
Serving Suggestions
This savory herb stuffing bread is incredibly versatile. Here are a few serving ideas:
- As a Side: Serve warm alongside roast chicken or turkey during your family gatherings.
- For Dipping: Pair it with a rich soup or stew, perfect for soaking up every last drop.
- As Sandwich Bread: Use slices for delectable sandwiches with your favorite fillings.
- Toast with Toppings: Top slices with avocado, poached eggs, or a spread of your choice for a delightful breakfast.
Conclusion
There you have it, a comprehensive guide to baking your very own Savory Herb Stuffing Bread. It’s about more than just the ingredients; it’s about the stories we share and the love we put into our cooking. Whether you’re making it for a special occasion or just a cozy family dinner, this bread is sure to become a cherished staple in your kitchen. So roll up your sleeves, embrace the warmth of the kitchen, and let’s create something special together. Happy baking!
Savory Herb Stuffing Bread
Ingredients
Dough
- 1/2 cup skim milk
- 1/2 cup hot water (plus more depending on humidity)
- 1/4 cup melted unsalted butter
- 2 1/4 teaspoons active dry yeast ((1 packet))
- 2 1/2 teaspoons kosher salt
- 2 1/2 tablespoons granulated sugar
- 3 cups bread flour (plus more for kneading)
- 1/3 cup fresh sage (chopped)
- 1/4 cup fresh thyme (chopped)
- 3/4 teaspoon black pepper
- 2 1/4 teaspoons onion powder
- 1 teaspoon garlic powder
- 1 tablespoon melted butter
- 1/2 teaspoon fleur de sel
Instructions
- Combine warm milk and water, add melted butter, yeast, salt, and sugar; stir.
- Add flour and mix until just combined, then incorporate herbs and seasonings.
- Knead until smooth, cover, and let rise for 1-2 hours until doubled.
- Preheat oven to 350°F, shape dough into a log, place in loaf pan, brush with melted butter, and let rise 30 minutes.
- Bake for 30-40 minutes until internal temperature reaches 190°F, then cool before slicing.