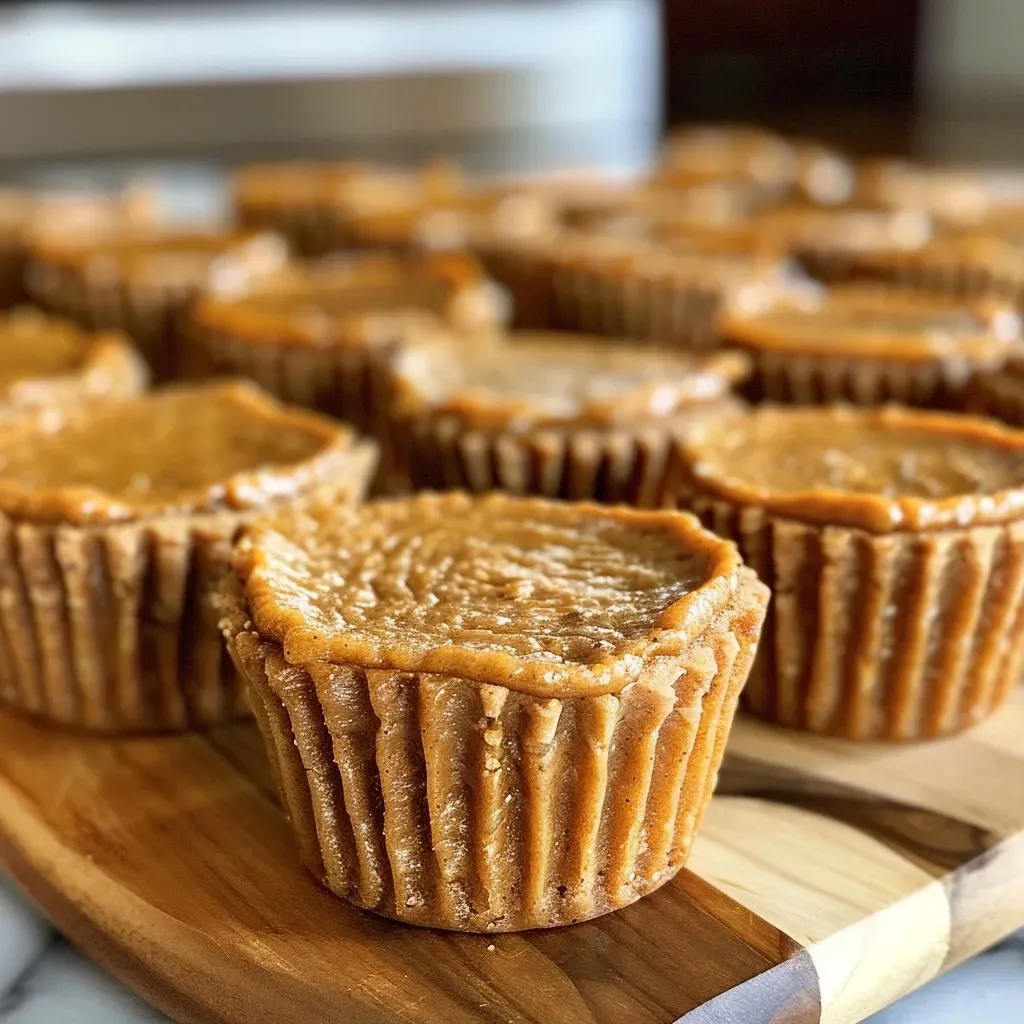
Embrace Autumn with Our Heartwarming Mini Pumpkin Pie Cups
As the leaves begin to turn and the air gets a little crisper, nothing warms the heart quite like the aroma of freshly baked pumpkin pie. Imagine gathering around the table with family and friends, sharing sweet bites of nostalgia that remind us of home. These Mini Pumpkin Pie Cups are not just desserts; they are little pockets of love that celebrate the season and invite everyone to partake in the joy of cooking. With simple ingredients and a dash of creativity, you can create a treat that is perfect for any holiday gathering or cozy evening at home.
In this comprehensive guide, we will dive deep into the world of these delightful mini pumpkin pie cups. From the ingredients you’ll need to tips for perfecting your recipe, we aim to ensure that every bite is a reflection of warmth and togetherness. So, roll up your sleeves and let’s make some memories in the kitchen!
Why You’ll Love These Mini Pumpkin Pie Cups
- Perfectly portioned: These mini cups are just the right size for everyone to enjoy without the mess of slicing a traditional pie.
- Easy to make: With just a handful of ingredients and simple steps, you can whip these up in a flash, making them ideal for a last-minute treat.
- Wholesome ingredients: Packed with nutritious elements like almond flour and pumpkin puree, these cups are a guilt-free indulgence.
- Customizable: From gluten-free options to different toppings, you can easily adapt the recipe to fit your dietary needs and preferences.
- Great for gatherings: Whether it’s a holiday party or a cozy family dinner, these mini pumpkin pie cups are sure to impress your guests.
Ingredients You’ll Need to Create Magic
To create these delightful Mini Pumpkin Pie Cups, you’ll need the following ingredients:

★ Recommended Kitchen Tool
Professional Chef Knife Set
Make this recipe even easier with a quality Professional Chef Knife Set — a must-have kitchen staple!
- 1/2 cup almond flour: A gluten-free alternative that adds a nutty flavor and a great texture.
- 1/4 cup coconut flour: This flour helps bind the crust together while keeping it light.
- 3 tbsp coconut oil (melted): For a rich and buttery flavor while keeping it dairy-free.
- 2 tbsp maple syrup: A natural sweetener that adds warmth and depth to the crust.
- 1/2 cup cashew butter (or nut/seed butter of choice): This ingredient adds creaminess and healthy fats.
- 1/2 cup coconut oil: To create a luscious filling texture.
- 1/3 cup pumpkin puree: The star of the show, bringing that classic pumpkin flavor.
- 1/4 cup maple syrup: For sweetness in the filling without the refined sugar.
- 1 tsp vanilla extract: To enhance the flavors and add a touch of sweetness.
- 2 tsp pumpkin pie spice: A blend of spices that embodies the essence of fall.
- 1/4 tsp sea salt: Balances the sweetness and enhances the flavors.
Feel free to explore ingredient substitutions based on your preferences or what you have on hand. For a nut-free version, consider using sunflower seed butter or tahini instead of nut butter. You can also try using different sweeteners like honey or agave syrup for a unique twist.
How to Make Mini Pumpkin Pie Cups: Step-by-Step Instructions
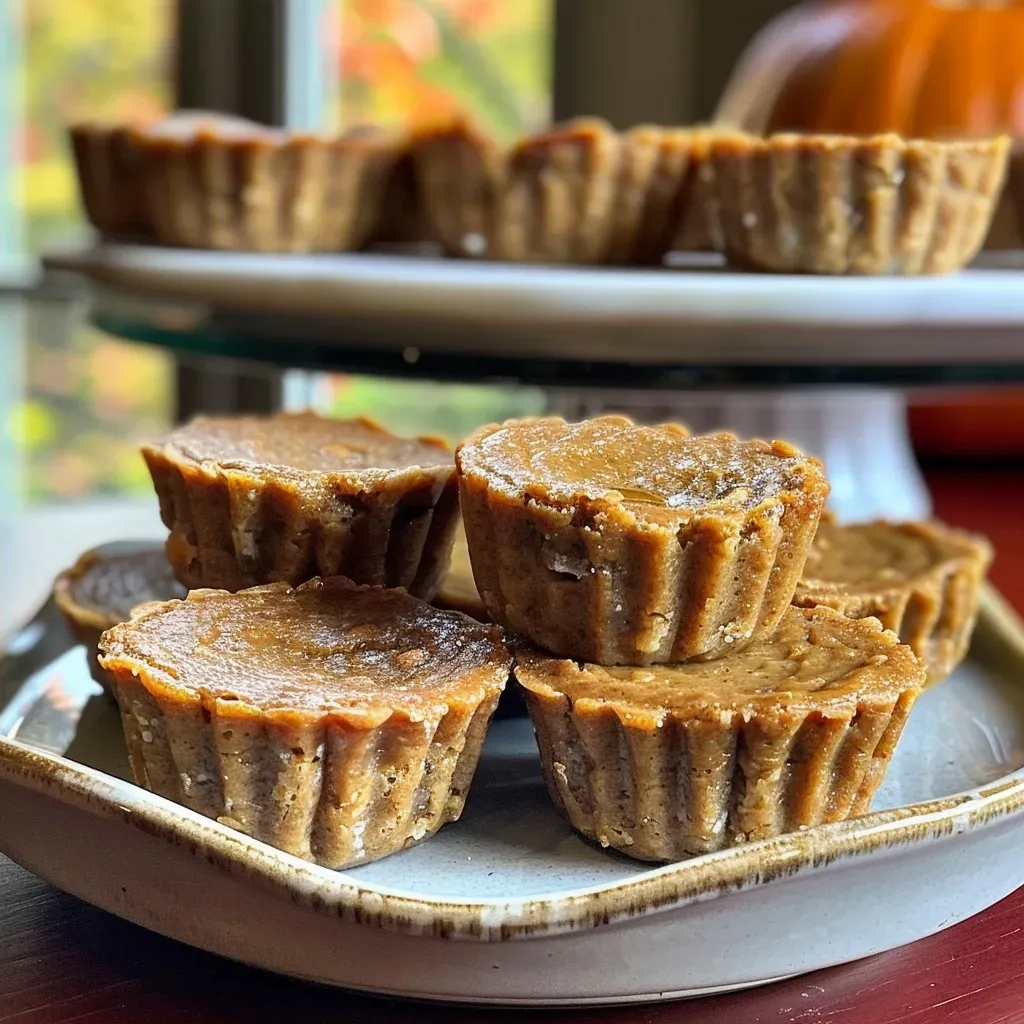
Let’s bring these mini pumpkin pie cups to life with a simple yet effective procedure that ensures perfect results:
- Preheat your oven: Set your oven to 350°F (175°C) and prepare a cupcake tin by placing liners in each cup.
- Prepare the crust: In a mixing bowl, combine the almond flour, coconut flour, melted coconut oil, and maple syrup. Mix until a dough forms. Scoop about 1 tablespoon of the mixture into each cupcake liner and press it down firmly to form the crust.
- Bake the crust: Bake the crust for 12 minutes or until the edges are golden brown. Once done, let it cool completely.
- Make the filling: In another bowl, combine the cashew butter, coconut oil, pumpkin puree, maple syrup, vanilla extract, pumpkin pie spice, and sea salt. Microwave the mixture for 15-30 seconds (or heat on the stovetop) and stir until fully combined and smooth.
- Fill the cups: Pour the pumpkin mixture over the cooled crust layer and spread it evenly.
- Chill: Place the filled cupcake tin in the freezer for at least two hours, allowing the layers to set properly.
- Serve and enjoy: Once set, remove the mini pumpkin pie cups from the liners, serve chilled, and, if you like, top with whipped cream or a sprinkle of extra pumpkin pie spice.
Expert Tips for the Best Mini Pumpkin Pie Cups
- Don’t skip the chilling: Allowing the cups to chill is crucial for achieving the perfect texture.
- Use quality ingredients: The flavor and texture of your mini pumpkin pie cups greatly depend on the quality of the ingredients used.
- Mix well: Ensure all ingredients are mixed thoroughly to avoid clumps in your filling.
- Be patient: Let the crust cool completely before adding the filling to prevent a soggy base.
- Experiment with flavors: Feel free to add chocolate chips or nuts to the filling for a delightful twist.
- Top it off: Consider serving with a dollop of whipped cream or a drizzle of caramel for added richness.
- Make ahead: These mini pumpkin pie cups can be prepared a day in advance, making them a convenient option for busy days.
- Storage: Keep any leftovers in an airtight container in the refrigerator for up to four days.
Common Mistakes and Troubleshooting
Even the best cooks can face challenges. Here are some common mistakes and solutions:
- Crust falling apart: Ensure you’ve mixed the crust ingredients well and pressed it firmly into the liners.
- Filling not setting: If the filling is too warm when poured onto the crust, it may not set properly. Chill the filling before pouring.
- Overbaking the crust: Keep an eye on the crust; it should be golden brown but not overdone to maintain a soft texture.
Creative Variations to Explore
Don’t hesitate to get creative with your mini pumpkin pie cups. Here are some fun variations:
- Chocolate Pumpkin Cups: Add chocolate chips to the filling for a rich, chocolatey twist.
- Spiced Pecan Topping: Top with crushed pecans mixed with a touch of cinnamon for added crunch.
- Maple Whipped Cream: Serve with whipped cream sweetened with maple syrup for a delightful topping.
- Caramel Drizzle: Drizzle caramel sauce over the top for a sweet finish that pairs beautifully with pumpkin.
Storage and Make-Ahead Instructions
These mini pumpkin pie cups are excellent for meal prep and can be stored in the refrigerator for up to four days. For optimal freshness:
- Keep them in an airtight container to prevent drying out.
- If you plan to make them ahead of time, consider freezing them for up to two months. Just be sure to let them thaw in the fridge before serving.
Frequently Asked Questions About Mini Pumpkin Pie Cups
- Can I use fresh pumpkin instead of canned? Yes, just make sure to cook and puree the pumpkin until smooth.
- Are these mini pumpkin pie cups gluten-free? Absolutely! Using almond and coconut flour makes them gluten-free.
- Can I substitute the nut butter? Yes, feel free to use sunflower seed butter or tahini for nut-free options.
- How do I know when they are done? The filling should be set and slightly firm to the touch after chilling.
- Can I make these dairy-free? Yes, using coconut oil and nut butter ensures they are dairy-free.
- What can I use instead of maple syrup? Honey or agave syrup can be used as alternatives.
- Can I use a muffin tin instead of a cupcake tin? Yes, a muffin tin works just as well; just adjust the baking time as needed.
- How can I make these mini pumpkin pie cups vegan? Use a plant-based cream and ensure your sweeteners are vegan-friendly.
Nutritional Insights and Dietary Adaptations
These mini pumpkin pie cups not only taste fantastic but can also fit into various dietary plans. Here’s a quick overview of their nutritional benefits:
- Rich in fiber: Pumpkin and almond flour contribute to a high fiber content, promoting digestive health.
- Healthy fats: The use of nut butter and coconut oil provides beneficial fats that can support heart health.
- Low in refined sugar: Sweetened naturally with maple syrup, they are a healthier alternative to traditional desserts.
Equipment Recommendations
For this recipe, you will need:
- Cupcake or muffin tin: Essential for shaping your mini pie cups.
- Mixing bowls: To combine your crust and filling ingredients effectively.
- Measuring cups and spoons: For accurate ingredient measurements.
- Silicone spatula: Ideal for mixing and scraping down the sides of bowls.
Serving Suggestions for a Festive Touch
When serving these mini pumpkin pie cups, consider the following tips to elevate your presentation:
- Garnish: Top with a dollop of whipped cream and a sprinkle of cinnamon for an appealing look.
- Serving platter: Arrange them on a decorative platter with autumn leaves or seasonal decor for a festive touch.
- Pairing: Serve alongside spiced cider or hot chocolate for a cozy experience.
Cooking is more than just a task; it’s a way of connecting with our loved ones and preserving memories. As you gather around your table with these mini pumpkin pie cups, remember that each bite carries the warmth and love of your kitchen. Happy cooking, and may your autumn be filled with joy, laughter, and delicious treats!
Mini Pumpkin Pie Cups
Ingredients
Crust
- 1/2 cup almond flour
- 1/4 cup coconut flour
- 3 tbsp coconut oil (melted)
- 2 tbsp maple syrup
Pumpkin Layer
- 1/2 cup cashew butter (or nut/seed butter of choice)
- 1/3 cup pumpkin puree
- 1/4 cup maple syrup
- 1 tsp vanilla extract
- 2 tsp pumpkin pie spice
- 1/4 tsp sea salt
Instructions
- Preheat oven to 350°F (175°C). Line cupcake tin with liners.
- Mix crust ingredients, scoop 1 tbsp into each liner, and press into shape.
- Bake for 12 minutes, then cool completely.
- Combine pumpkin layer ingredients, microwave briefly, and stir until smooth.
- Pour pumpkin filling over crusts and freeze for at least 2 hours. Serve topped with whipped cream if desired.