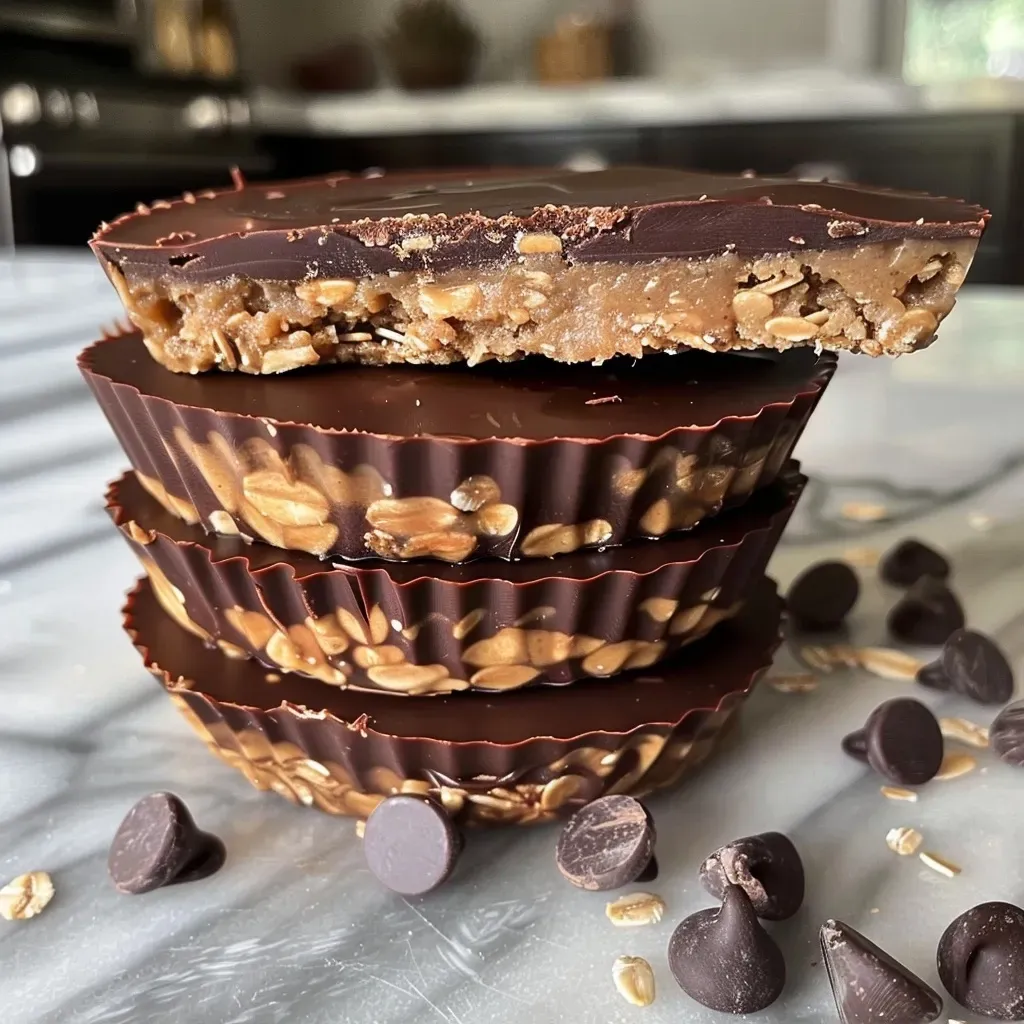
Embrace the Sweet Simplicity of No Bake Peanut Butter Oat Cups
In a world where cooking can often feel overwhelming, it’s comforting to return to recipes that remind us of simpler times. The No Bake Peanut Butter Oat Cups hold a special place in my heart, evoking memories of warm kitchens and shared laughter. These delightful treats combine rich flavors with a touch of nostalgia, making them perfect for any occasion. Whether you’re preparing a snack for your children or looking to impress friends at a gathering, these oat cups bring a sense of togetherness that’s hard to beat.
This recipe is not just about food; it’s about creating memories. With just a handful of ingredients, you can whip up a batch that is both satisfying and heartwarming. Let’s dive into why you’ll love this recipe!
Why You’ll Love This Recipe
- Quick and Easy: With no baking required, you can have these delicious cups ready in no time. Perfect for busy weekdays or spontaneous get-togethers!
- Nutritious Ingredients: Packed with wholesome ingredients like oats and peanut butter, these cups are not only tasty but also provide a boost of energy.
- Customizable: Feel free to add your favorite mix-ins such as dried fruits, nuts, or seeds. Tailor the recipe to suit your family’s tastes!
- Kid-Friendly: Children love helping in the kitchen, and this recipe is a perfect way to get them involved. They’ll enjoy mixing and pressing the ingredients together!
- Perfect for Meal Prep: These oat cups store well in the fridge, making them an excellent choice for healthy snacks throughout the week.
Ingredients You’ll Need
Gathering the right ingredients is the first step toward creating these delightful no bake peanut butter oat cups. Here’s what you’ll need:
- 1.5 cups peanut butter: Use creamy or natural peanut butter for a rich, nutty flavor that binds the ingredients together.
- 1.5 cups rolled oats: Processed into a fine oat flour for a smooth texture. You can easily make this in a food processor.
- 1/4 cup maple syrup: A natural sweetener that adds the perfect touch of sweetness while helping to bind the mixture.
- 1 cup chocolate chips: For that delightful chocolate layer on top, which adds a touch of decadence.
- 1 tsp coconut oil (optional): A little coconut oil can help the chocolate melt smoothly and adds a subtle flavor.
Step-by-Step Directions
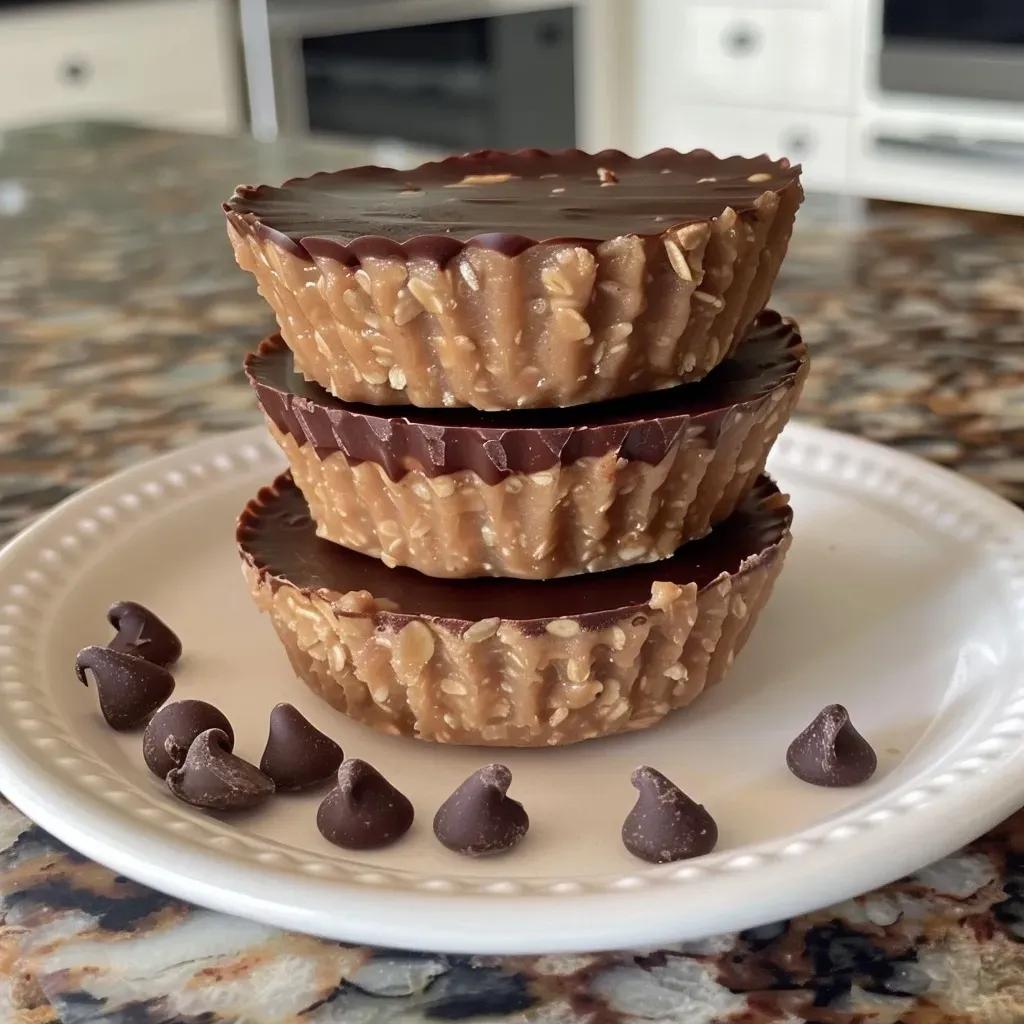
Now that you have your ingredients ready, let’s walk through the steps to create these delicious cups.
- Blend the oats: In a high-speed blender or food processor, blend the rolled oats until they reach a fine, powdery consistency.
- Mix peanut butter and syrup: In a medium microwave-safe bowl, combine the peanut butter and maple syrup. Microwave for 40-60 seconds, then stir until smooth.
- Combine mixtures: Gradually add the oat flour to the peanut butter mixture, stirring until it forms a thick dough. If too dry, add more maple syrup or peanut butter, one teaspoon at a time.
- Prepare the pan: Line a muffin pan with cupcake liners or use a silicone muffin pan for easy removal.
- Fill the cups: Scoop the mixture into each muffin compartment, pressing down firmly to compact.
- Melt the chocolate: In a microwave-safe bowl, combine chocolate chips and coconut oil. Heat in 30-second increments, stirring until smooth.
- Top with chocolate: Pour the melted chocolate over each cup, smoothing it out with the back of a spoon.
- Chill: Refrigerate for 2-3 hours to allow the cups to set and firm up.
Pro Tips for Perfect No Bake Peanut Butter Oat Cups
- Choose the right peanut butter: For a smoother texture, opt for creamy peanut butter. Natural varieties often contain less sugar.
- Control the sweetness: Adjust the amount of maple syrup to your taste. For a less sweet version, reduce the syrup slightly.
- Experiment with flavors: Add a splash of vanilla extract or a sprinkle of cinnamon for extra flavor.
- Use silicone molds: If you have silicone molds, they make for easier removal and can create fun shapes.
- Don’t skip chilling: Allowing the cups to chill fully is crucial for them to hold their shape.
- Try different toppings: Besides chocolate, consider adding crushed nuts, sea salt, or even coconut flakes for variety.
- Make a double batch: These treats are so good, you’ll want to have extras on hand!
- Store properly: Keep them in an airtight container in the fridge to maintain freshness for up to a week.
Common Mistakes and Troubleshooting
Even simple recipes can encounter hiccups. Here are some common mistakes and how to avoid them:
- Too crumbly: If the mixture is too crumbly, it might need more moisture. Add extra maple syrup or peanut butter in small increments.
- Chocolate won’t set: Ensure the chocolate isn’t too warm when pouring it over the cups; letting it cool slightly can help it set better.
- Cups falling apart: If they don’t hold together, it’s likely they didn’t chill long enough. Give them a bit more time in the fridge.
Variations to Try
One of the joys of cooking is the ability to adapt and personalize recipes. Here are a few variations you might enjoy:
- Chocolate Chip Cookie Dough: Mix in mini chocolate chips and a sprinkle of sea salt for a cookie dough flavor.
- Nutty Crunch: Add chopped nuts like almonds or walnuts for a delightful crunch.
- Fruit and Nut Delight: Incorporate dried fruits, such as cranberries or raisins, and a mix of seeds for added nutrition.
- Pumpkin Spice Bliss: Substitute 1/4 cup of peanut butter with pumpkin puree and add pumpkin spice for a seasonal twist.
Storage and Make-Ahead Instructions
These no bake peanut butter oat cups store beautifully, making them perfect for meal prep:
- Refrigerator storage: Keep the cups in an airtight container in the fridge for up to 5 days.
- Freezer storage: For longer storage, you can freeze them! Just layer them between parchment paper and store in a freezer-safe container for up to 3 months.
- Make-ahead: Prepare a batch over the weekend and enjoy them as snacks throughout the week.
Frequently Asked Questions
Here are some common questions that arise when making these delightful cups:
- Can I use crunchy peanut butter? Absolutely! Crunchy peanut butter will add a nice texture to the cups.
- What can I substitute for maple syrup? Honey is a great alternative, but if you want a vegan option, stick with agave syrup.
- Can I add protein powder? Yes! Just replace a small portion of the oat flour with your favorite protein powder for an extra boost.
- Are these gluten-free? Yes, as long as you use certified gluten-free oats.
- How do I know when they are set? They should be firm to the touch and hold their shape when removed from the muffin pan.
- Can I make these vegan? Yes! Use maple syrup and dairy-free chocolate chips to keep them vegan-friendly.
- What’s the best way to serve them? These cups are delicious on their own or served with a side of fresh fruit or yogurt.
- Can I adjust the portion size? Definitely! You can use a mini muffin pan for smaller cups or a larger pan for bigger servings.
Nutritional Tips and Dietary Adaptations
Eating well doesn’t have to be complicated. Here are some tips to make these oat cups fit various dietary needs:
- Protein Boost: Add a scoop of protein powder to the mixture to enhance the protein content.
- Lower Sugar: Reduce the amount of maple syrup and use unsweetened applesauce for natural sweetness.
- Nut-Free Version: Substitute sunflower seed butter for a nut-free alternative.
- Vegan Friendly: Ensure all ingredients, especially chocolate chips, are marked vegan to keep the recipe plant-based.
Equipment Recommendations
Having the right tools can make any recipe easier. Here are a few essentials you’ll need:
- Food Processor: A good food processor is crucial for turning oats into flour and mixing the ingredients smoothly.
- Microwave-Safe Bowls: For melting peanut butter and chocolate, ensure your bowls are microwave-safe to avoid mishaps.
- Muffin Pan: A standard muffin pan or silicone molds works best for shaping the cups.
Serving Suggestions
These no bake peanut butter oat cups are versatile and can be served in many delightful ways:
- As a Snack: Perfect for after-school snacks or midday energy boosters!
- With Fresh Fruits: Pair with banana slices or berries for a refreshing contrast.
- For Breakfast: Serve with yogurt for a quick and nutritious breakfast option.
In conclusion, the No Bake Peanut Butter Oat Cups are not just a recipe; they’re a way to connect with loved ones and create lasting memories. Whether you’re enjoying them alone or sharing with family and friends, each bite is a reminder that food is about love. So gather your ingredients, turn on some music, and let the kitchen be filled with joy and laughter. Happy cooking!
No Bake Peanut Butter Oat Cups Recipe
Ingredients
Dough
- 1.5 cups peanut butter
- 1.5 cups rolled oats (processed into oat flour) (processed finely in a food processor)
- 0.25 cup maple syrup
- 1 cup chocolate chips
- 1 tsp coconut oil (optional)
Instructions
- Blend oats into a fine flour using a food processor.
- Microwave peanut butter and maple syrup until smooth, then mix thoroughly.
- Add oat flour gradually to the mixture, forming a thick, moldable dough. Add extra syrup or peanut butter if needed.
- Line a muffin pan with liners, then evenly press the mixture into each cup.
- Melt chocolate chips with coconut oil, then pour over each cup. Refrigerate for 2-3 hours to set.
- Remove from liners and store in an airtight container in the refrigerator for up to 5 days.