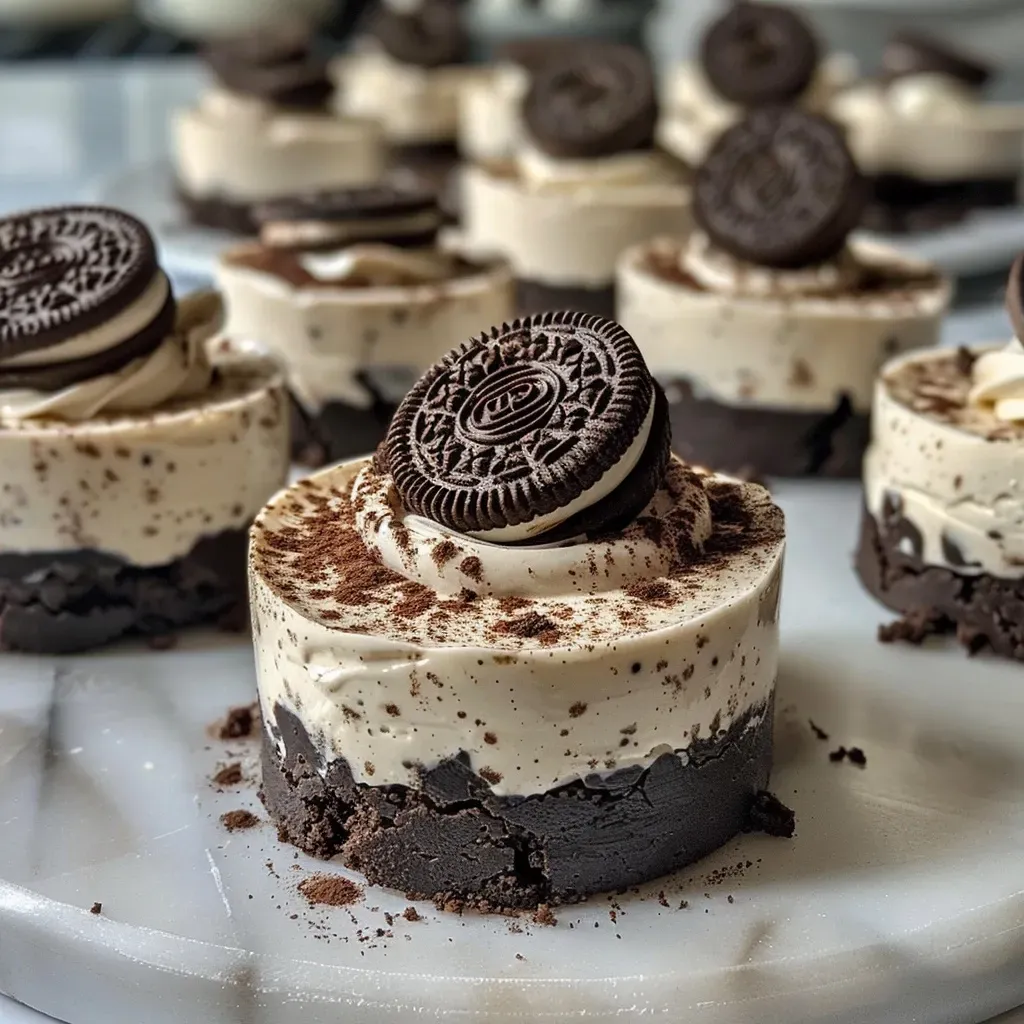
Sweet Moments: Why You’ll Adore Mini No-Bake Oreo Cheesecakes
There’s a special kind of magic that happens when you whip up a batch of mini no-bake Oreo cheesecakes. This delightful dessert not only brings back cherished memories of family gatherings and sweet moments shared around the table, but it also offers a simple path to deliciousness that requires no oven! Perfect for any occasion, whether it’s a summer picnic or a cozy evening at home, these cheesecakes are a heartfelt way to show you care.
In just a short time, you can create a dessert that’s creamy, dreamy, and absolutely packed with flavor. If you’re ready to dive into a world of Oreo cheesecakes that are as easy to make as they are enjoyable to eat, let’s explore the reasons you’ll love this recipe!
Why You’ll Love This Recipe
- No Baking Required: With no oven needed, you can enjoy a cool dessert even on the hottest days, making this recipe a summer favorite.
- Quick and Easy: Whipping up these mini cheesecakes takes mere minutes, leaving you more time to make memories with loved ones.
- Dairy-Free Delight: Made with plant-based ingredients, these cheesecakes cater to friends and family who follow a dairy-free diet.
- Portion Control: Mini sizes mean you can enjoy a sweet treat without feeling guilty or overindulging.
- Customizable Flavors: The base recipe is versatile, allowing you to experiment with different flavors or toppings to suit your taste.
Essential Ingredients for Mini No-Bake Oreo Cheesecakes
To create these delightful cheesecakes, you’ll need the following ingredients:
- 150g of Oreo Cookies: These will form the base and add that iconic chocolatey flavor.
- 50g of Dairy-Free Butter / Margarine: This helps bind the crust together for a deliciously rich base.
- 260g of Dairy-Free Whipping Cream: A key ingredient for achieving that fluffy, creamy filling.
- 160g of Dairy-Free Cream Cheese: This provides the classic cheesecake taste without the dairy.
- 8 Oreo Cookies: For mixing into the filling, adding extra texture and flavor.
- 20g of Dairy-Free Whipping Cream: For topping, giving your cheesecakes an elegant finish.
- 4 Oreo Cookies: Crushed to sprinkle on top for that finishing touch.
Substitutions & Additions
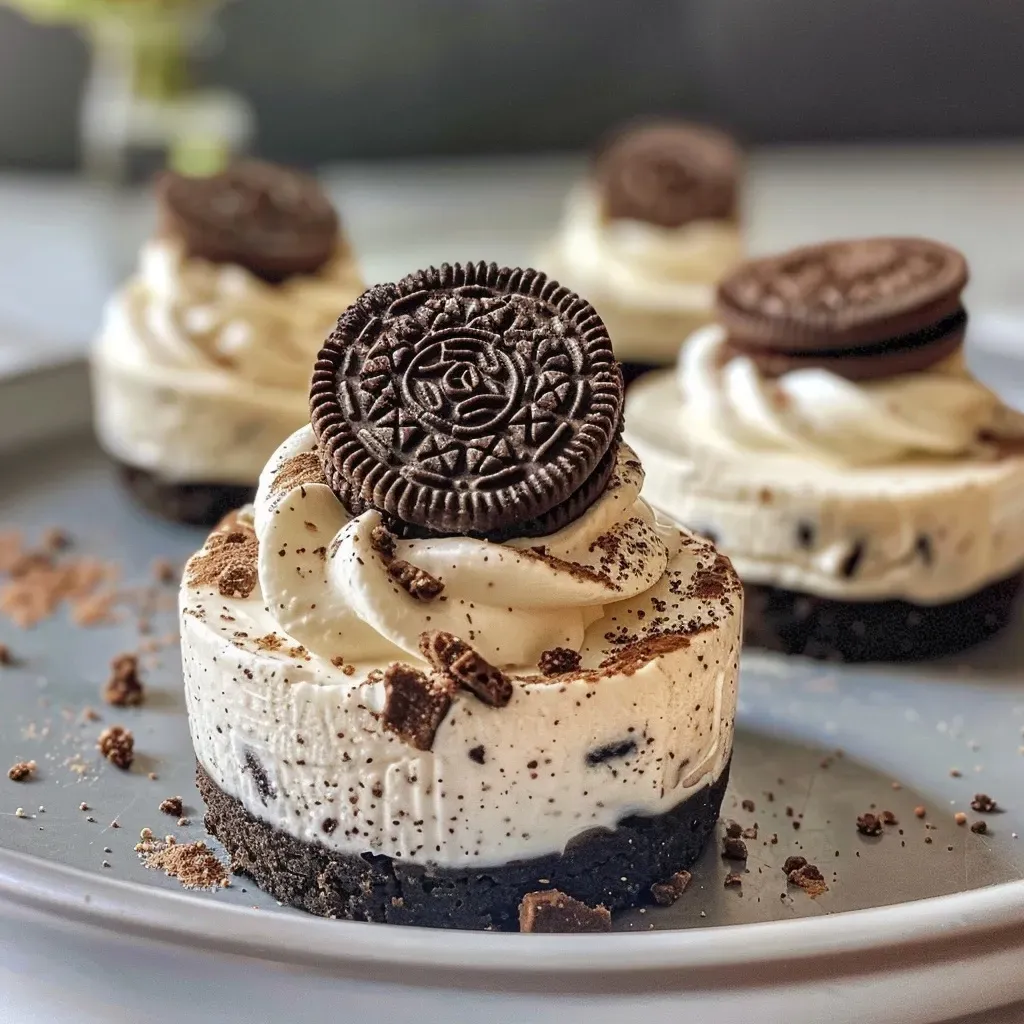
If you’re looking to swap out some ingredients or add a twist, consider these options:
- Gluten-Free Option: Use gluten-free Oreo cookies to make this dessert accessible for those with gluten sensitivities.
- Nut-Free Version: Ensure that the margarine or butter used is nut-free to cater to allergy concerns.
- Flavor Variations: Try adding peanut butter or coconut cream to the filling for a unique twist.
- Fruit Toppings: Fresh berries or sliced bananas add a refreshing touch to the rich cheesecakes.
How to Make Mini No-Bake Oreo Cheesecakes
Follow these simple steps to create your own mini cheesecakes:
- Step 1: Prepare the Crust: Crush the 150g of Oreo cookies and mix with the melted dairy-free butter until well combined. Press this mixture firmly into the bottom of muffin tins or mini cheesecake molds to form a solid base.
- Step 2: Make the Filling: In a mixing bowl, combine the dairy-free cream cheese and 260g of dairy-free whipping cream. Beat until smooth and creamy. Gently fold in the crushed 8 Oreo cookies.
- Step 3: Assemble the Cheesecakes: Spoon the cheesecake filling into the prepared crusts, smoothing the tops with a spatula.
- Step 4: Chill: Refrigerate the cheesecakes for at least 4 hours, or until set. This chilling time allows the flavors to meld beautifully.
- Step 5: Garnish: Before serving, whip the additional 20g of dairy-free whipping cream and pipe it onto each cheesecake. Top with crushed 4 Oreo cookies for that extra touch of sweetness.
Pro Tips for Success
To ensure your mini cheesecakes turn out perfectly every time, keep these expert insights in mind:
- Room Temperature Ingredients: Ensure your dairy-free cream cheese is at room temperature for a smooth batter without lumps.
- Crust Consistency: The crust should feel like wet sand—too dry and it won’t hold together, too wet and it will be soggy.
- Chill Thoroughly: Don’t rush the chilling process; this is crucial for the cheesecakes to set properly.
- Use Quality Ingredients: Opt for high-quality dairy-free cream cheese and whipping cream for the best flavor.
- Don’t Overmix: When folding in the whipped cream, be gentle to keep the mixture light and airy.
- Keep It Covered: Store your cheesecakes in an airtight container to maintain freshness.
- Serving Temperature: Let the cheesecakes sit at room temperature for a few minutes before serving for the best texture.
- Optional Toppings: Get creative with toppings like chocolate shavings, fresh fruit, or even a drizzle of caramel sauce for added flair!
Common Mistakes and Troubleshooting
Even the best cooks can encounter hiccups! Here are some common mistakes and how to avoid them:
- Crust Falling Apart: If your crust crumbles, try adding a bit more melted butter to bind it better.
- Filling Too Runny: If the filling doesn’t set, it may need more chilling time or could have been overmixed.
- Sticking to the Mold: Use a non-stick spray on your muffin tin or molds to prevent sticking.
- Flavorless Cheesecake: Always taste your filling before chilling; adjust sweetness if needed by adding a touch of powdered sugar or vanilla extract.
Storage and Make-Ahead Instructions
These mini cheesecakes are perfect for prepping ahead:
- Refrigeration: Store in an airtight container in the refrigerator for up to 5 days.
- Freezing: They can also be frozen for up to 3 months. Just make sure to wrap them tightly in plastic wrap and then foil.
- Thawing: To enjoy frozen cheesecakes, thaw them in the refrigerator overnight before serving.
Comprehensive FAQs
- Can I use regular dairy ingredients instead of dairy-free?: Yes, feel free to use traditional cream cheese and whipping cream if you’re not following a dairy-free diet.
- Do I need special molds?: While mini cheesecake molds are great, you can also use muffin tins lined with cupcake liners.
- How do I know when the cheesecakes are set?: They should feel firm to the touch and have a slight jiggle when you gently shake them.
- Can I make these in advance?: Absolutely! They are perfect for making ahead of time.
- What can I use instead of Oreo cookies?: Any chocolate cookie will work in place of Oreos for a similar flavor.
- How should I serve these cheesecakes?: Serve chilled, topped with whipped cream and extra cookie crumbles for a delightful presentation.
- Can I add fruit to the filling?: Yes, you can fold in fresh fruit or fruit puree for a fruity twist.
- What’s the best way to transport them?: Use a sturdy container to keep them upright and prevent sliding during transport.
Nutritional Tips and Dietary Adaptations
These cheesecakes are not only delicious but can also be made to fit various dietary needs:
- Lower Sugar: Use sugar-free Oreo cookies and a sugar substitute in the filling for a low-sugar option.
- High Protein: Consider adding a scoop of plant-based protein powder to the filling for a protein boost.
- Vegan Option: Ensure all ingredients are plant-based for a completely vegan dessert.
Equipment Recommendations
Here’s what you’ll need to make these delightful treats:
- Muffin Tin or Mini Cheesecake Molds: For shaping your cheesecakes.
- Mixing Bowls: To combine your ingredients easily.
- Electric Mixer: For achieving a smooth and fluffy filling.
- Spatula: To fold in ingredients gently and smooth out the filling.
- Measuring Cups and Spoons: For accurate ingredient measurements.
Serving Suggestions
When it comes time to serve your mini no-bake Oreo cheesecakes, consider these ideas:
- Family Gatherings: These are perfect for potlucks or family reunions—everyone will love them!
- Party Treats: Serve them at birthday parties or celebrations for a sweet touch.
- Picnics: Their individual portion sizes make them ideal for outdoor gatherings.
- Movie Nights: Enjoy these as a sweet treat while snuggling up with your favorite film.
With each bite of these mini no-bake Oreo cheesecakes, you’ll taste the love and joy of sharing sweet moments. They’re not just a dessert; they’re a celebration of community and connection, reminding us that the kitchen is a place for care and warmth. So gather your ingredients, roll up your sleeves, and let’s make some memories in the kitchen!
Mini No-Bake Oreo Cheesecakes
Ingredients
Crust
- 150 g Oreo Cookies (crushed for crust)
- 50 g dairy-free butter / margarine (melted)
Filling
- 260 g dairy-free whipping cream (for filling)
- 160 g dairy-free cream cheese (softened)
- 8 pieces Oreo cookies (for topping)
- 20 g dairy-free whipping cream (for topping)
- 4 pieces Oreo cookies (crushed for garnish)
Instructions
- Combine crushed Oreo cookies with melted dairy-free butter and press into the base of serving cups to form the crust.
- In a bowl, whip the dairy-free whipping cream until stiff peaks form.
- Mix the dairy-free cream cheese into the whipped cream until smooth, then fold in crushed Oreo cookies for the filling.
- Spoon the filling over the crust in each cup and smooth the surface.
- Top each cheesecake with crushed Oreo cookies and a dollop of whipped cream if desired. Chill for at least 2 hours before serving.