Author

daniel

Browsing

Growing up in a small Louisiana town, the kitchen was always the heart of our home. I remember the gentle hum of my grandmother’s voice, guiding me through the art of cooking, as if she were sharing the secrets of the universe. Every dish was a story, a connection to our roots and a celebration of family. One such dish that always brings me back to those cherished memories is the Hobo Casserole. It’s a simple, yet heartwarming dinner with ground beef that feels like a warm hug on a chilly day. This Ground Beef Casserole is a testament to the comfort of home-cooked meals, blending tradition with a touch of nostalgia, much like the recipes from my childhood.

Why You’ll Absolutely Love This Recipe

  • It’s so easy, it feels like a little kitchen victory!
  • Perfect for those busy weeknights when you crave something hearty and simple.
  • Rich in flavor with just a handful of ingredients you probably already have.
  • The layers of beef and potatoes create a cozy, satisfying meal.
  • It’s a dish that brings people together, much like a family gathering.

Simple Ingredients for a Delicious Treat

When it comes to this recipe, simplicity is key. Each ingredient tells its own story. The ground beef, seasoned just right, reminds me of the savory aromas that would fill my grandmother’s kitchen. The potatoes, sliced thin, add a comforting texture that pairs perfectly with the creamy mushroom soup. And let’s not forget the cheese—a generous sprinkle of cheddar that melts into gooey perfection. It’s these simple, everyday ingredients that make this Beef and Potatoes dish a standout among Beef Casserole Recipes. You’ll find the full ingredient list with exact measurements in the recipe card below!

Let’s Make Some Magic: Step-by-Step

Imagine us standing side by side, aprons on, ready to dive into this culinary adventure. We’ll start by preheating the oven and greasing our baking dish. Next, we’ll layer half of the sliced potatoes on the bottom, spreading them evenly like a canvas. Then, we’ll spoon half of the cooked ground beef mixture on top, letting the flavors mingle and dance. Repeat the layers, and soon you’ll have a beautiful tapestry of ingredients ready to bake into a delicious Ground Beef Casserole.

A Few of My Favorite Tips

Here’s a little secret between friends: for an extra layer of flavor, try adding a dash of Worcestershire sauce to the beef while it cooks. And if you’re feeling adventurous, a sprinkle of paprika on top before baking adds a lovely color and subtle spice. Remember, cooking is all about making it your own, just like how my grandmother taught me.

How I Like to Serve This

To me, this casserole is best served straight from the oven, with the cheese still bubbling and the aroma filling the room. Pair it with a simple green salad for a fresh contrast, and maybe a slice of crusty bread to soak up every last bit of goodness. It’s a meal meant for sharing, a true Beef Dinner that brings warmth to the table.

Storing & Reheating (If There’s Any Left!)

If you find yourself with leftovers—though that’s a rare occurrence in my house—store them in an airtight container in the fridge for up to three days. To reheat, simply pop a portion in the microwave or warm it in the oven until heated through. It’s like enjoying a little piece of comfort all over again.

For more comforting dishes that bring everyone together, check out my recipes for **[Tender Air Fryer Chicken Bites That Bring Back Family Nights](https://quickflavorfix.com/tender-air-fryer-chicken-bites-that-bring-back-family-nights)** and **[Comforting Air Fryer Meatballs That Bring Everyone Together](https://quickflavorfix.com/comforting-air-fryer-meatballs-that-bring-everyone-together)**. These dishes, much like our Hobo Casserole, remind us of the joy and love that food can bring into our lives.

Hobo Casserole (Ground Beef Recipe)

Prep Time 20 minutes
Cook Time 1 hour
Total Time 1 hour 20 minutes
Servings 6 servings
Calories 450
This hearty Hobo Casserole combines ground beef, potatoes, and cheese for a comforting meal that's easy to prepare.

Ingredients

Meat and Vegetables

  • 1 pound ground beef
  • 1 medium onion, chopped
  • 4 medium potatoes, thinly sliced

Condiments and Dairy

  • 1 can cream of mushroom soup ((10.5 ounces))
  • ½ cup milk
  • 1 ½ cups shredded cheddar cheese
  • 1 tablespoon butter, melted
  • 1 teaspoon garlic powder
  • 1 teaspoon onion powder
  • 1 teaspoon salt
  • ½ teaspoon black pepper
  • ½ teaspoon paprika (optional, for garnish)

Instructions 

  • Spread half of the sliced potatoes in an even layer on the bottom.
  • Spoon half of the cooked ground beef mixture on top of the potatoes.
  • Repeat with the remaining potatoes and beef.

Notes

For extra flavor, consider adding your favorite vegetables to the layers.
Calories: 450kcal
Cost: $15.00
Course: Main Dish
Cuisine: American
Keyword: Ground Beef

As a kid growing up in a small Louisiana town, my grandmother’s kitchen was a world of its own. The air was always fragrant with spices and love, and every meal was a story told through flavors. One of my fondest memories is her hearty beef dishes that felt like a warm embrace. Today, I want to share a recipe that brings back those cherished moments and fills your home with the same comforting aroma: Garlic Butter Beef Bites with Potatoes. This dish is a heartfelt blend of Southern roots and a sprinkle of my personal twist, perfect for those cozy nights when you want a meal that feels like a hug from the inside out.

Why You’ll Absolutely Love This Recipe

  • It’s so easy, it feels like a little kitchen victory!
  • The slow cooker does most of the work, giving you more time to savor the moment.
  • Every bite is a tender, flavorful journey—perfect for a cozy night in.
  • It’s a versatile dish that fits right into your Healthy Crock Pot meal plans.
  • Ideal for Make Ahead Dinners For The Week or Beef Crockpot Meals when you’re planning for two.

Simple Ingredients for a Delicious Treat

Each ingredient in this recipe plays a special role, much like the members of a family gathering. The beef stew meat becomes tender and flavorful, absorbing the rich garlic butter sauce. The baby potatoes add a comforting heartiness, perfect for soaking up those delicious juices. And let’s not forget the spices—smoked paprika, thyme, and rosemary—they’re like the unsung heroes, adding depth and aroma that make this dish unforgettable.

You’ll find the full ingredient list with exact measurements in the recipe card below!

Let’s Make Some Magic: Step-by-Step

Imagine us side by side in the kitchen, aprons on and ready to create something special. First, gather all your ingredients, cutting the beef into bite-sized pieces and halving the baby potatoes. If you want to give the potatoes a head start, parboil them for a few minutes. Then, heat up some olive oil in a skillet over medium-high heat, and sear the beef bites until they’re beautifully browned on all sides.

Next, in a small bowl, mix up the magic—melted butter, minced garlic, onion powder, smoked paprika, thyme, rosemary, salt, and black pepper. This garlic butter sauce is where the magic happens.

In your slow cooker, layer the halved baby potatoes and seared beef. Pour the garlic butter sauce over the top and add a splash of beef broth. Cover and let it cook on low for 6-8 hours or on high for 3-4 hours until the beef is fork-tender. Let the dish rest for about 10 minutes before serving, and enjoy the aroma that fills your home.

A Few of My Favorite Tips

Here’s a little secret I love to share with friends: if you want to add a bit of zing, sprinkle some fresh lemon juice over the dish just before serving. It brightens up the flavors beautifully. And if you’re feeling adventurous, try adding a handful of fresh herbs like parsley or chives for a pop of color and freshness.

How I Like to Serve This

For me, this dish pairs beautifully with a simple green salad or some crusty bread to mop up all that delicious sauce. It’s also delightful alongside a glass of your favorite red wine. And if you’re looking for more inspiration, check out some of my other cozy creations like **Tender Air Fryer Chicken Bites That Bring Back Family Nights** or **A Quick And Heartfelt Air Fryer Chicken Sausage Delight**.

Storing & Reheating (If There’s Any Left!)

If you happen to have leftovers, store them in an airtight container in the fridge for up to 3 days. When you’re ready to enjoy them again, gently reheat on the stove over low heat, adding a splash of beef broth to keep everything moist. This dish also freezes well, making it a great option for Crock Pot Meal Prep.

Garlic Butter Beef Bites with Potatoes

Prep Time 15 minutes
Cook Time 6 hours
Total Time 6 hours 15 minutes
Servings 4 servings
Calories 600
Deliciously tender beef bites cooked in a rich garlic butter sauce with baby potatoes.

Ingredients

Meat

  • 1.5 pounds beef stew meat (cut into bite-sized pieces.)
  • 1 pound baby potatoes (halved for even cooking.)
  • 4 tablespoons unsalted butter (melted for the garlic butter sauce.)
  • 3 cloves garlic (minced for flavor.)
  • 1 teaspoon onion powder (adds depth to the flavor.)
  • 1 teaspoon smoked paprika (for a smoky flavor.)
  • 0.5 teaspoon dried thyme (enhances the aroma.)
  • 0.5 teaspoon dried rosemary (adds a fragrant touch.)
  • 0.5 teaspoon salt (or to taste.)
  • 0.25 teaspoon black pepper (for seasoning.)
  • 0.25 cup beef broth (to keep the dish moist.)
  • 1 tablespoon olive oil (for searing the beef.)

Instructions 

  • Gather and prepare all ingredients.
  • Optional: Parboil baby potatoes for a few minutes.
  • Sear beef bites in olive oil until browned.
  • Mix melted butter, garlic, and spices to create sauce.
  • Combine potatoes, beef, sauce, and broth in slow cooker.
  • Cook on low for 6-8 hours or high for 3-4 hours.

Notes

Let the dish rest for 10 minutes before serving for best flavor.
Calories: 600kcal
Cost: $20
Course: Main Course
Cuisine: American
Keyword: beef

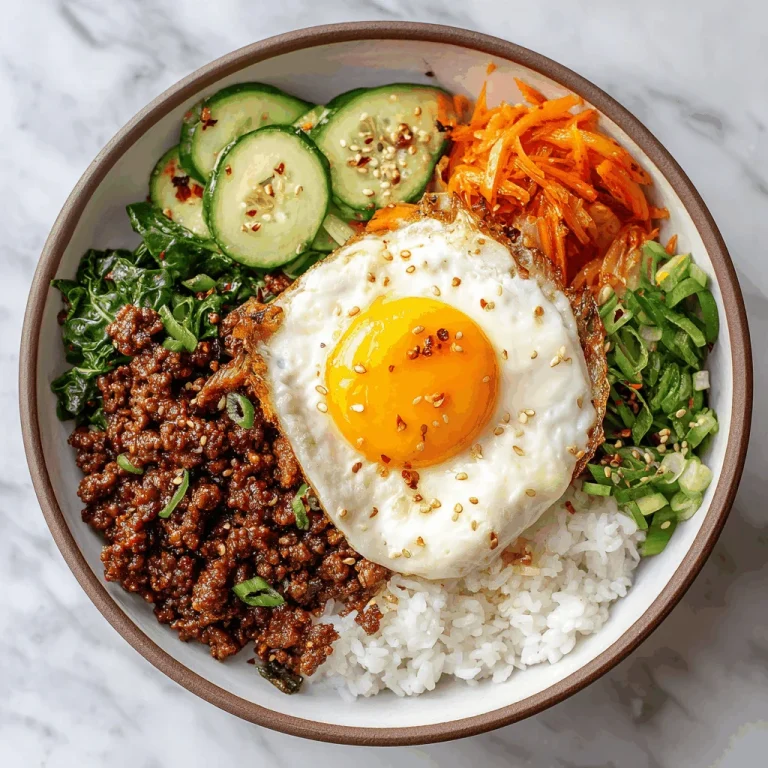
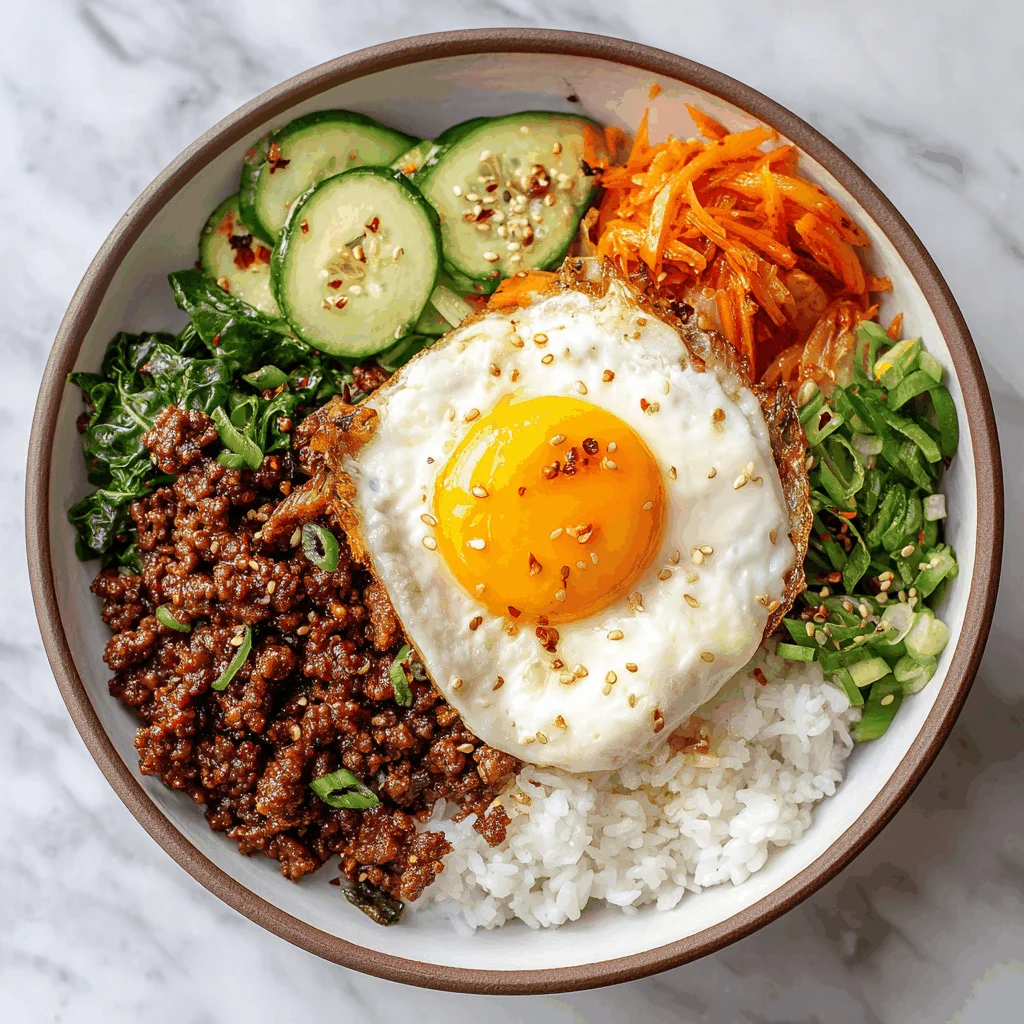
There’s something about a quick, hearty meal that takes me back to my grandmother’s kitchen in Louisiana, where every dish was a testament to love and simplicity. This Quick & Easy Korean Ground Beef Bowl is one of those meals that wraps you in warmth, much like a cherished family memory. It’s a dish that blends the rich, comforting flavors of Korean cuisine with the down-to-earth soul of Southern cooking, creating a symphony of taste that feels like a warm hug.

Why You’ll Absolutely Love This Recipe

  • It’s so easy, it feels like a little kitchen victory!
  • The flavors are bold and comforting, perfect for those days when you need a bit of a pick-me-up.
  • It’s a versatile dish that can accommodate whatever veggies you have on hand.
  • A great option for Quick Weeknight Dinners Ground Beef that doesn’t compromise on taste.
  • Perfect for Beef Lunch Meal Prep, making your weekdays a breeze.

Simple Ingredients for a Delicious Treat

Every ingredient in this dish is like an old friend, bringing its own magic to the table. The ground beef is the heart of the meal, lean and flavorful, while the brown sugar and soy sauce create a sweet and savory dance. The sesame oil adds a nutty depth, and the garlic and ginger are like the kitchen’s secret handshake, making everything just right. If you’re feeling adventurous, toss in those red pepper flakes for a little kick!

You’ll find the full ingredient list with exact measurements in the recipe card below!

Let’s Make Some Magic: Step-by-Step

Imagine us side by side in the kitchen, aprons on and spirits high. First, we’ll brown that ground beef in a large skillet over medium heat, letting the aroma fill the room. Drain any excess fat to keep things light. Next, we add the garlic and ginger—just a minute or so until they release their fragrant charm. Stir in the brown sugar, soy sauce, sesame oil, and for those who dare, some red pepper flakes. Let it all simmer together for a couple of minutes, allowing the flavors to meld into something truly special. Serve it hot over your choice of rice and sprinkle it with your favorite toppings like green onions, sesame seeds, or even shredded carrots. It’s that simple!

A Few of My Favorite Tips

Here’s a little secret: if you want to make this dish even more memorable, consider marinating the beef in the soy sauce and brown sugar mixture for about 30 minutes before cooking. It infuses every bite with flavor. And if you’re looking to add more veggies, toss in some bell peppers or snap peas for color and crunch.

How I Like to Serve This

I love serving this dish in a big bowl, letting everyone top theirs with whatever they fancy. I often add a dash of extra sesame oil and a sprinkle of sesame seeds for that final touch. Pair it with a simple cucumber salad on the side, and you’ve got a meal that’s as delightful as it is satisfying.

Storing & Reheating (If There’s Any Left!)

If you happen to have leftovers, store them in an airtight container in the fridge for up to three days. Reheat it gently on the stove or in the microwave, adding a splash of water or soy sauce to keep it moist. It’s a dish that tastes just as good the next day, making it a perfect candidate for Lunch Recipes Beef.

For more quick and heartfelt recipes, check out my other favorites like the **A Quick and Heartfelt Air Fryer Chicken Sausage Delight**, **Tender Air Fryer Chicken Bites That Bring Back Family Nights**, and **A Family Favorite Honey Garlic Air Fryer Chicken Delight**. Each one is crafted with care, just like this Korean Ground Beef Bowl.

Quick & Easy Korean Ground Beef Bowl

Prep Time 10 minutes
Cook Time 15 minutes
Total Time 25 minutes
Servings 4 servings
Calories 500
A delicious and simple Korean-inspired dish that combines savory ground beef with sweet and tangy flavors, served over rice.

Ingredients

Meat

  • 1 lb ground beef (lean)

Condiments

  • 3 tablespoons brown sugar
  • 1/4 cup soy sauce (low sodium if you prefer)
  • 1 tablespoon sesame oil

Aromatics

  • 3 cloves garlic, minced
  • 1/2 teaspoon crushed red pepper flakes (optional)
  • 1 teaspoon fresh ginger (or 1/2 tsp ground ginger)

Grains

  • 2 cups cooked rice (white, brown, or cauliflower)

Toppings

  • optional toppings: green onions, sesame seeds, shredded carrots, cucumber slices

Instructions 

  • In a large skillet over medium heat, cook the ground beef until browned. Drain any excess fat.
  • Add the garlic and ginger to the pan and sauté for about a minute until fragrant.
  • Stir in the brown sugar, soy sauce, sesame oil, and red pepper flakes. Let everything simmer for 2–3 minutes.
  • Serve hot over cooked rice and top with your favorite veggies, sesame seeds, or green onions.

Notes

Feel free to customize the toppings based on your preference!
Calories: 500kcal
Cost: $10.00
Course: main
Cuisine: Korean
Keyword: beef

Every time I whip up these Sweet and Spicy Whipped Feta Crostini, I’m transported back to the sun-drenched afternoons spent in my grandmother’s kitchen in Louisiana. The air would be filled with the aroma of her homemade bread, and I’d be kneading dough beside her, listening to stories of our family’s past. These crostini, with their blend of creamy feta and a drizzle of hot honey, are like a warm hug from those cherished memories—a perfect blend of sweet comfort and a spicy kick that makes every gathering feel like a celebration.

Why You’ll Absolutely Love This Recipe

  • It’s a breeze to make, turning any kitchen endeavor into a delightful success!
  • The combination of sweet honey and spicy kick is a flavor dance that will leave your guests asking for more.
  • Perfect for any occasion, whether it’s a casual get-together or a festive holiday party.
  • These crostini bites are versatile and can be served as fan favorite appetizers or a standout on any crostini board.

Simple Ingredients for a Delicious Treat

Each ingredient in this recipe brings its own special note to the symphony of flavors. The honey, with its golden sweetness, reminds me of summer days spent outside, while the hot sauce adds a bit of fiery excitement. Feta, cream cheese, and cottage cheese come together to create a creamy, tangy base that’s just irresistible. Pecans and rosemary add a touch of Southern charm, echoing the warmth and love found in every bite.

You’ll find the full ingredient list with exact measurements in the recipe card below!

Let’s Make Some Magic: Step-by-Step

Let’s dive into the heart of this recipe, where we’ll create something truly special together. Start by making the hot honey: combine honey, apple cider vinegar, hot sauce, garlic, and red pepper flakes in a small saucepan. Heat it gently until it just begins to simmer, then let it cool. Meanwhile, we’ll prepare the whipped feta. In a food processor, blend feta cheese crumbles, cream cheese, and cottage cheese until smooth and creamy. Spread this luscious mixture onto toasted baguette slices, sprinkle with chopped pecans and rosemary, and finally, drizzle with the cooled hot honey. Voilà! A masterpiece ready to be enjoyed.

A Few of My Favorite Tips

Here’s a little secret from my kitchen to yours: prepare the whipped feta and hot honey the day before your gathering. It gives the flavors time to meld and makes the day of your event a tad less hectic. Simply store the hot honey in a sealed container at room temperature and keep the whipped feta in the fridge. Trust me, your future self will thank you!

How I Like to Serve This

I love serving these crostini as a centerpiece for any festive starters board. They’re perfect for holiday crostini appetizers, adding a touch of elegance and a burst of flavor to any spread. Pair them with a crisp white wine or a sparkling cider, and you’ve got yourself a party that’s bound to be memorable. For more appetizer inspiration, check out my **[A Quick and Heartfelt Air Fryer Chicken Sausage Delight](https://quickflavorfix.com/a-quick-and-heartfelt-air-fryer-chicken-sausage-delight)** or the **[Tender Air Fryer Chicken Bites That Bring Back Family Nights](https://quickflavorfix.com/tender-air-fryer-chicken-bites-that-bring-back-family-nights)**.

Storing & Reheating (If There’s Any Left!)

If you’re lucky enough to have leftovers, store the whipped feta in an airtight container in the refrigerator for up to three days. The hot honey can be kept at room temperature for about a week. When you’re ready to enjoy them again, a quick toast of fresh baguette slices is all you need to recreate that delightful crunch, topped with your pre-made goodies.

Sweet and Spicy Whipped Feta Crostini With Hot Honey

Prep Time 20 minutes
Cook Time 10 minutes
Total Time 30 minutes
Servings 12 pieces
Calories 250
A delightful blend of creamy whipped feta and spicy hot honey, served on crispy crostini for a perfect appetizer.

Ingredients

Hot Honey

  • ½ cup honey
  • ½ tablespoon apple cider vinegar
  • ½ tablespoon hot sauce (sriracha)
  • 1½ teaspoons garlic, minced
  • ½ teaspoon red pepper flakes

Whipped Feta

  • 1 4-ounce container feta cheese crumbles
  • ¼ cup cream cheese
  • ¼ cup cottage cheese

Crostini

  • 24 pieces toasted baguette slices, bagel chips or crackers
  • ½ cup pecans, chopped
  • 3-4 sprigs fresh rosemary, torn

Instructions 

  • Combine honey, apple cider vinegar, and hot sauce in a saucepan. Heat until simmering, then cool.
  • Blend feta, cream cheese, and cottage cheese in a food processor until smooth.
  • Spoon whipped feta onto baguette slices on a platter.
  • Top with pecans and rosemary, then drizzle with hot honey.
  • Serve immediately or prepare in advance and store appropriately.

Notes

Prepare whipped feta and hot honey a day ahead for convenience.
Calories: 250kcal
Cost: $15.00
Course: Appetizer
Cuisine: Mediterranean
Keyword: Feta

Gather ’round, friends, because today we’re diving into a dish that’s more than just a Delicious Dip Recipe; it’s a scrumptious embrace from my kitchen to yours. Picture this: a bustling kitchen in the heart of Louisiana, the air thick with laughter and the comforting aroma of something simmering. That’s where the magic of my Texas Trash Dip began. Inspired by the community potlucks of my childhood, this dip, with its creamy, cheesy allure, is a warm reminder that food is best enjoyed when shared.

Why You’ll Absolutely Love This Recipe

  • It’s so easy, it feels like a little kitchen victory!
  • Perfect for those last-minute gatherings or planned celebrations.
  • A Loaded Taco Dip that brings everyone to the table.
  • Rich, creamy, and packed with flavors that dance on your taste buds.
  • Ideal for any occasion—be it a quiet evening or a lively tailgate party.

Simple Ingredients for a Delicious Treat

Let me tell you, the beauty of this dish is in its simplicity. Each ingredient is like a dear friend, bringing its unique charm to the table. Refried beans, cream cheese, and sour cream create a luscious base that’s just begging to be devoured. The green chiles add a hint of spice, while the taco seasoning ties everything together with a touch of warmth. And let’s not forget the cheese—a glorious, melty crown that makes this dip irresistible.

You’ll find the full ingredient list with exact measurements in the recipe card below!

Let’s Make Some Magic: Step-by-Step

Alright, folks, let’s roll up those sleeves and get our hands a little messy. First, let your cream cheese sit at room temperature for about 30 minutes. This little trick ensures it blends smoothly. In a large mixing bowl, mash the refried beans slightly, if you fancy. Add in the softened cream cheese and sour cream. Grab a hand mixer or a trusty whisk, and beat the mixture until it’s smooth and creamy. Stir in the taco seasoning—make sure it’s evenly distributed for that consistent flavor in every bite.

Preheat your oven to 350°F (175°C) and lightly grease a baking dish. Spread the creamy bean mixture evenly in the prepared dish. Sprinkle half of the shredded cheese over the bean mixture, then add the drained chopped green chiles. Top it all off with the remaining shredded cheese. Now, pop that dish into your preheated oven and bake for 20-25 minutes. You’ll know it’s done when the cheese is melted, bubbly, and has a lovely golden hue.

A Few of My Favorite Tips

Here’s a little secret from my kitchen to yours: if you’re feeling adventurous, toss in some chopped cooked chorizo for a smoky kick. Or, if you prefer, ground beef works wonders too. And don’t be shy with the toppings—diced tomatoes and black olives add a fresh burst of flavor that complements the richness of the dip beautifully.

How I Like to Serve This

This dip is a star on its own, but I love serving it with a side of crispy tortilla chips or warm, soft pretzels. It’s also fantastic as a topping on a bed of greens for a hearty salad. And if you’re hosting a gathering, pair it with some Comforting Air Fryer Meatballs or Air Fryer Salmon for a complete feast.

Storing & Reheating (If There’s Any Left!)

Should you find yourself with leftovers (a rare occurrence, I assure you), store the dip in an airtight container in the refrigerator. It’ll stay fresh for about 3-4 days. To reheat, simply pop it in the microwave or oven until warmed through. A quick stir will bring back that creamy texture, making it just as good as when it first came out of the oven. Enjoy!

Texas Trash Dip

Prep Time 30 minutes
Cook Time 25 minutes
Total Time 55 minutes
Servings 8 servings
Calories 350
A creamy, cheesy dip loaded with flavors, perfect for parties and gatherings.

Ingredients

Base Ingredients

  • 2 cans refried beans
  • 1 package cream cheese (8-ounce)
  • 1 cup sour cream
  • 1 can chopped green chiles (4.5-ounce, drained)
  • 1 packet taco seasoning
  • 4 cups shredded mexican cheese blend (divided)
  • diced tomatoes
  • chopped cooked chorizo or ground beef
  • black olives (sliced)

Instructions 

  • Let cream cheese sit at room temperature for 30 minutes.
  • Mash refried beans slightly, then mix with cream cheese and sour cream until smooth.
  • Stir in taco seasoning until evenly distributed.
  • Preheat oven to 350°F (175°C) and spread mixture in a greased baking dish.
  • Sprinkle half of the cheese, add chiles, then top with remaining cheese.
  • Bake for 20-25 minutes until cheese is melted and golden.

Notes

Serve with tortilla chips or fresh veggies for dipping.
Calories: 350kcal
Cost: $15.00
Course: Appetizer
Cuisine: Tex-Mex
Keyword: Beans

Growing up in the heart of Louisiana, in a town where the air is always thick with the scent of magnolias and the sound of cicadas, I learned that food is more than just sustenance. It’s a language of love, a way of bringing people together, much like my grandmother’s porch where neighbors would gather, sharing stories and laughter over plates of homemade goodness. This Bruschetta Dip is one of those dishes that feels like an embrace, a comforting reminder of warm evenings spent in good company. It’s a recipe that not only tantalizes the taste buds but also celebrates the simple joy of togetherness.

Why You’ll Absolutely Love This Recipe

  • It’s a Cheesy Bruschetta Dish that combines creamy and tangy flavors, perfect for any gathering.
  • It’s so easy, it feels like a little kitchen victory!
  • Perfect for Work Party Appetizers or a cozy night in.
  • The combination of fresh and rich ingredients makes it an irresistible treat.
  • It’s a warm hug in a dish, ideal for those chilly evenings or as a Christmas Dip Appetizer.

Simple Ingredients for a Delicious Treat

The beauty of this recipe lies in its simplicity, using ingredients that you can find in any pantry. Fresh roma tomatoes bring a burst of flavor, while basil adds a fragrant touch reminiscent of an Italian summer. The garlic and olive oil work in harmony to create a base that’s both robust and inviting.

The cheese mix is where the magic happens. Feta and cream cheese blend into a creamy, tangy base that’s perfectly complemented by a hint of lemon juice and a sprinkle of red pepper flakes for a bit of heat. It’s a dish that’s as comforting as it is delicious.

You’ll find the full ingredient list with exact measurements in the recipe card below!

Let’s Make Some Magic: Step-by-Step

Start by coring and dicing your roma tomatoes into small cubes. In a medium bowl, combine the tomatoes with chopped basil, minced garlic, olive oil, balsamic vinegar, and a pinch of salt. Toss everything together and let it marinate for about 10 minutes. This step allows the flavors to meld, creating a beautiful bruschetta topping.

Meanwhile, in the bowl of your food processor, add all the cheese dip ingredients. Puree for 3-4 minutes until smooth and creamy, making sure to scrape the bowl in the middle. This ensures a consistent texture that’s perfect for dipping.

Scoop the cheese mixture onto a shallow serving plate or bowl, and top with your prepared bruschetta. Sprinkle with red pepper flakes, freshly grated parmesan cheese, and more basil. Serve this delicious creation with crackers, pita chips, or toasted bread.

A Few of My Favorite Tips

For an extra layer of flavor, try roasting the garlic before adding it to the mix. It brings a sweet, mellow depth that enhances the overall taste. Also, don’t skimp on the basil; it’s the herb that ties everything together in a fragrant bow.

How I Like to Serve This

Whenever I serve this dip, I love pairing it with crispy toasted baguette slices. The crunch of the bread against the creamy dip is a match made in heaven. It’s also a great companion to a light salad or alongside **Comforting Air Fryer Meatballs That Bring Everyone Together** for a meal that’s both satisfying and heartwarming.

Storing & Reheating (If There’s Any Left!)

Should you find yourself with leftovers, store this dip in an airtight container in the refrigerator. It will keep well for up to three days. To reheat, simply warm it in the oven at a low temperature until it’s just heated through. It’s a dish that’s just as delightful on the second day, making it perfect for **Bruschetta Appetizer Party Ideas** or a quick snack.

Bruschetta Dip

Prep Time 20 minutes
Total Time 20 minutes
Servings 8 servings
Calories 250
A delicious and creamy bruschetta dip that combines fresh tomatoes, herbs, and cheese for a perfect appetizer.

Ingredients

Fresh Ingredients

  • 4 pieces roma tomatoes
  • 1/4 cup basil leaves (chopped)
  • 1 clove garlic (minced)
  • 1 tablespoon extra virgin olive oil
  • 1-2 teaspoons balsamic vinegar
  • to taste salt

Cheese Ingredients

  • 8 oz feta cheese block (crumbled)
  • 1/2 block cream cheese (4 oz)
  • 1/2 cup sour cream
  • 1 clove garlic (minced)
  • 1 tablespoon lemon juice (freshly squeezed)
  • 1 tablespoon olive oil
  • to taste salt
  • to taste more basil leaves (chopped)
  • to taste red pepper flakes
  • to taste parmesan cheese (freshly grated)

Instructions 

  • Core and dice tomatoes into small cubes.
  • In a medium bowl, combine tomatoes, basil, garlic, olive oil, balsamic vinegar, and salt. Toss to coat.
  • Set aside to marinate for 10 minutes.
  • In the bowl of your food processor, add all cheese dip ingredients and puree for 3-4 minutes until smooth and creamy.
  • Scoop the cheese mixture onto a serving plate and top with bruschetta dip.
  • Sprinkle with red pepper flakes, parmesan cheese, and more basil. Serve with crackers, pita chips, or toasted bread.

Notes

For a spicier kick, add more red pepper flakes.
Calories: 250kcal
Cost: $15.00
Course: Appetizer
Cuisine: Italian
Keyword: Bruschetta

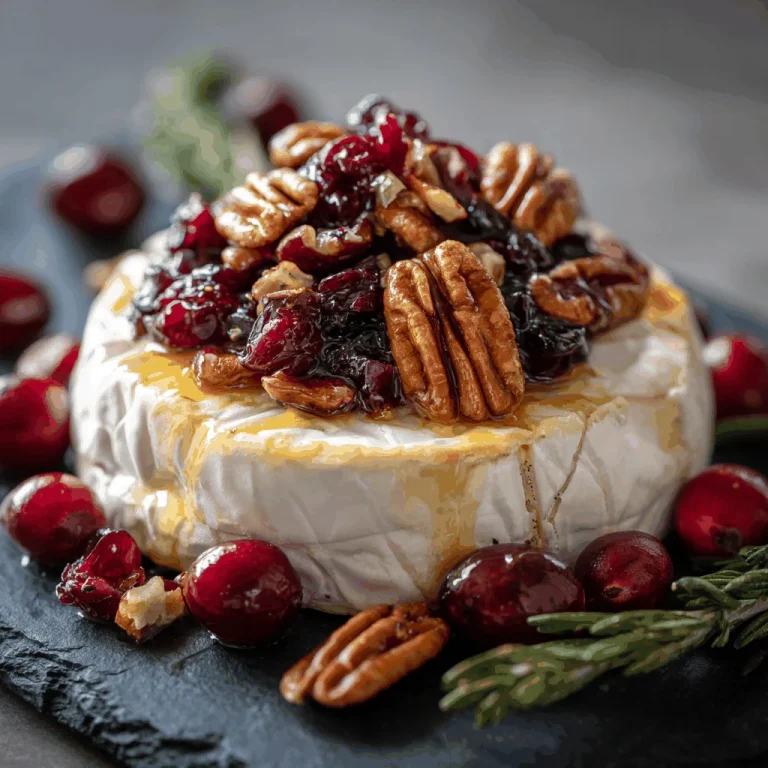
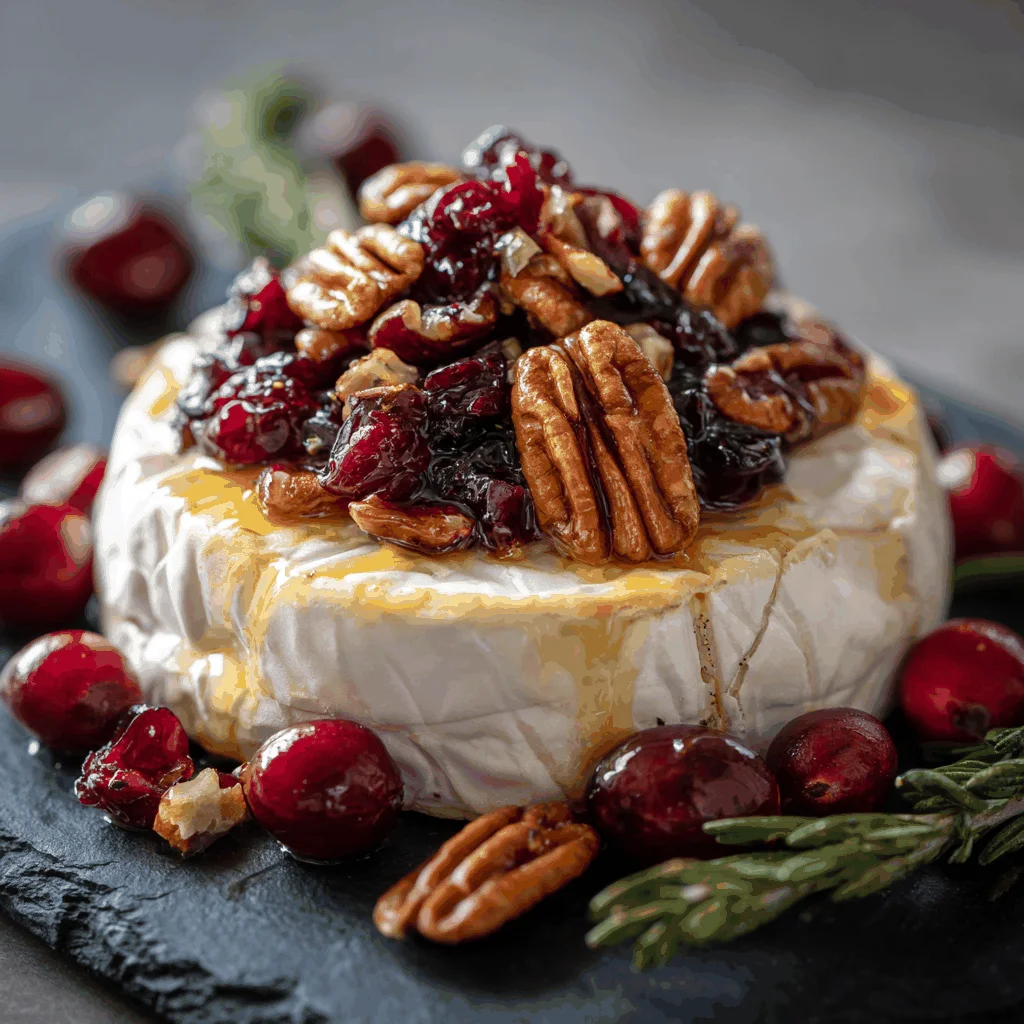
There’s something truly magical about the aroma of cheese baking in the oven, especially when it’s Brie. This recipe for Baked Brie with Cranberries and Pecans takes me back to my childhood days in Louisiana, where food was the language of love and gatherings in the kitchen were a daily affair. I remember my grandmother’s kitchen, where the air was always rich with the scent of something baking, and her laughter was the soundtrack to our culinary adventures. This dish, with its warm, gooey center and sweet, nutty topping, is like a hug on a plate, perfect for sharing with loved ones around the table.

Why You’ll Absolutely Love This Recipe

  • It’s a breeze to make, truly a little kitchen victory that anyone can achieve!
  • The combination of flavors is a symphony of sweet, savory, and nutty goodness.
  • Perfect for any gathering, it transforms simple moments into cherished memories.
  • It’s a beautiful centerpiece that invites everyone to dig in and share.
  • This recipe is versatile enough to fit into any season, but especially shines as a Fall Appetizer Easy.

Simple Ingredients for a Delicious Treat

Each ingredient in this recipe plays its part to perfection, like a well-rehearsed jazz band. The Brie cheese, with its creamy texture, is the star, while the dried cranberries add a touch of sweetness and a pop of color. Chopped pecans bring in a delightful crunch, and honey drizzles its golden warmth over everything. Finally, fresh rosemary adds a hint of earthiness, tying all the flavors together beautifully.

You’ll find the full ingredient list with exact measurements in the recipe card below!

Let’s Make Some Magic: Step-by-Step

Preheat your oven to 350°F (175°C). As we wait for the oven to warm, imagine the cozy aroma that will soon fill your kitchen. Place the Brie wheel on a baking sheet lined with parchment paper. Gently sprinkle the dried cranberries and chopped pecans over the Brie, letting them nestle in like old friends. Drizzle the honey with a steady hand, knowing that sweetness is about to mingle with savory in the most delightful way. Bake for 10-15 minutes, until the Brie is soft and melty. As the timer chimes, garnish with fresh rosemary and serve with crackers or sliced baguette. It’s a moment of creation, and I’m right there with you, cheering you on.

A Few of My Favorite Tips

Let me share a few secrets with you, like a friend whispering across the kitchen table. If you’re feeling adventurous, try adding a sprinkle of sea salt to heighten the flavors. For a festive touch, consider pairing this dish with Comforting Air Fryer Meatballs That Bring Everyone Together or A Quick and Heartfelt Air Fryer Chicken Sausage Delight. Both are perfect companions to this Brie, making for a delightful spread.

How I Like to Serve This

For me, serving this Baked Brie is all about creating an inviting atmosphere. I love to place it at the center of the table, surrounded by an array of crackers, fresh fruits, and perhaps a glass of wine, transforming it into an elegant Toast Aperitif. It’s a dish that invites conversation and laughter, a true celebration of togetherness.

Storing & Reheating (If There’s Any Left!)

In the rare event that you have leftovers, wrap the Brie tightly in plastic wrap and store it in the refrigerator. To reheat, simply pop it back in the oven at 350°F (175°C) until it’s warmed through. It’s a dish that keeps on giving, each bite a reminder of the joy of sharing.

Baked Brie with Cranberries and Pecans

Prep Time 10 minutes
Cook Time 15 minutes
Total Time 25 minutes
Servings 4 servings
Calories 300
This delightful baked brie is topped with sweet cranberries and crunchy pecans, making it a perfect appetizer for any gathering.

Ingredients

Cheese

  • 1 wheel brie cheese
  • 1/4 cup dried cranberries
  • 1/4 cup chopped pecans
  • 2 tablespoons honey
  • fresh rosemary for garnish

Instructions 

  • Preheat oven to 350°F (175°C).
  • Place the Brie wheel on a baking sheet lined with parchment paper.
  • Sprinkle dried cranberries and chopped pecans over the Brie.
  • Drizzle with honey.
  • Bake for 10-15 minutes, until the Brie is soft and melty.
  • Garnish with fresh rosemary and serve with crackers or sliced baguette.

Notes

Serve warm for the best flavor and texture.
Calories: 300kcal
Cost: $10.00
Course: Appetizer
Cuisine: French
Keyword: Brie

Every time I whip up this creamy artichoke dip, I’m transported back to my grandmother’s kitchen in our small Louisiana town. I remember the warmth of her smile as she stirred a pot of gumbo or baked a pie, filling the room with mouthwatering aromas and a sense of togetherness. This Best Artichoke Dip does the same—it’s a recipe that brings friends and family closer, just like those cherished moments around her table.

Why You’ll Absolutely Love This Recipe

  • It’s a Four-ingredient Appetizer, making it a breeze to prepare.
  • This dip is comfort food at its finest, perfect for those cozy gatherings.
  • The rich, creamy texture feels like a warm hug in every bite.
  • It’s so easy, it feels like a little kitchen victory!
  • Perfect for Party Appetizer Ideas, it never fails to impress.

Simple Ingredients for a Delicious Treat

There’s something beautifully simple about an Easy Artichoke Dip Recipe that relies on just a handful of ingredients. Here’s what you’ll need:

  • 1 (15 oz.) can water packed artichoke hearts, drained and chopped: These little gems are the heart of our dip, offering a tender bite and subtle tang.
  • 1 cup mayonnaise: Mayonnaise adds a silky richness that makes this dip irresistibly creamy.
  • 1 cup fresh shredded parmesan cheese: The cheese melts into a golden, bubbly layer, adding depth and a nutty flavor.
  • 2 cloves fresh garlic, minced fine: Garlic brings a fragrant warmth that ties everything together.

You’ll find the full ingredient list with exact measurements in the recipe card below!

Let’s Make Some Magic: Step-by-Step

Gather your ingredients, and let’s dive into the heartwarming process of making this dip. Imagine we’re side by side in my cozy New Orleans kitchen.

  1. Preheat your oven to 350 degrees.
  2. In a mixing bowl, combine the artichoke hearts, mayonnaise, parmesan cheese, and garlic. Stir until well blended, thinking of the joy these flavors will bring.
  3. Coat an 8” pie dish or small casserole dish with non-stick spray and spread the mixture evenly.
  4. Bake for 25 minutes until the top is bubbly and golden brown, a sign of pure deliciousness.
  5. Double the recipe for a crowd and use a 7”x10” glass baking dish.
  6. Serve with celery or carrot sticks, crostini, or crackers.

A Few of My Favorite Tips

Here’s a little secret from my kitchen to yours: add a dash of cayenne pepper for a gentle kick, or sprinkle some finely chopped fresh parsley for a pop of color and freshness. These small touches can elevate your dip to new heights.

How I Like to Serve This

I love to serve this dip with an array of crunchy celery and carrot sticks, or some warm crostini. The contrast of textures makes each bite a delightful experience. And if you want to explore more comforting recipes, you might enjoy my Comforting Air Fryer Meatballs That Bring Everyone Together.

Storing & Reheating (If There’s Any Left!)

On the off chance you have leftovers, store them in an airtight container in the refrigerator for up to three days. To reheat, simply pop it back in the oven at 350 degrees until warmed through. It’s like enjoying a little taste of that gathering all over again.

Best Artichoke Dip

Prep Time 10 minutes
Cook Time 25 minutes
Total Time 35 minutes
Servings 8 servings
Calories 300
A creamy and cheesy artichoke dip that's perfect for any gathering.

Ingredients

Dip Ingredients

  • 1 can water packed artichoke hearts, drained and chopped
  • 1 cup mayonnaise
  • 1 cup fresh shredded parmesan cheese
  • 2 cloves fresh garlic, minced fine

Instructions 

  • Mix everything together in a bowl and place in a pie dish coated with non-stick spray.
  • Bake for 25 minutes in a 350 degree oven until bubbly and golden brown.
  • Double the recipe for a crowd and serve with celery, carrot sticks, crostini, or crackers.

Notes

Serve warm for the best flavor and texture.
Calories: 300kcal
Cost: $10.00
Course: Appetizer
Cuisine: American
Keyword: Artichoke

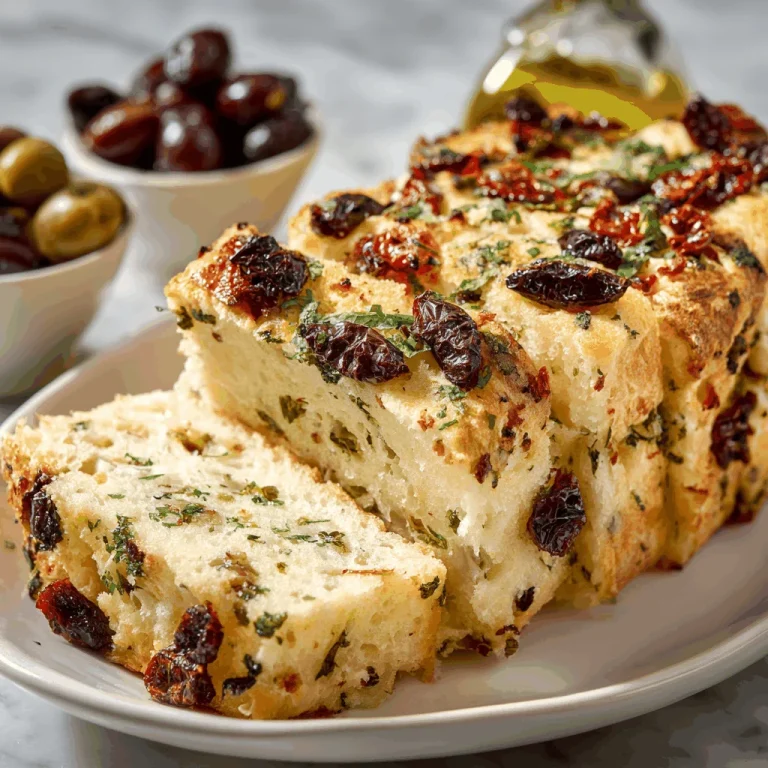
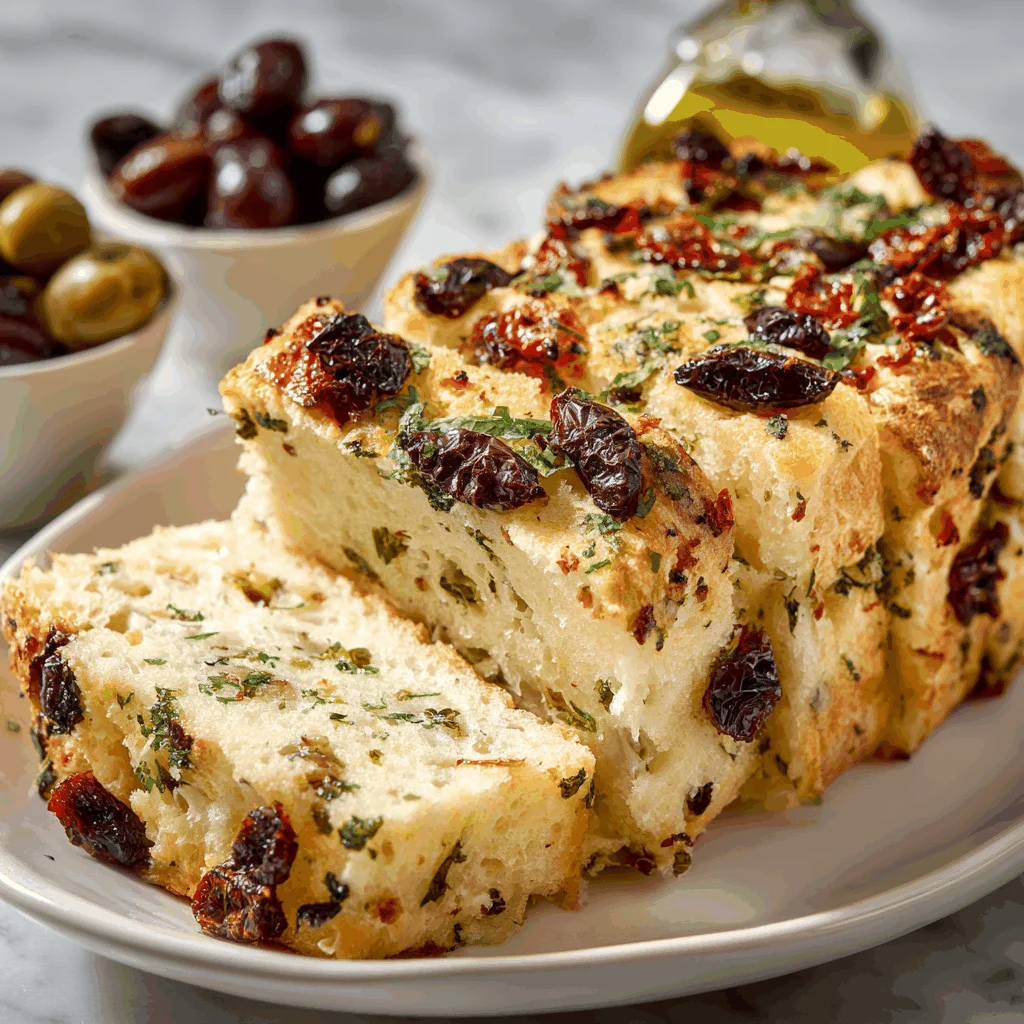
There’s a certain magic in the air when the aroma of freshly baked bread dances through my kitchen. It’s a scent that immediately transports me back to my childhood in that small Louisiana town, where every meal was a celebration and every bite was a memory in the making. My grandmother, with her warm smile and gentle hands, taught me that the kitchen is where love is most honestly expressed. This Olive Cheese Bread recipe is a tribute to those days, a slice of joy that brings us together, just like the hearty meals we shared around her table.

Why You’ll Absolutely Love This Recipe

  • It’s indulgently cheesy with just the right hint of garlic, making it comfort food at its finest.
  • The combination of green and black olives adds a delightful burst of flavor in every bite.
  • It’s so easy, it feels like a little kitchen victory!
  • This bread is perfect for gatherings, bringing everyone together over shared smiles and stories.

Simple Ingredients for a Delicious Treat

Every ingredient in this Olive Cheese Bread tells a story. The full fat sour cream and butter create a creamy base, reminiscent of the richness of Southern hospitality. The green and black olives, with their briny goodness, bring a touch of Mediterranean sunshine to our Southern table. The Monterey Jack cheese melts into gooey perfection, while the green onions add a fresh burst of flavor. And of course, a sprinkle of kosher salt and fresh cracked pepper brings everything together in harmony.

You’ll find the full ingredient list with exact measurements in the recipe card below!

Let’s Make Some Magic: Step-by-Step

Let’s dive into making this delightful bread. Picture me right there with you, apron on, ready to share this moment.

  1. Heat your oven to 350 degrees, allowing it to warm the room as you prepare.
  2. In a medium bowl, combine the sour cream, garlic powder, and butter with a large pinch of salt and pepper. Stir it until it’s mostly smooth, like a comforting hug.
  3. Add in the cheese and green onions, stirring until well combined, like bringing old friends together.
  4. Gently fold in the olives, ensuring each spoonful is a perfect blend of flavors.
  5. Slice the French bread loaf in half widthwise and then in half lengthwise, creating four perfect canvases for our masterpiece.
  6. Divide the olive mixture between the pieces, spreading it evenly on the cut side of the bread.
  7. Bake for 20-25 minutes or until the cheese is melted and the ends start to get golden brown, filling your kitchen with warmth and anticipation.
  8. For an extra touch of crispiness, broil for 1-2 minutes until the cheese is a dark golden brown.
  9. Slice, garnish with fresh parsley, and enjoy the fruits of your labor.

A Few of My Favorite Tips

Here’s a little secret: using a mix of green and black olives creates a more complex flavor profile, making each bite a delightful surprise. And if you’re feeling adventurous, try sprinkling a bit of red pepper flakes for a hint of heat.

How I Like to Serve This

This Olive Cheese Bread is a celebration in itself, but I love serving it alongside a hearty soup or a fresh salad, letting it be the star of the meal. It pairs beautifully with a glass of crisp white wine or a refreshing iced tea.

Storing & Reheating (If There’s Any Left!)

If you find yourself with leftovers (a rare occurrence, I assure you), simply wrap the bread in foil and store it in the refrigerator. To reheat, pop it back in the oven at 350 degrees for about 10 minutes, and it’ll be just as delightful as the first time.

If you loved this recipe, you might also enjoy exploring my other comforting creations like the **[Comforting Air Fryer Meatballs That Bring Everyone Together](https://quickflavorfix.com/comforting-air-fryer-meatballs-that-bring-everyone-together)** or **[A Family Favorite Honey Garlic Air Fryer Chicken Delight](https://quickflavorfix.com/a-family-favorite-honey-garlic-air-fryer-chicken-delight)**. These dishes, much like our Olive Cheese Bread, are crafted with love and meant to be shared.

Olive Cheese Bread

Prep Time 15 minutes
Cook Time 25 minutes
Total Time 40 minutes
Servings 4 pieces
Calories 350
A deliciously cheesy bread topped with savory olives, perfect for sharing!

Ingredients

Dairy

  • 170 g full fat sour cream
  • 56.7 g softened butter
  • 198 g green olives, drained and sliced
  • 170 g black olives, drained and sliced
  • 227 g shredded monterey jack cheese
  • 25 g thinly sliced green onions
  • 1 g garlic powder
  • 227 g loaf french bread
  • kosher salt
  • fresh cracked pepper

Instructions 

  • Heat oven to 350 degrees.
  • Combine sour cream, garlic powder, butter, salt, and pepper in a bowl.
  • Add cheese and green onion, then fold in olives.
  • Slice French bread and spread olive mixture on cut sides.
  • Bake for 20-25 minutes until cheese is melted and golden.
  • Broil for 1-2 minutes, slice, and enjoy!

Notes

For extra flavor, add herbs like oregano or basil.
Calories: 350kcal
Cost: $10.00
Course: Appetizer
Cuisine: American
Keyword: Olives

There’s a certain magic that comes alive in the kitchen, especially when I’m whipping up a dish that brings back cherished memories. My Nostalgic Air Fryer Chicken Bites for Family Gatherings is one such recipe. Growing up in a small Louisiana town, I spent countless hours in the kitchen with my grandmother, her stories and laughter filling the room as we cooked together. This dish, though modern in its air-fried simplicity, is a nod to those moments—comforting, crispy, and packed with love. It’s perfect for family gatherings where stories are shared and new memories are made.

Why You’ll Absolutely Love This Recipe

  • It’s so easy, it feels like a little kitchen victory!
  • Perfect for those who are just starting out—Beginner Chicken Recipes at its best.
  • The bites are crispy on the outside, juicy on the inside—just like a warm hug from grandma.
  • A healthier take on a classic, part of the Air Fry Chicken Recipes Healthy family.
  • Great for Easy Meals For Dinner High Protein that satisfy the whole crew.

Simple Ingredients for a Delicious Treat

Let’s talk about the ingredients, shall we? With just a few simple components, each one plays a part in creating a dish that’s bursting with flavor. We start with 1lb of chicken fillet, a blank canvas ready to absorb the love and spices we’re about to infuse. A drizzle of extra virgin olive oil adds richness and helps the seasoning adhere beautifully. Speaking of seasoning, I reach for taco seasoning—like the Siete brand—which brings a delightful kick. And don’t forget a pinch of kosher salt, only if needed, to tie all the flavors together.

You’ll find the full ingredient list with exact measurements in the recipe card below!

Let’s Make Some Magic: Step-by-Step

Alright, let’s get cooking! First, we preheat our trusty air fryer to 390°F. While it’s warming up, grab your chicken fillet and cut it into 1.5-inch chunks. Toss these little bites in a bowl with olive oil and taco seasoning, making sure each piece is well-coated. Once your air fryer is ready, spread the chicken pieces in a single layer and let them cook for about 10-12 minutes. Be sure to shake the basket halfway through—this ensures each bite gets that perfect golden finish. And remember, the chicken is done when it reaches an internal temperature of 165°F and is no longer pink in the middle.

A Few of My Favorite Tips

Here’s a little secret from my kitchen to yours: don’t overcrowd the air fryer. It’s tempting to throw in all the chicken at once, but giving them space ensures they cook evenly and get that crispy exterior we all love. Also, feel free to experiment with the seasoning. Perhaps a pinch of smoked paprika or a dash of cayenne for a bit more heat?

How I Like to Serve This

These chicken bites are a joy to serve. I love plating them up with a side of homemade coleslaw or a fresh green salad—something crisp and vibrant to complement their richness. They’re also fantastic with a dipping sauce. A simple, tangy yogurt dip or a spicy aioli can elevate the flavors beautifully.

Storing & Reheating (If There’s Any Left!)

If you’re lucky enough to have leftovers, these chicken bites store wonderfully. Place them in an airtight container and pop them into the fridge, where they’ll keep for up to three days. When you’re ready to enjoy them again, a quick reheat in the air fryer will bring back their crispy goodness. Just a few minutes at 350°F should do the trick.

For more delicious air fryer chicken recipes, check out my other creations: Nostalgic Air Fryer Chicken Breast That Brings Joy, Tender Air Fryer Chicken Bites That Bring Back Family Nights, and A Family Favorite Honey Garlic Air Fryer Chicken Delight.

Air Fryer Chicken Bites

Prep Time 10 minutes
Cook Time 12 minutes
Total Time 22 minutes
Servings 4 servings
Calories 300
Deliciously seasoned chicken bites cooked to perfection in an air fryer, making for a quick and healthy meal.

Ingredients

Chicken Bites

  • 1 lb chicken fillet
  • 1-2 tablespoons extra virgin olive oil (based on preference)
  • 1-2 tablespoons taco seasoning (like Siete, based on preference)
  • 1/4 teaspoon kosher salt (if needed)

Instructions 

  • Preheat the air fryer to 390°F.
  • Cut the chicken into 1.5-inch chunks and add to a bowl.
  • Toss chicken with oil and taco seasoning to coat.
  • Add chicken to air fryer in a single layer and cook for 10-12 minutes, shaking halfway.
  • Remove chicken when internal temperature reaches 165°F and serve.

Notes

Ensure chicken is cooked through by checking the internal temperature.
Calories: 300kcal
Cost: $10
Course: Main Dish
Cuisine: American
Keyword: Chicken